The most boring part of developing a system is probably debugging, especially when encountering null reference errors (Object reference not set to an instance of an object.). This is likely the most common issue beginners face when starting to code. To break free from the tedious process of fixing bugs, this article introduces unit testing.
Blazor unit testing is different from typical C# programming. It mainly involves checking the rendering logic of Components and comparing the expected HTML tags with the actual page output. Since Blazor is a front-end framework rendered using a back-end language, verifying data correctness is essentially standard C# unit testing.
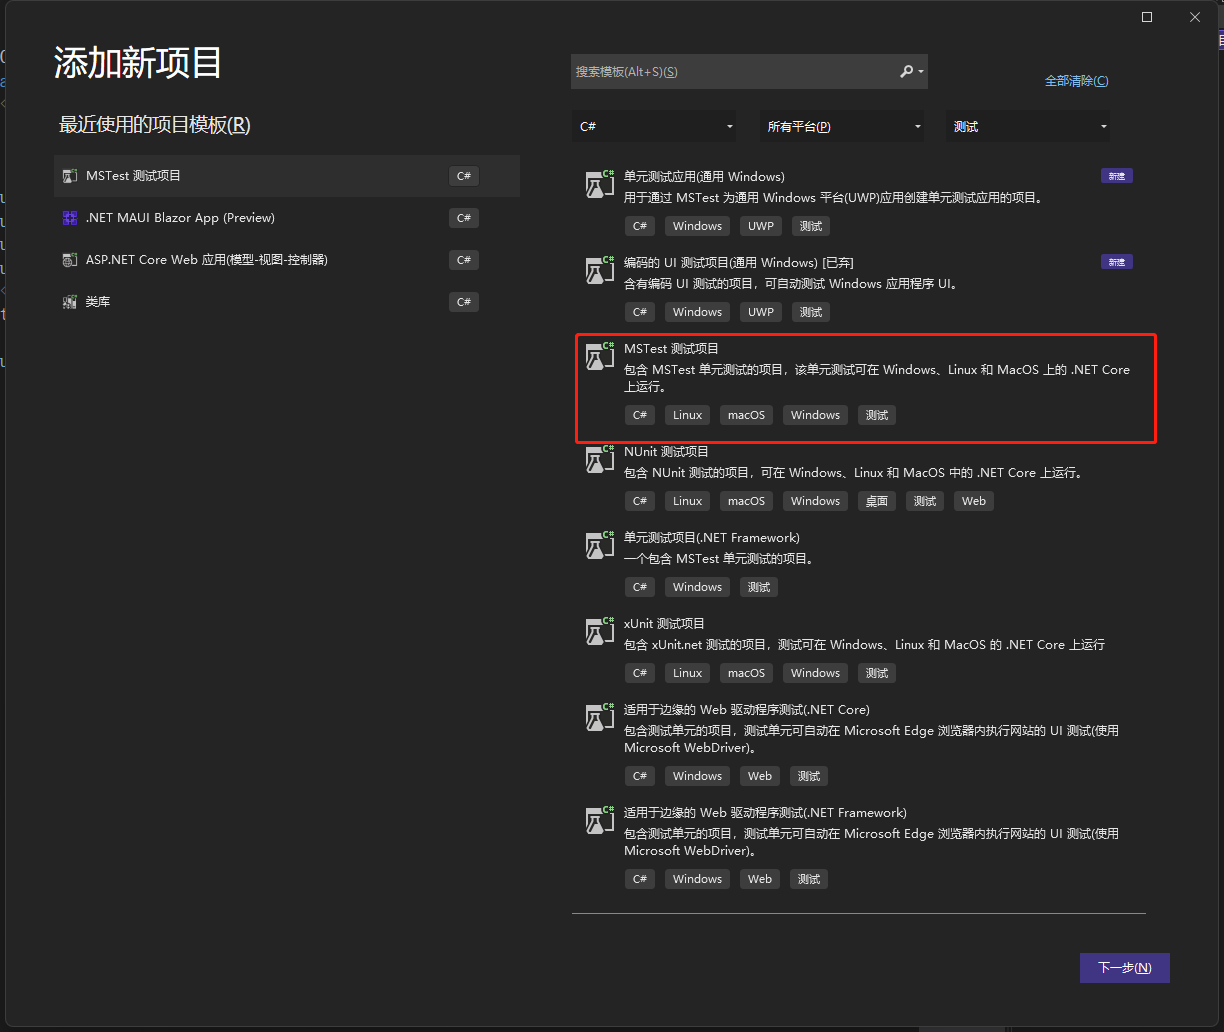
Microsoft currently offers three testing frameworks: MSTest, NUnit, and xUnit. However, none of them include Blazor support. Fortunately, the community has created the bUnit project to facilitate testing. But bUnit is not a framework; it’s a project. So you must first create a project using one of the three testing frameworks and then install bUnit via NuGet.
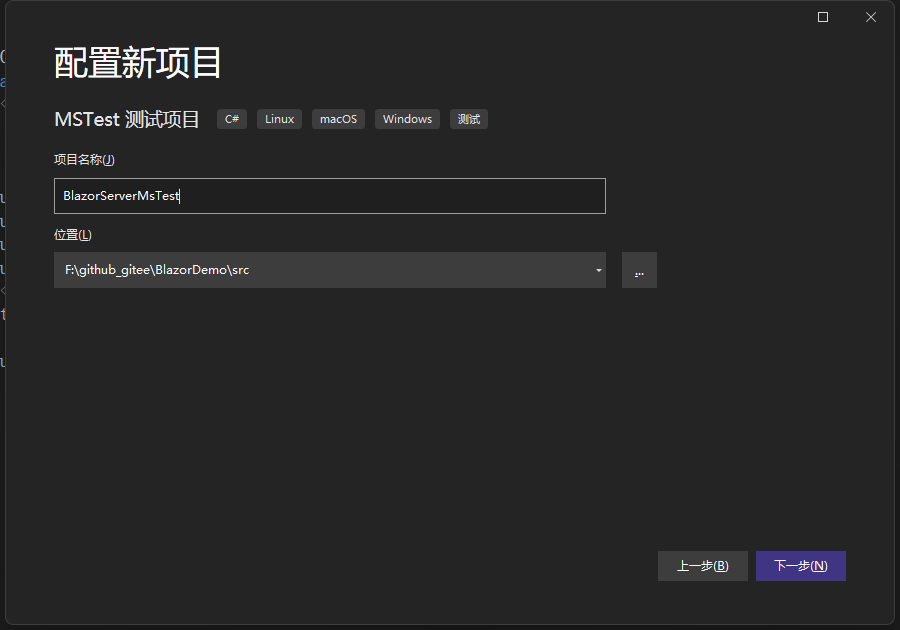
First, create a test project BlazorServerMsTest under the solution. Here I’m using the MSTest framework. After creation, double-click the project name to open the csproj file. You’ll see the Sdk is "Microsoft.NET.Sdk" – change it to "Microsoft.NET.Sdk.Razor", otherwise the Blazor compiler won’t render the Razor Component. Also, set the TargetFramework to net6.0 to ensure compatibility with our BlazorServer project.


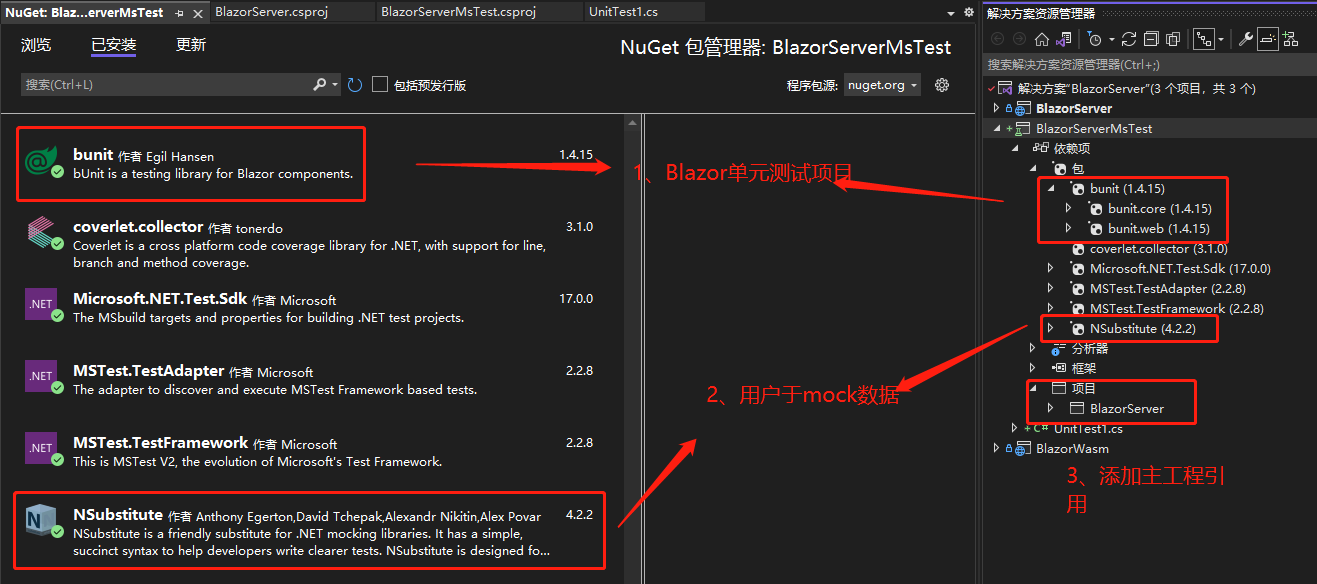
Next, install bunit via NuGet, and add a reference to the main project BlazorServer. If the Component under test doesn’t use any data, the preparation is done. But in reality, components usually interact with data and thus require Services. So you’ll also need to download a Service that can generate fake data. I’m using NSubstitute.

(Note: If you want to write test methods in the @code block of a razor file, you need to add the required namespace usings in _Import.razor. Since I prefer code-behind, I won’t include them.)
Unit tests consist of three parts: Arrange, Act, and Assert. Arrange means preparation before testing, Act is finding the object to test, and Assert is the test result.
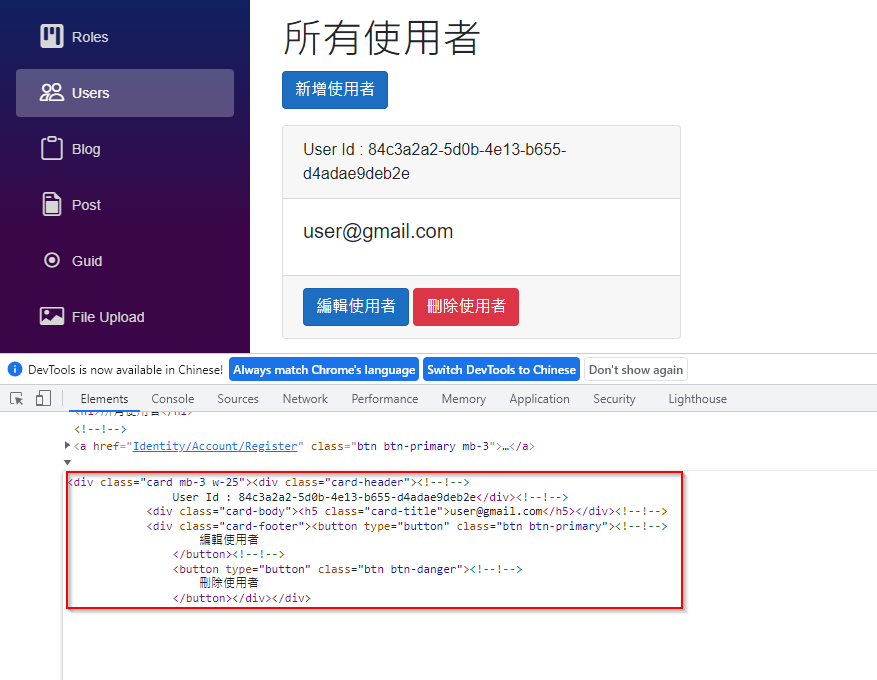
Let’s test the HTML output of the first div.card. Open the webpage and copy the first element with the card class. Here the User Id will change based on the data.

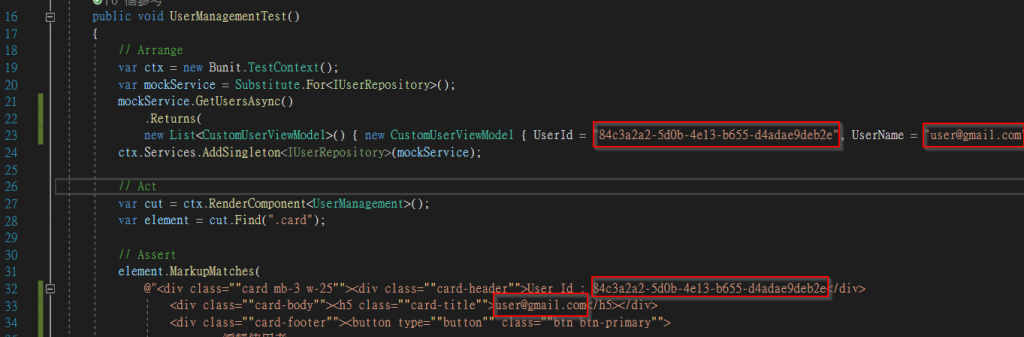
In the image below, line 19 creates the bUnit test fixture and assigns it to ctx. Line 20 creates a fake IUserRepository using NSubstitute. Lines 21–23 call GetUsersAsync(), but pass a fake List() containing only one CustomUserViewModel. I deliberately provided incorrect data. Line 24 registers the IUserRepository service using DI.

Line 27 renders UserManagement using bUnit and assigns it to cut (component under test). But comparing the entire UserManagement would require pasting many HTML tags, so I use Find() to locate the first element with the card class. Find() uses CSS selectors, meaning you can use tags, classes, IDs, etc.
Starting from line 31, I compare the found element with the HTML tags in MarkupMatches(). Here I use multiple lines, but if you want to save space, you can condense it into one line. bUnit does not compare line breaks.
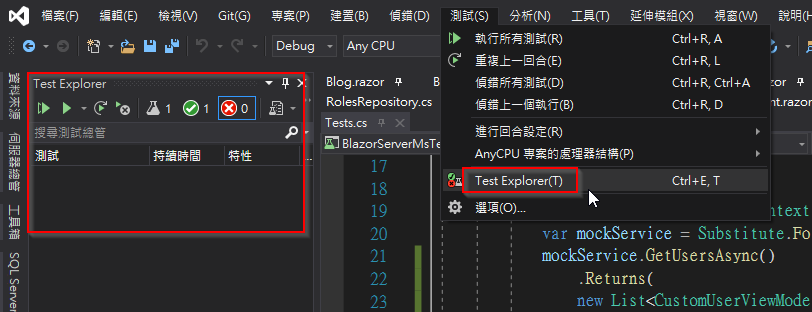
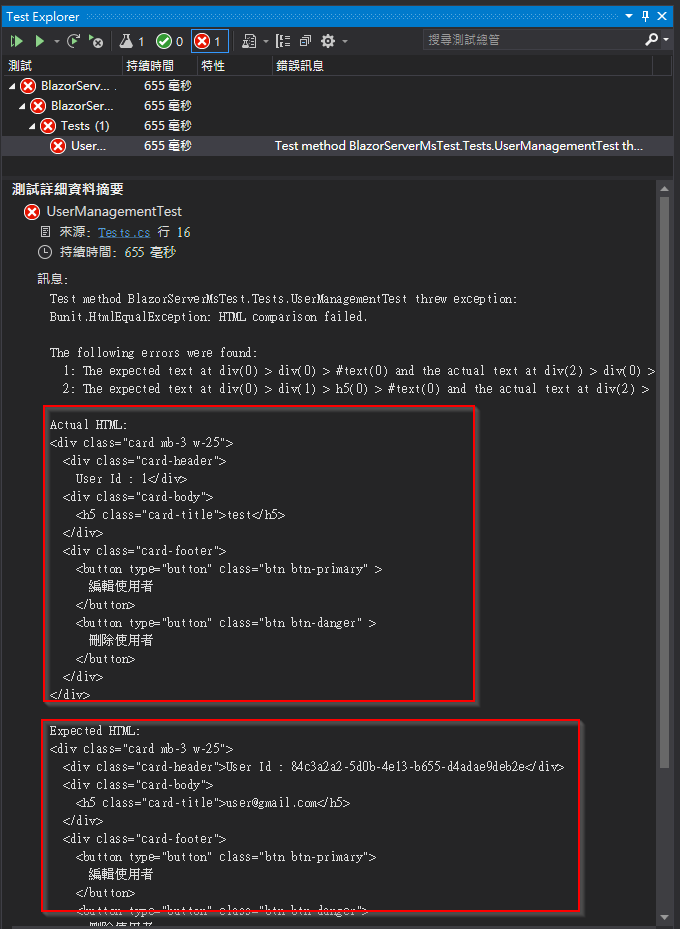
Now run the test. You can press Ctrl+R, A or open the Test Explorer from the test tab at the top. You’ll see the test fails, and it will tell you where the actual HTML differs from the expected HTML. Since our fake data doesn’t match the expected values, it fails.


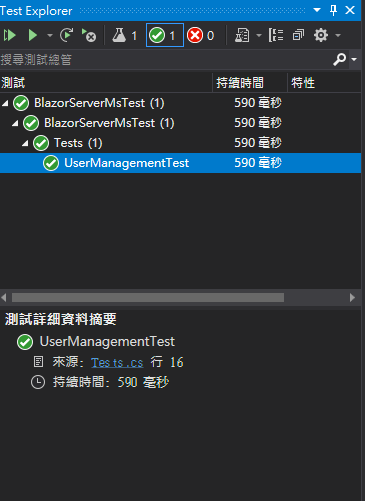
Change the fake data’s UserId and UserName to match the expected HTML data, then press Ctrl+R, T. You’ll see the test passes.


References: