
前言
最近公司需要开发项目能在 Linux 系统上运行,示例开发项目采用.NET Core + Angular 开发;理论上完全支持跨平台。
但是实践才是检验真理的唯一标准;那么还是动手来验证实现下;过程中万一出现什么问题也算是积累经验。
一、环境准备
由于本次主要验证项目部署 Linux 环境,也不想去重新搭建一个虚拟机环境;就使用 Win10 中 Linux 子系统(WSL 什么?)
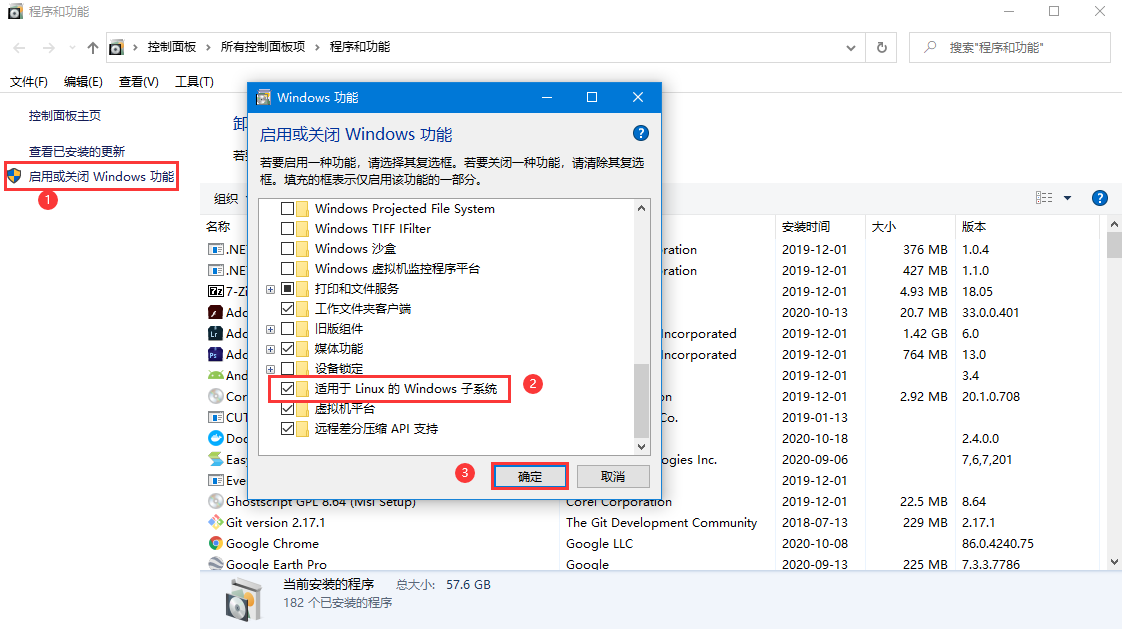
- WSL 启用步骤:
- 进入【启用或关闭 Windows 功能】中启用 WSL,如下图
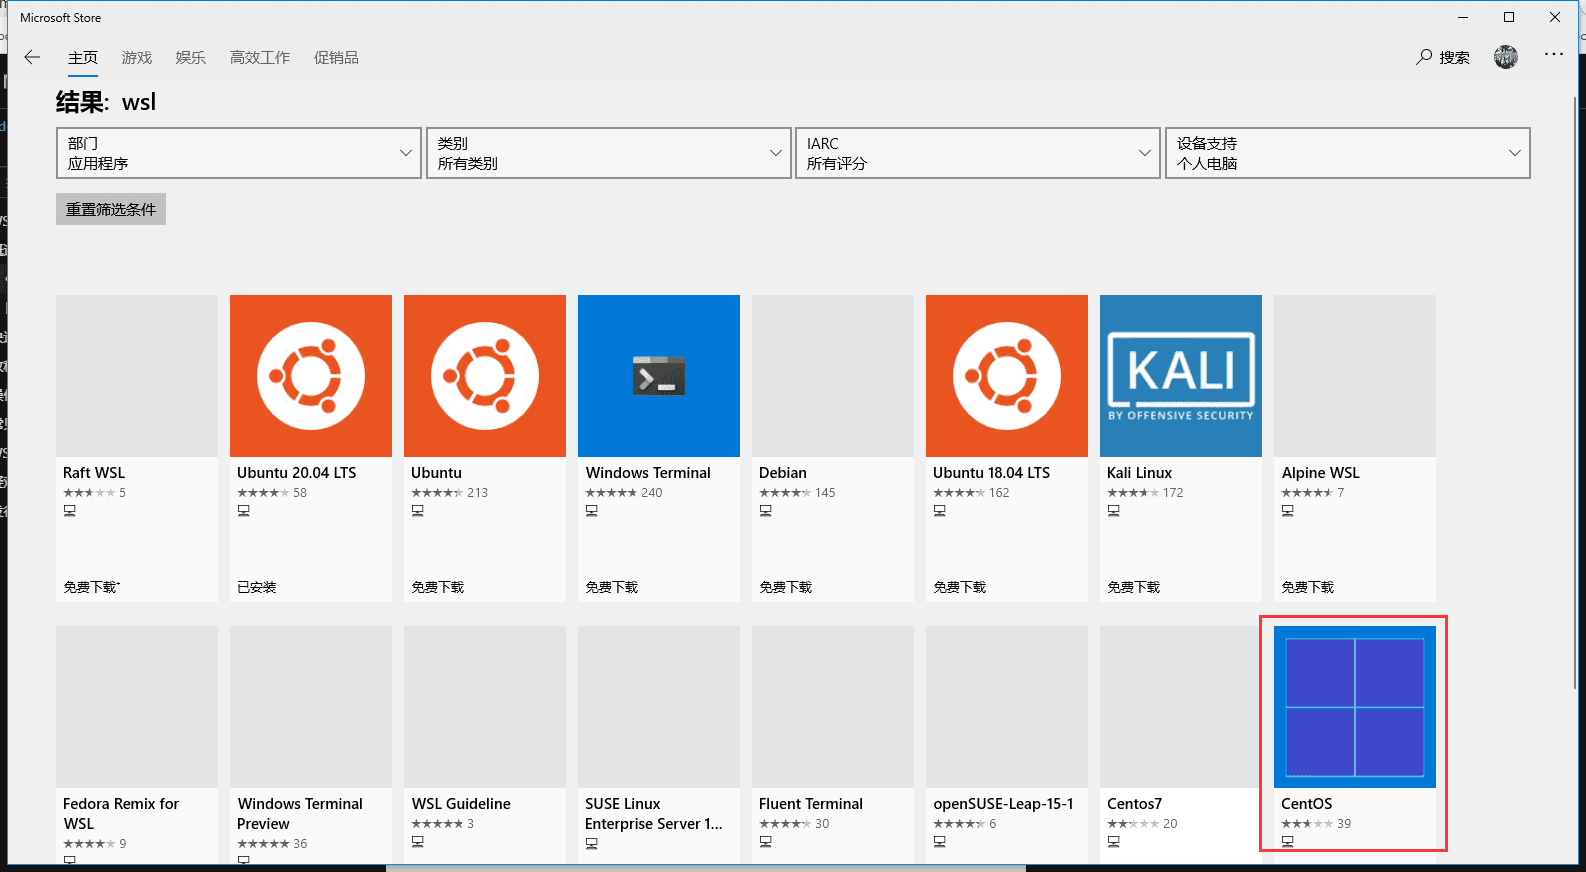
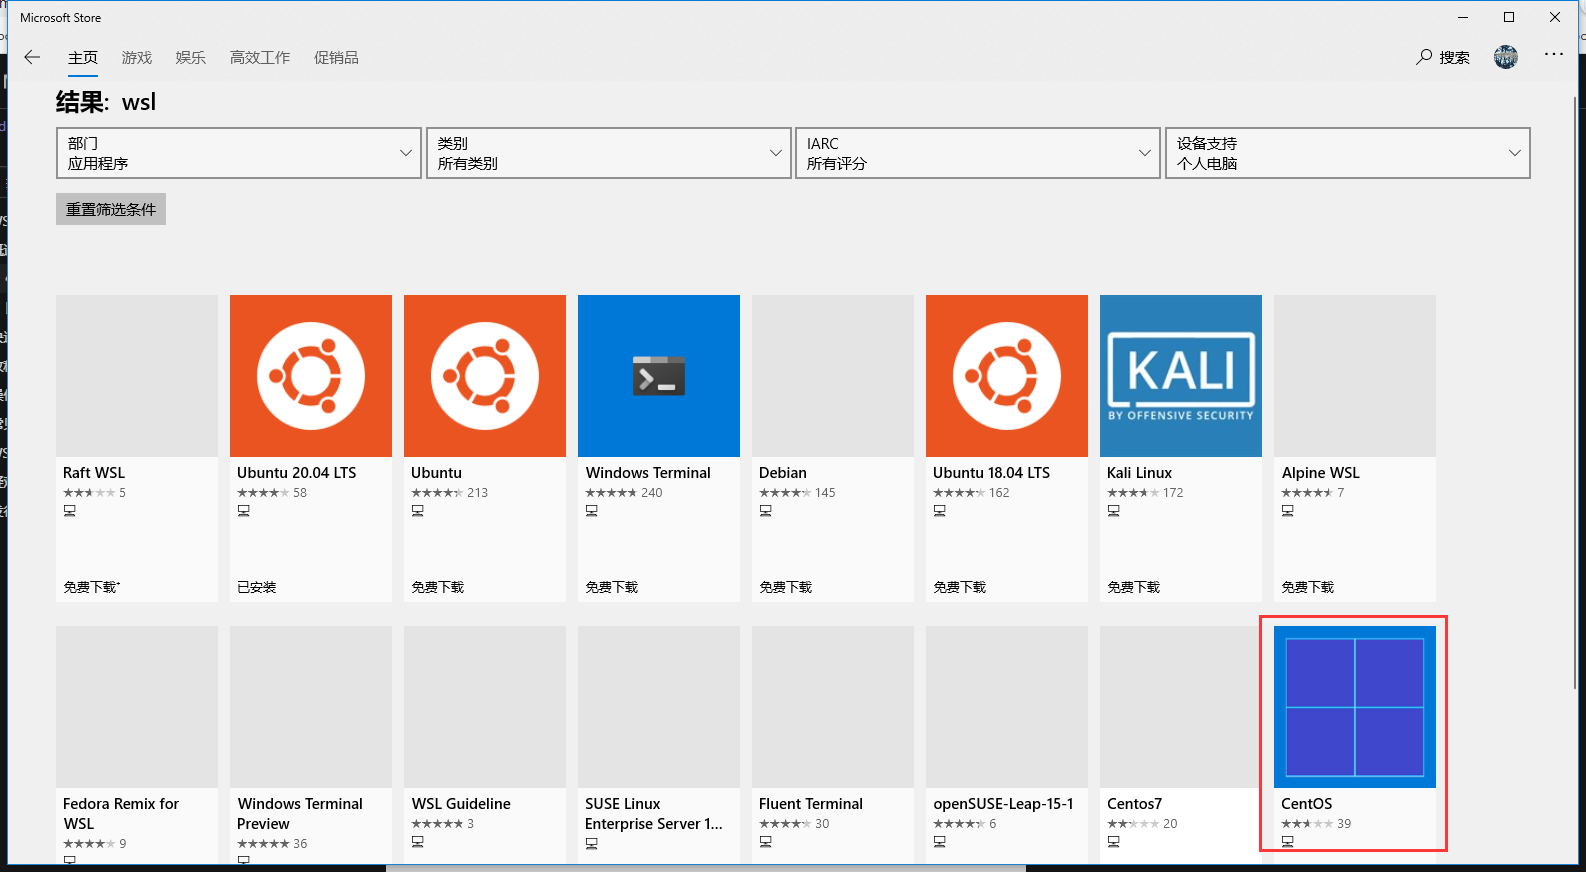
- 进入 Microsoft store 选择相应版本,本机安装的是 CentOS
- 安装完成后启动时(出现问题)
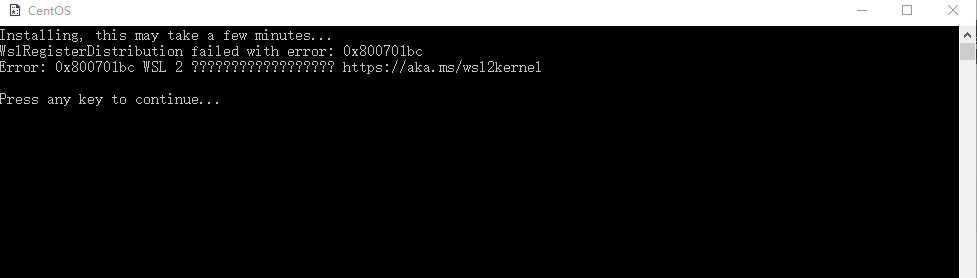
最终确定问题原因:需要更新 Linux 内核包(更新包下载地址:https://wslstorestorage.blob.core.windows.net/wslblob/wsl_update_x64.msi)
下载安装后,CentOS 系统环境准备好了。
- NET Core 环境安装:
- 更新下系统基础软件版本(可不执行)
sudo yum update
- 注册微软签名秘钥:
sudo rpm -Uvh https://packages.microsoft.com/config/rhel/7/packages-microsoft-prod.rpm
- 安装.NET Core SDK,示例程序采用 3.1 版本开发(站长注:现在 2022 年 5 月 11 日,.NET 7 Preview 4已经发布)
sudo yum install dotnet-sdk-3.1
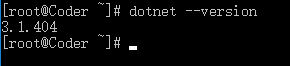
- 查看是安装成功,如图则表示已经安装成功
- Nginx 环境安装:(部署 web 项目)
- 依赖环境安装
yum install gcc-c++
yum install pcre pcre-devel
yum install zlib zlib-devel
yum install openssl openssl--devel
- 添加 Nginx 的 yum 库
sudo rpm -Uvh http://nginx.org/packages/centos/7/noarch/RPMS/nginx-release-centos-7-0.el7.ngx.noarch.rpm
- 安装 Nginx
sudo yum install nginx
- Nginx 基本信息
目录结构:
| Nginx 目录 | |
|---|---|
| 配置路径 | /etc/nginx/ |
| 错误日志 | /var/log/nginx/error.log |
| 访问日志 | /var/log/nginx/access.log |
| 默认站点目录 /usr/share/nginx/html |
基本命令:
- nginx //启动 nginx
- nginx -s quit //停止 nginx
- nginx -s reload //重新载入配置文件
二、项目部署
部署项目到 CentOS 有多种方式:直接运行、Docker 部署(前面学习文章已多次使用),本次就采用直接运行方式来部署应用。由于项目采用前后端分离实现,需要分别部署
- 服务端部署
1、将服务端项目文件拷贝到 CentOS 目录中:本次部署路径为:/home/www/publish

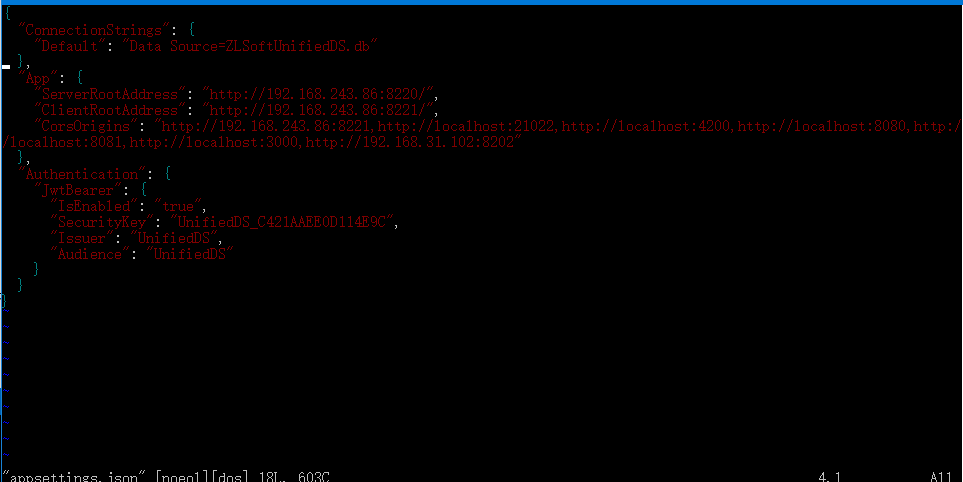
2、修改配置文件:需要使用 vim 命令(需要单独安装)
通过命令进入配置文件编辑:
vim appsettings.json
编辑完成后采用以下命令退出
vim命令
:w 保存但不退出
:wq 保存并退出
:q 退出
:q! 强制退出,不保存
:e! 放弃所有修改,从上次保存文件开始再编辑命令历史
3、启动服务
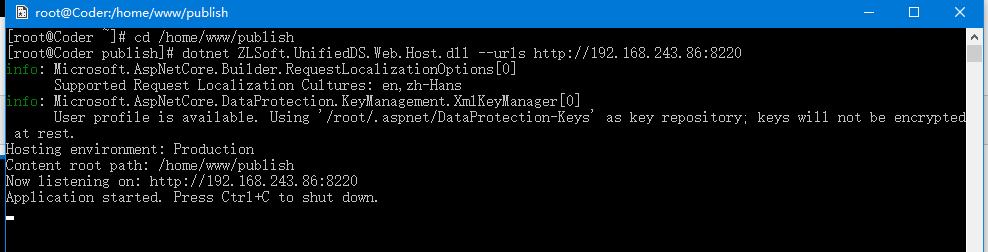
进入项目目录执行命令:
[root@Coder supervisor]# cd /home/www/publish
[root@Coder publish]# dotnet ZLSoft.UnifiedDS.Web.Host.dll --urls http://*:8220
- 前端项目部署
1、将 web 项目拷贝到:/home/www/web
2、在 Nginx 配置文件目录中添加配置文件 web.conf
server {
    listen       8221;
    server_name  192.168.243.86:8220;

    #charset koi8-r;
    #access_log  /var/log/nginx/host.access.log  main;

    location / {
        root   /home/www/web;
        index  index.html index.htm;
        try_files $uri $uri/ /index.html?$query_string;
    }

    #error_page  404              /404.html;

    # redirect server error pages to the static page /50x.html
    #
    error_page   500 502 503 504  /50x.html;
    location = /50x.html {
        root   /usr/share/nginx/html;
    }
}
注意: 由于 Angular 项目中使用了路由重定向,则需要使用标记内容
3、更新 Nginx 配置文件:
/usr/sbin/nginx -s reload
三、运行示例
服务端运行:
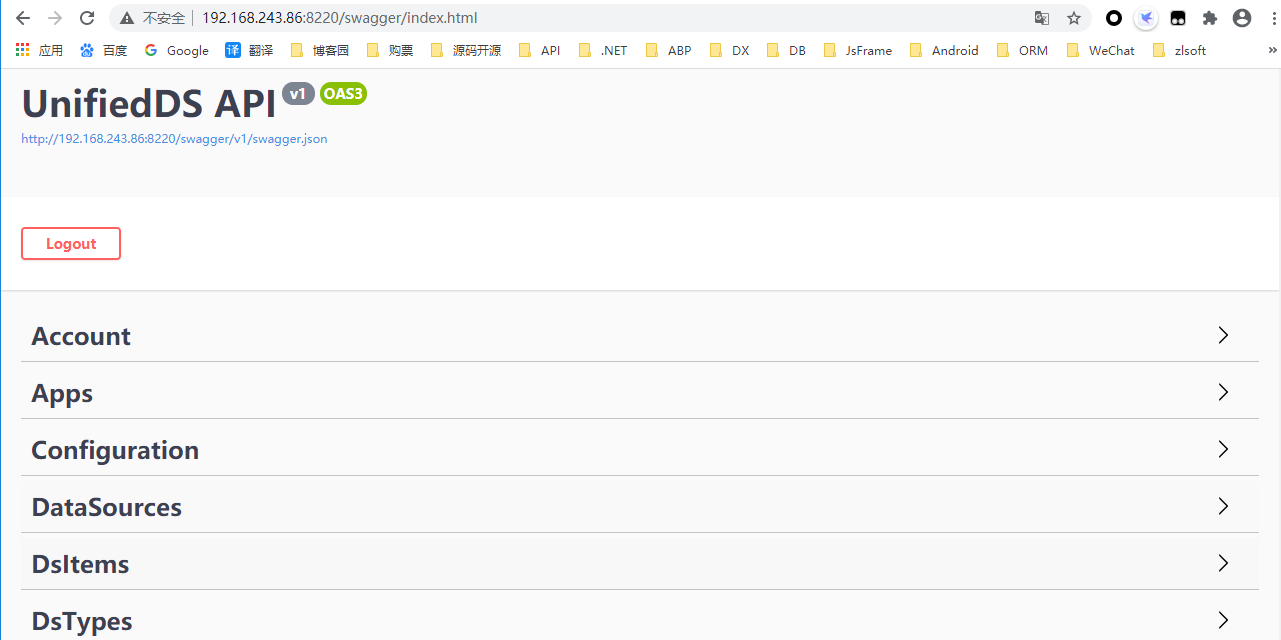
Web 项目运行效果:
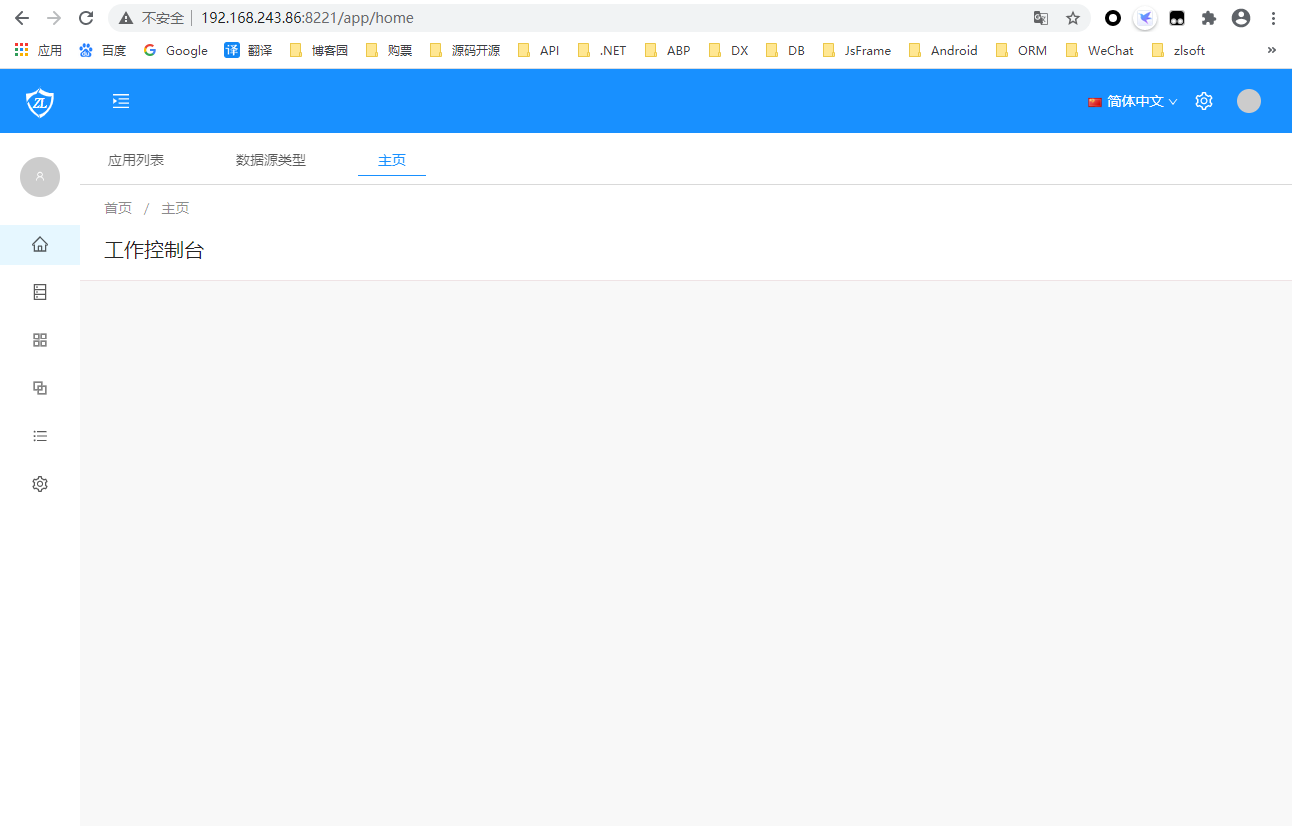
到此项目已成功运行,但是当我把 CentOS 命令结束运行,则 web 服务端停止运行,那么需要把创建服务实现守护进程
四、守护进程创建-supervisor
1、安装 supervisor
#安装python的扩展
yum install python-setuptools
#通过python的扩展安装supervisor
easy_install supervisor

#建立设置文件夹
mkdir /etc/supervisor
mkdir /etc/supervisor/conf.d
#设置文件
echo_supervisord_conf > /etc/supervisor/supervisord.conf
#修改设置文件(supervisord.d 文件夹下的所有 ini 类型的文件都是配置文件)
#在文件/etc/supervisor/supervisord.conf末端
;files = relative/directory/*.ini 改为 files = conf.d/*.ini
2、创建配置文件:在/etc/supervisor/conf.d目录下创建publish.conf
[program:publish]
command=dotnet ZLSoft.UnifiedDS.Web.Host.dll --urls http://192.168.243.86:8220  #运行命令
directory=/home/www/publish #程序路径
environment=ASPNETCORE__ENVIRONMENT=Production
user=root
stopsignal=INT
autostart=true #自动启动
autorestart=true #3秒自动重启
startsecs=3
stderr_logfile=/var/log/ossoffical.err.log
stdout_logfile=/var/log/ossoffical.out.log
3、启动服务
#进入supervisor目录
cd /etc/supervisor
#启动supervisord 服务
supervisord -c supervisord.conf
4、开启守护进程的界面管理功能
#修改配置文件:
vim /etc/supervisord.conf

#取消注释内容
 [inet_http_server] ; inet (TCP) server disabled by default
 port=*:9001 ; ip_address:port specifier, *:port for all iface
 username=user ; default is no username (open server)
 password=123 ; default is no password (open server)

 #重新加载配置文件

 supervisorctl reload
5、supervisorctl 常用命令
$ sudo service supervisor stop 停止supervisor服务
$ sudo service supervisor start 启动supervisor服务
$ supervisorctl shutdown #关闭所有任务
$ supervisorctl stop|start program_name #启动或停止服务
$ supervisorctl status #查看所有任务状态
五、总结
在 CentOS 系统中运行部署运行项目,主要是 Linux 相关内容是否熟练:如命令、权限、软件等相关内容,不管什么还是需要孰能生巧,多加练习吧。
另外 WSL 中的 Linux 系统还是不够全面,暂时没有服务、防火墙相关功能,所以如果在真实环境中,可以设置服务开机启动、以及防火墙相关处理。
所以还是需要找个完整环境进行学习练习。