Hello everyone, I'm Wolf at the End of the Desert.
.NET is a free, cross-platform, open-source developer platform for building all types of applications.
Today, I’m introducing how to use ClickOnce to create a software installer. First, let's understand what ClickOnce is.
1. What is ClickOnce?
The following paragraphs are excerpted from Microsoft documentation: https://learn.microsoft.com/en-us/visualstudio/deployment/clickonce-security-and-deployment?view=vs-2022.
ClickOnce is a deployment technology that enables you to create self-updating Windows-based applications that can be installed and run with minimal user interaction.
ClickOnce deployment overcomes three major problems inherent in deployment:
- Difficulties in updating applications
With Microsoft Windows Installer deployment, every time an application is updated, users must reinstall the entire application; with ClickOnce deployment, updates can be provided automatically. Only the changed parts of the application are downloaded, and then the complete, updated application is reinstalled from a new parallel folder.
- Impact on the user's computer
With Windows Installer deployment, applications often rely on shared components, which can lead to version conflicts; with ClickOnce deployment, each application is self-contained and does not interfere with other applications.
- Security permissions
Windows Installer deployment requires administrator privileges and allows only restricted users to install; ClickOnce deployment allows non-administrative users to install applications and grants only the code access security permissions that the application needs.
In the past, these issues sometimes led developers to create web applications instead of Windows-based applications, sacrificing the rich user interface and responsiveness of Windows Forms for ease of installation. With applications deployed using ClickOnce, you can combine the advantages of both technologies.
2. Creating an Installer Package with ClickOnce
2.1 A Server is Needed
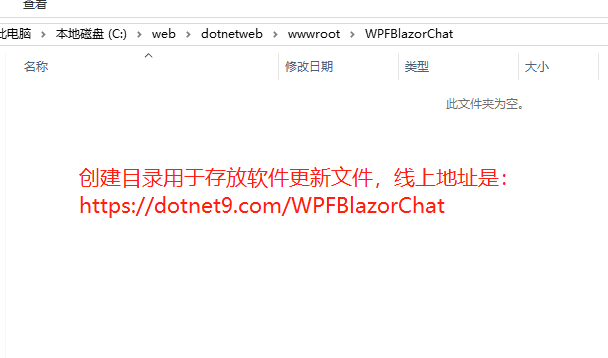
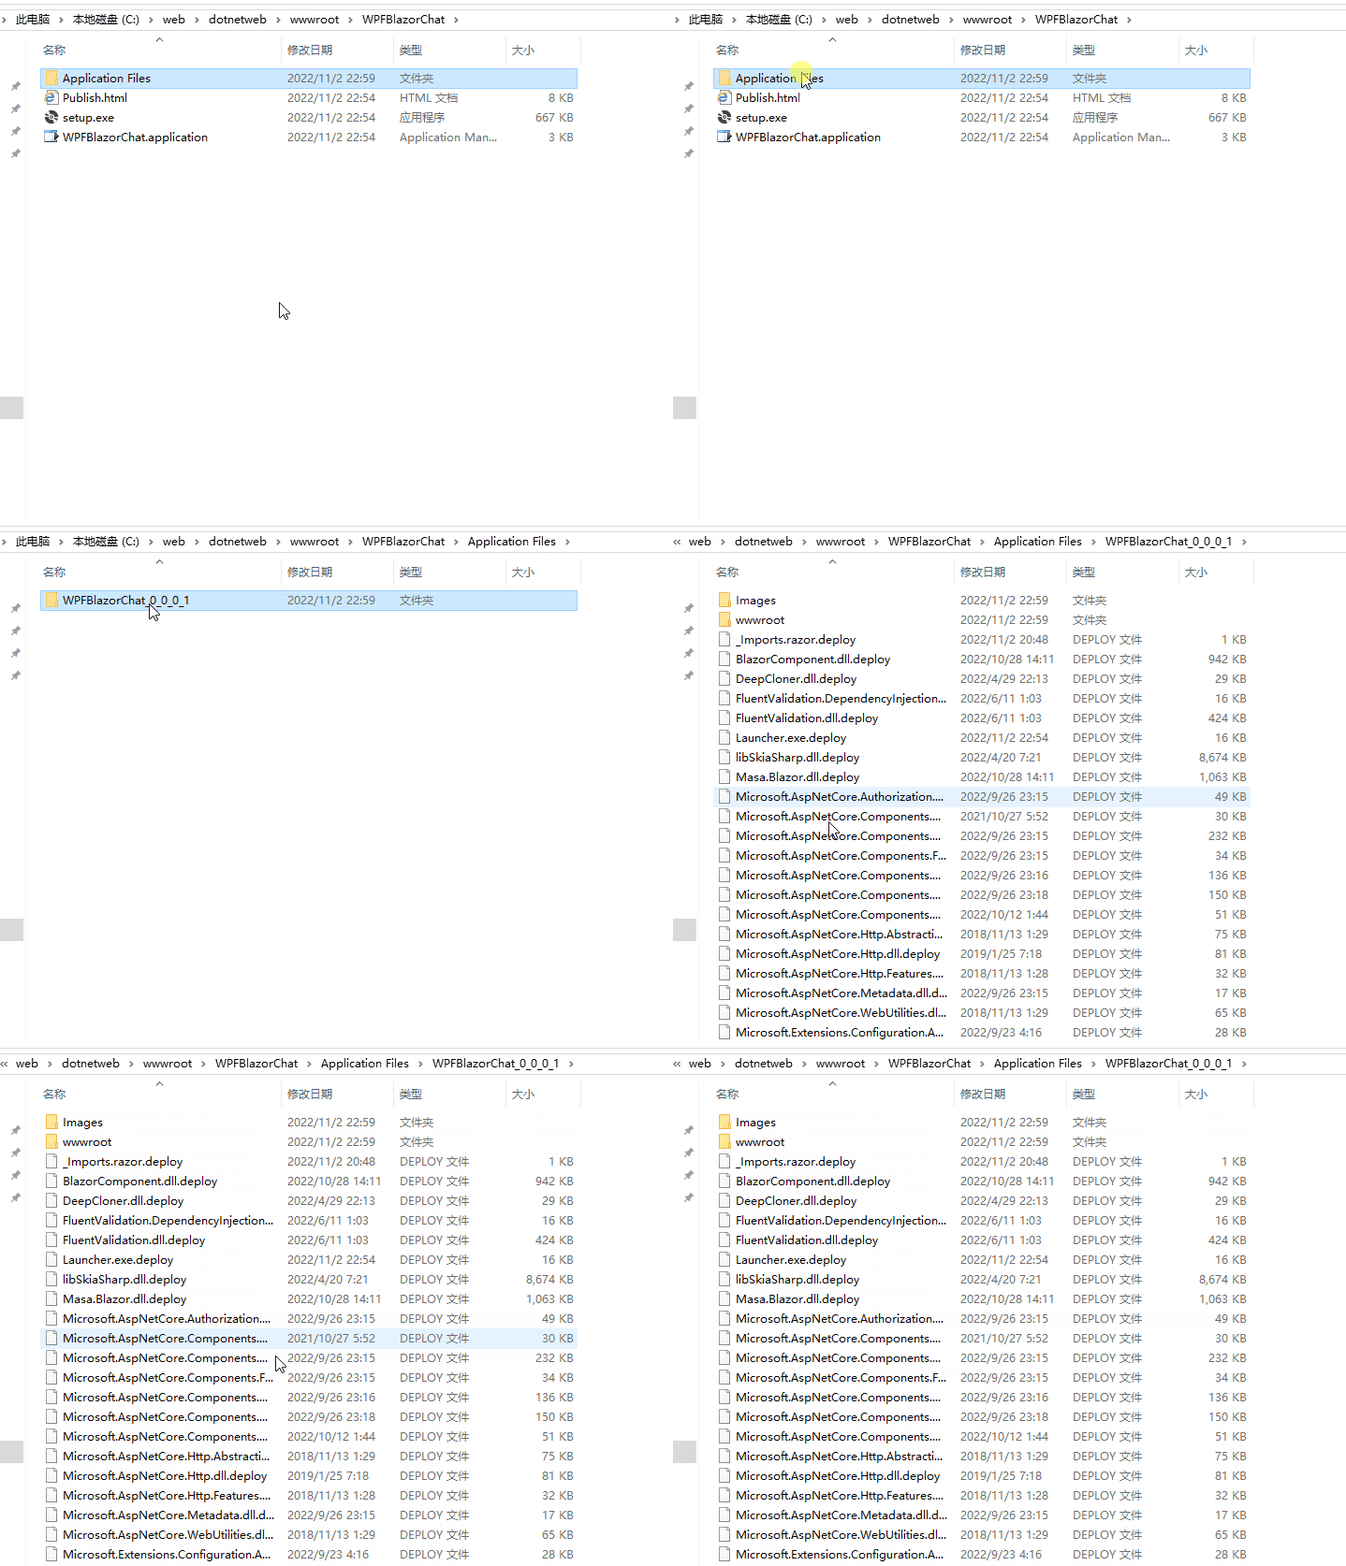
First, we need an online website to host the software update files. For example, create a directory named WPFBlazorChat under the root of the Dotnet9 website. The online hosting address would then be https://dotnet9.com/WPFBlazorChat. The directory looks like this:

2.2 Start Creating the Installer Package
Remember the online address above. We'll use the WPFBlazorChat project introduced a few days ago as an example to create the installer. The repository address is: https://github.com/dotnet9/WPFBlazorChat. Hence, the directory we created above has the same name as the project: WPFBlazorChat.
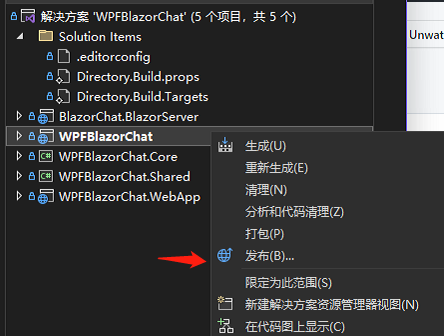
- Select the
WPFBlazorChatproject, right-click and choose Publish.

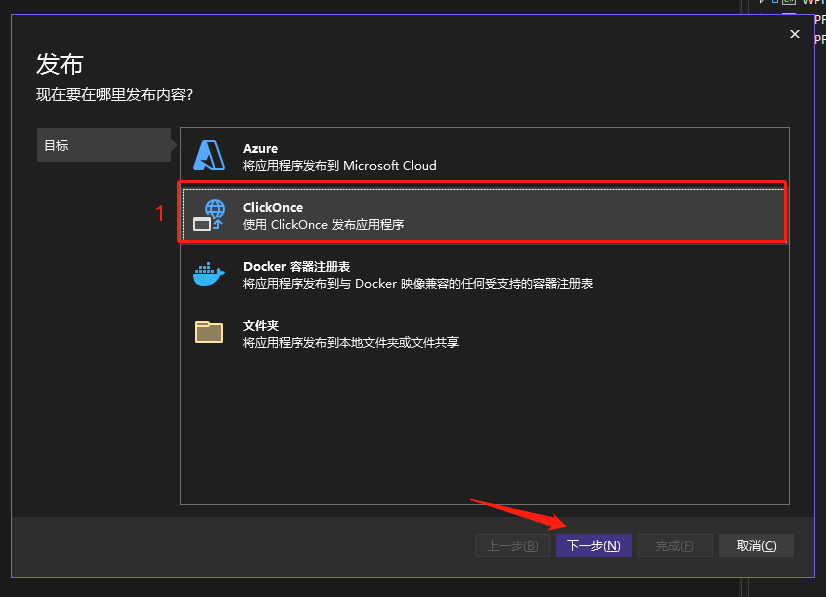
- In the pop-up dialog, select ClickOnce and click Next.

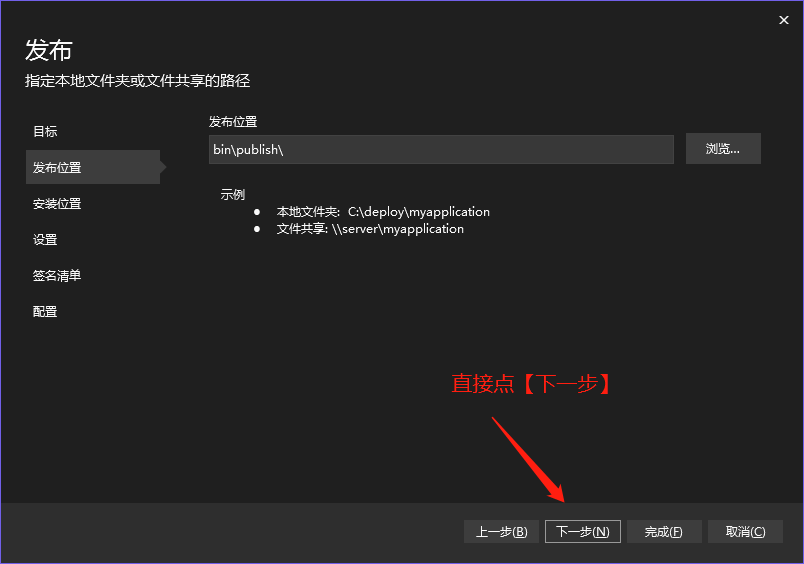
- The publish location can be arbitrary.

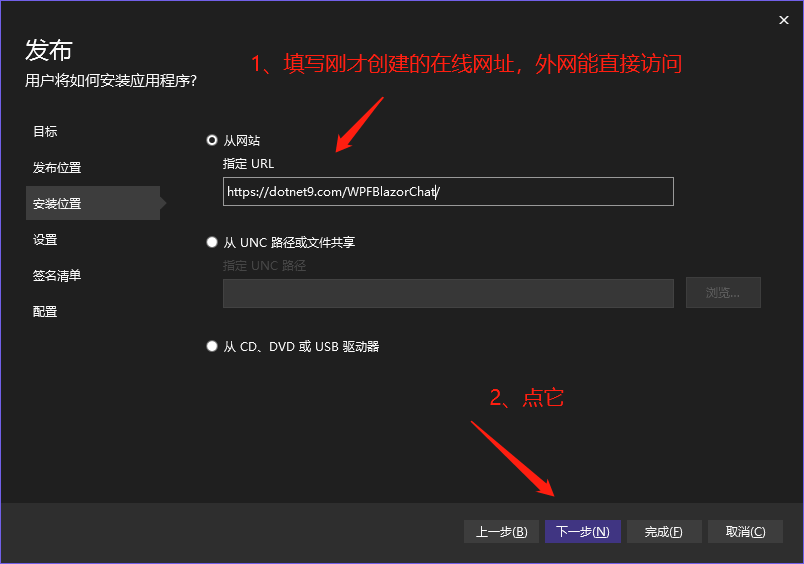
- Choose the address from which the software installer will be obtained.

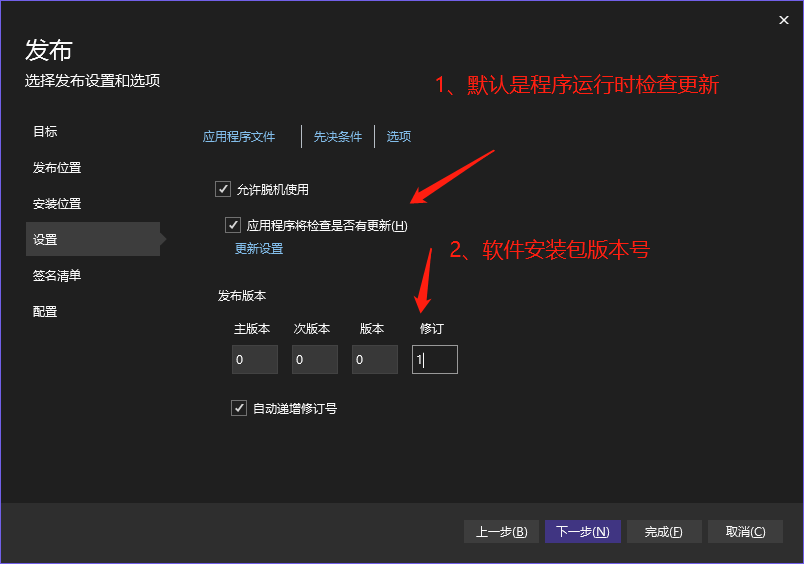
- Settings
- You can configure whether the program automatically checks for updates at runtime, the software version number, etc., as shown below:

As shown above, if you check "Automatically increment revision with each publish", the revision number will increase with each publish (this seems obvious, but it mainly facilitates version number management).
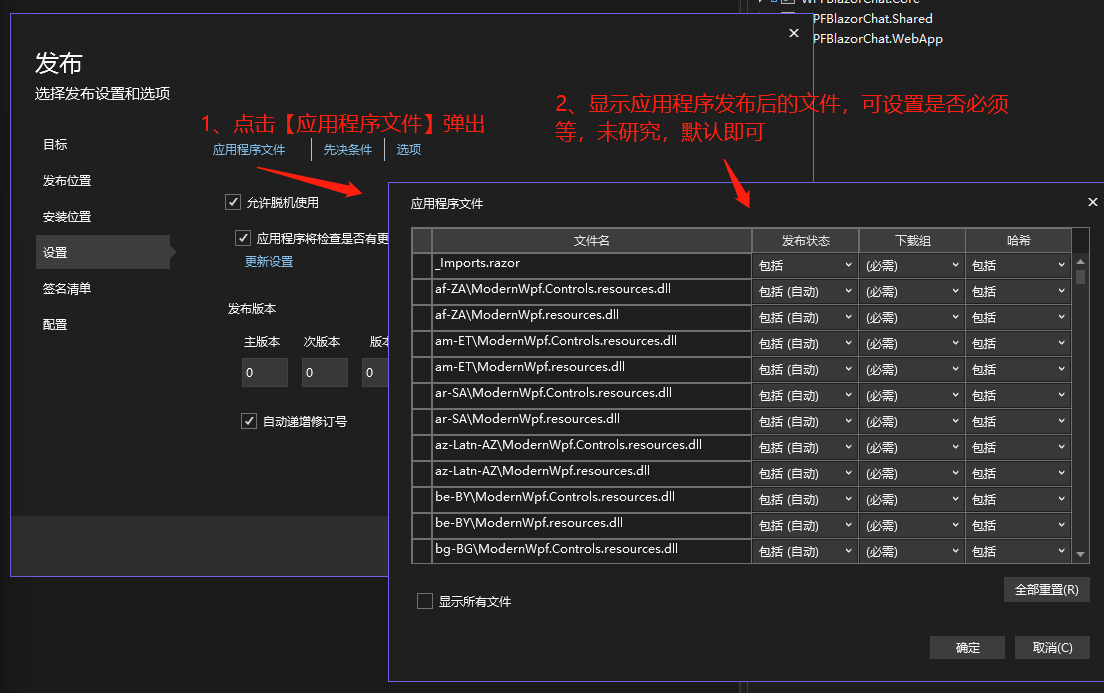
- Click "Application Files" to choose which files do not need to be downloaded, as shown below:

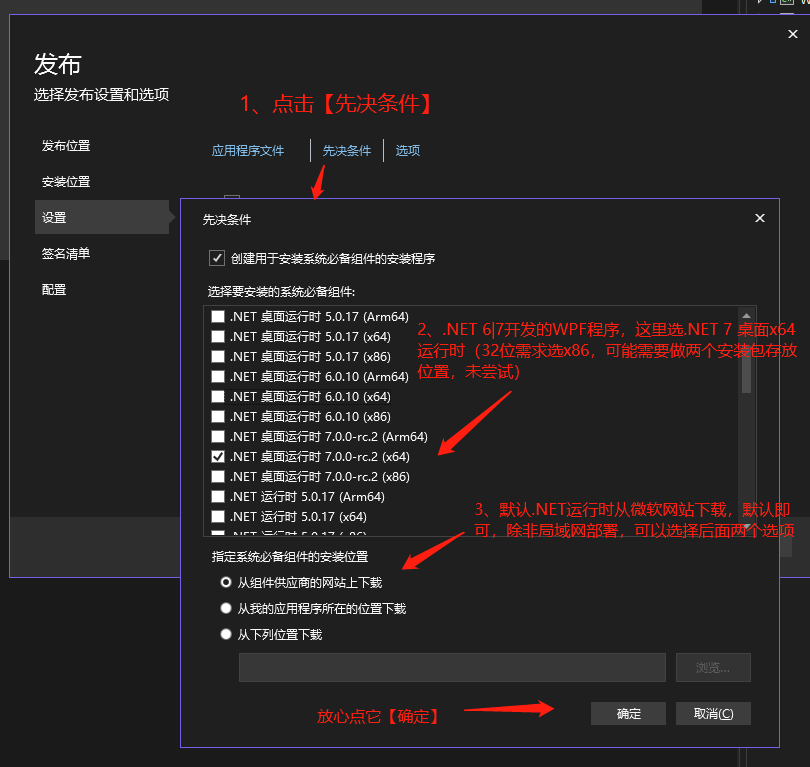
- Select prerequisites, i.e., choose the runtime for the program. Since the program supports .NET 6 and .NET 7 by default, the site owner checked ".NET 7 x64". If any readers are using Win7 32-bit, they can select as needed:

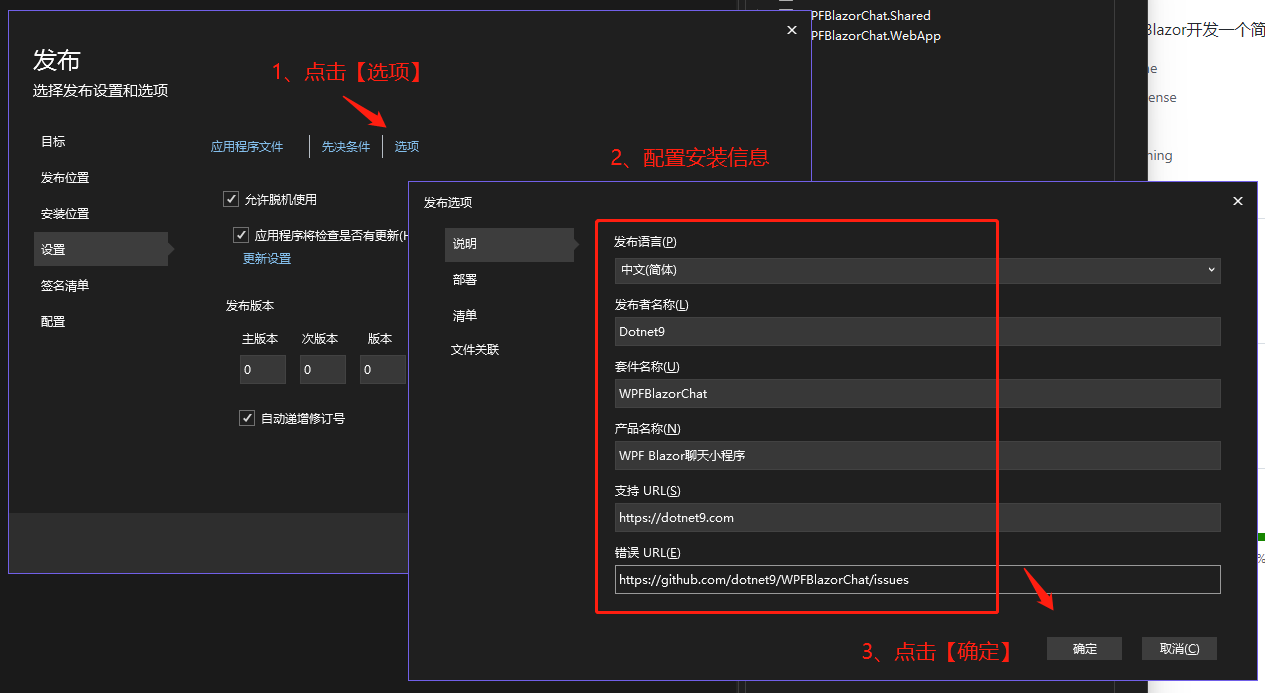
- Options configuration
Configure the software installer information. The more important fields are the publisher name and suite name, which determine where the program files are released:


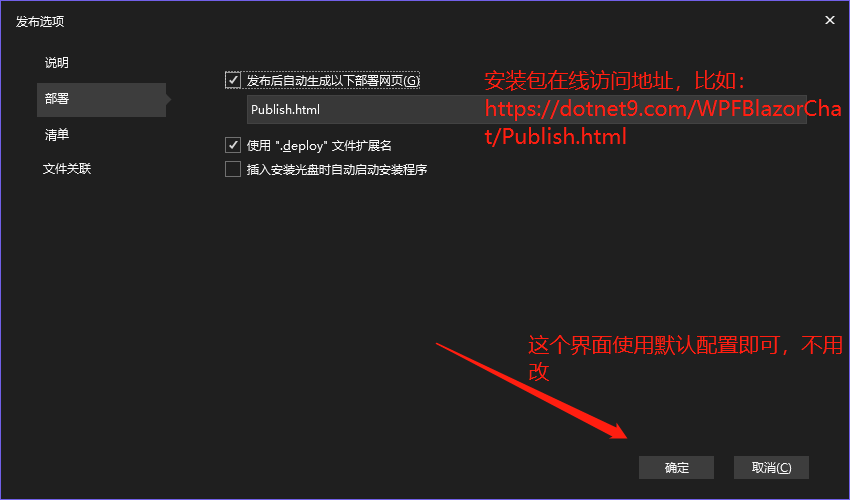
Deployment file configuration. Publish.html configures the installer download page.

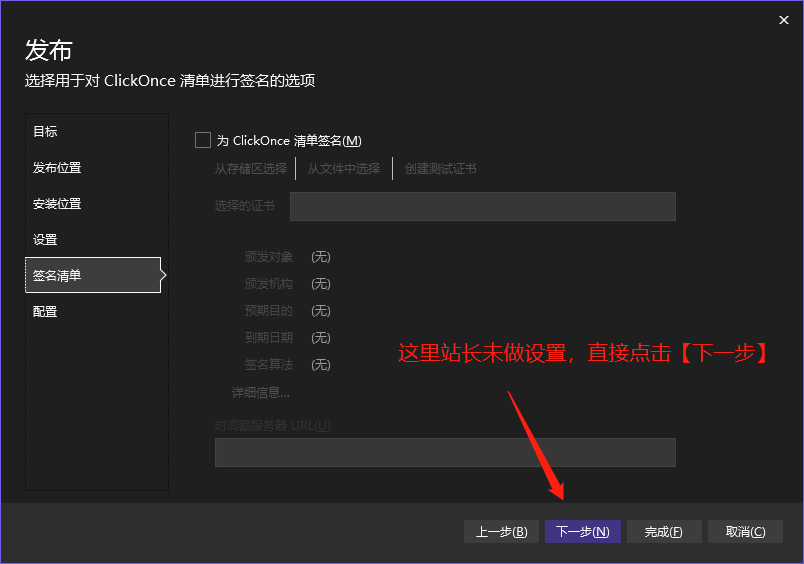
- Sign the manifests
Not set, click Next:

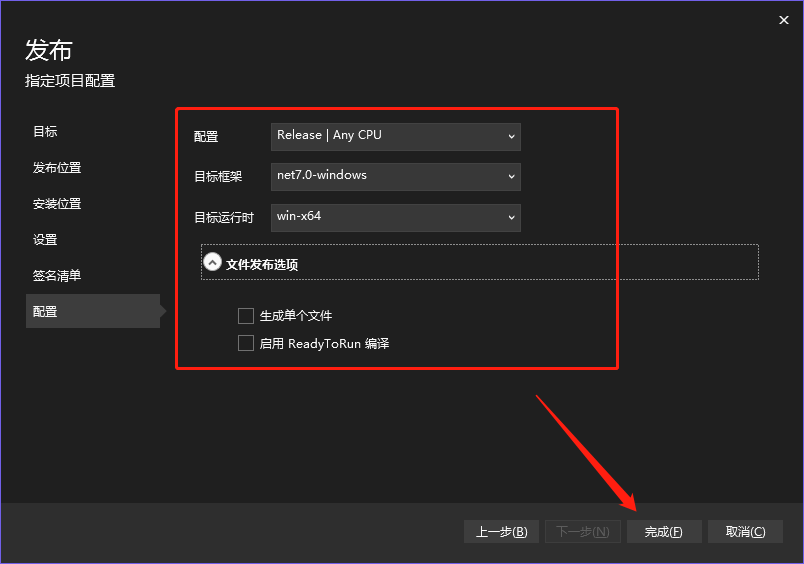
- Program publish configuration
Choose according to your situation. The site owner selected .NET 7 64-bit publishing. Note: It must be consistent with the .NET desktop runtime version selected earlier.

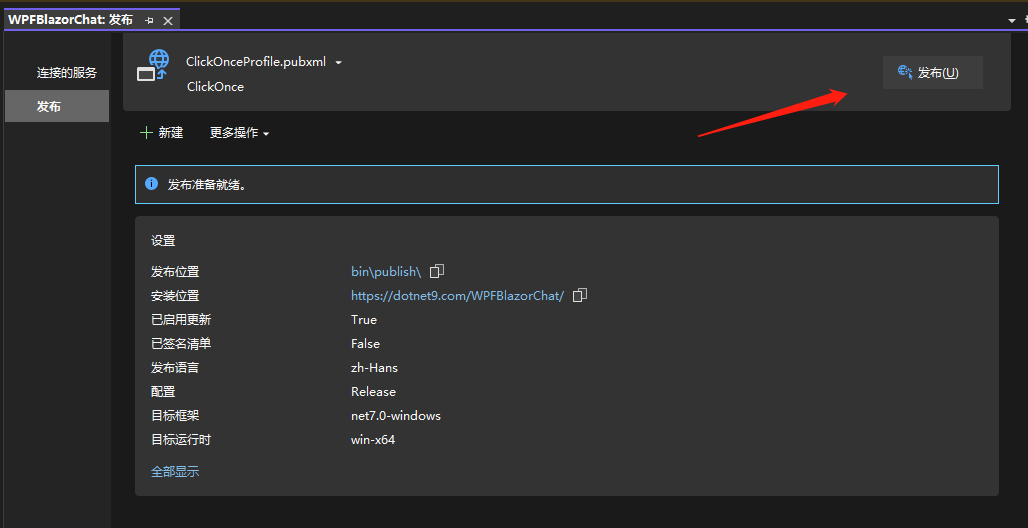
- Click Publish
The last step: click Publish.

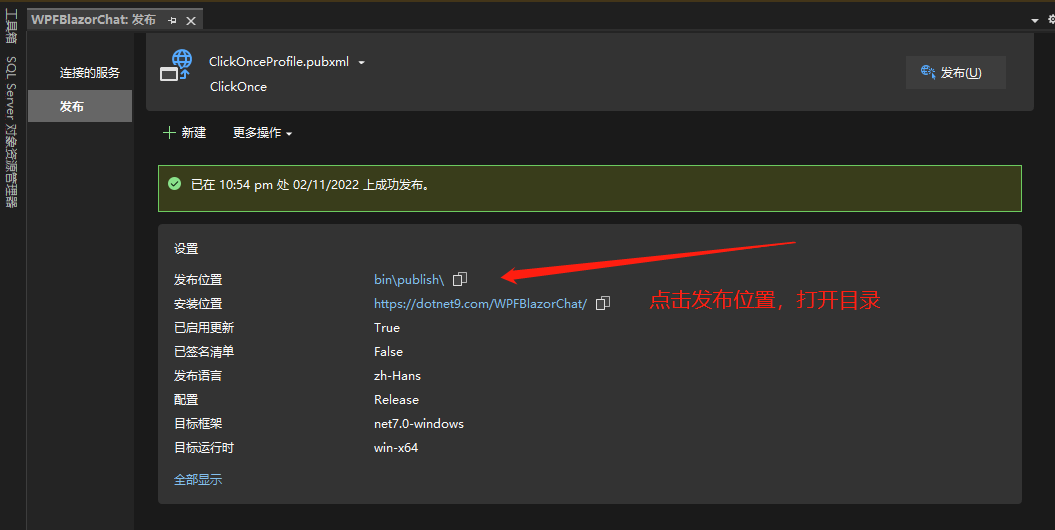
After publish, click the "Publish Location" path:

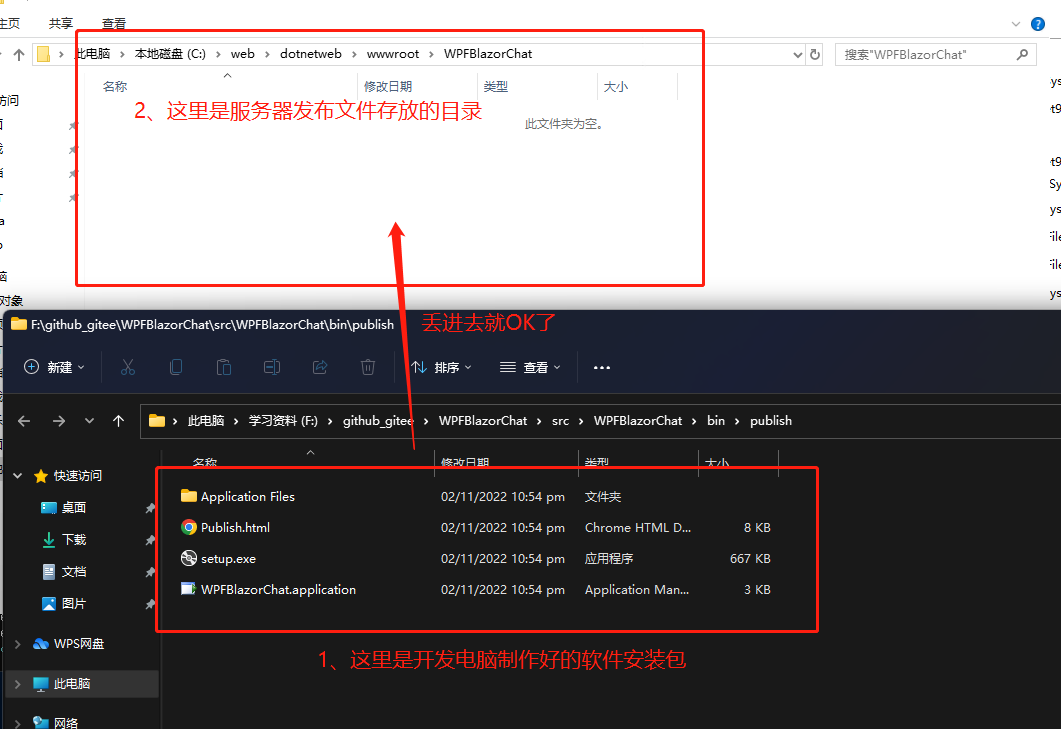
2.3 Upload
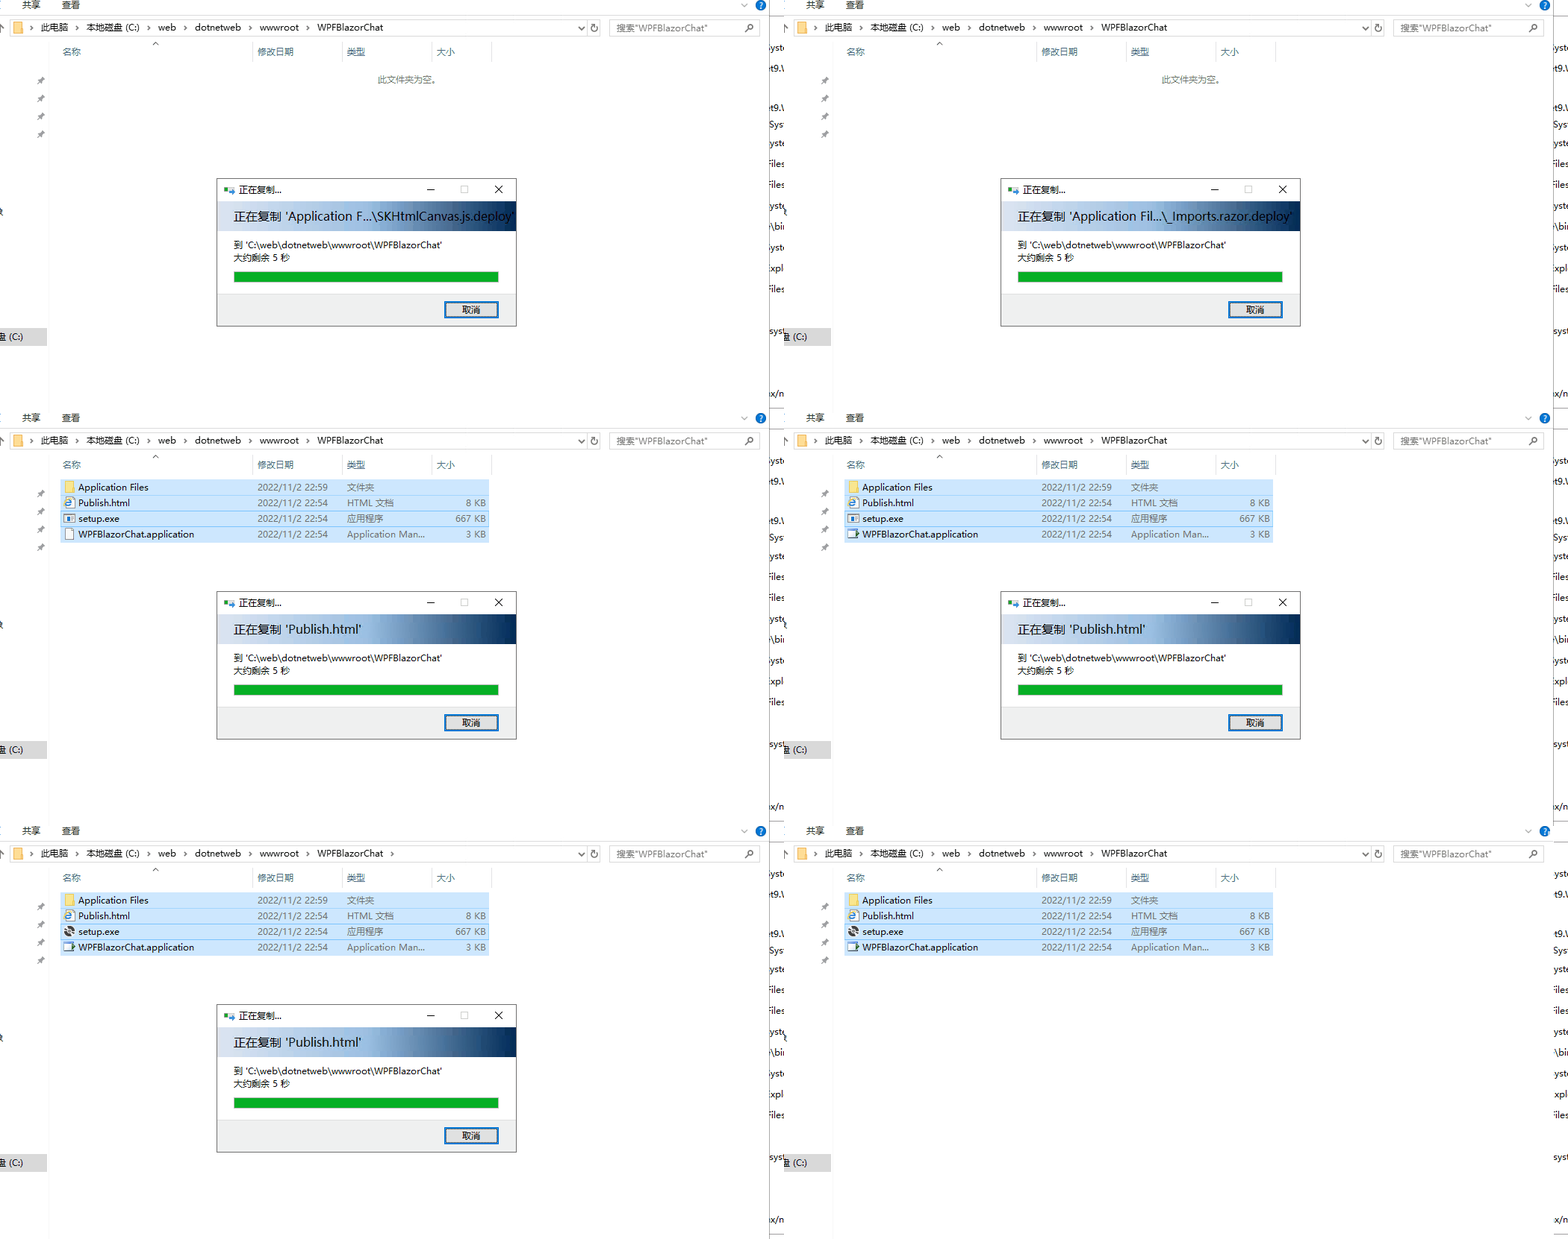
We have created the software installer. Now there's only one step left: upload the installer to the website. This is relatively simple, provided the website is already deployed:


2.4 Installing and Running the Program
The address is: https://dotnet9.com/WPFBlazorChat/Publish.html
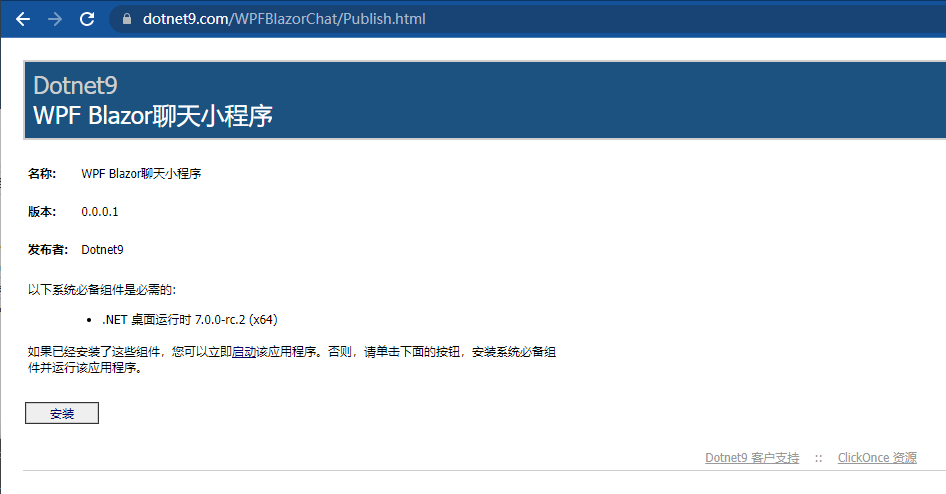
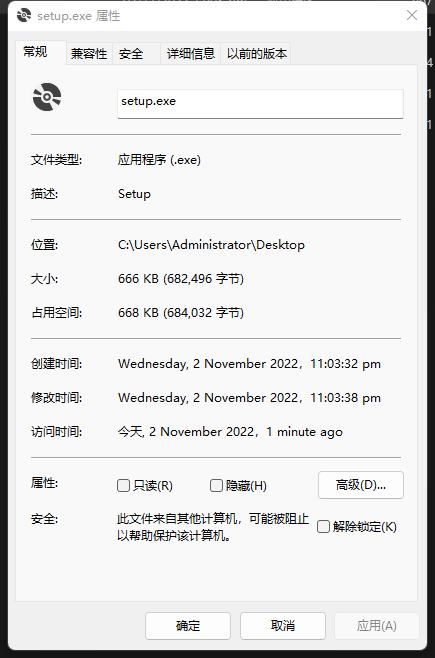
As shown above, the software installer name, version number, publisher, required .NET runtime version, etc., that we configured in the installer package are displayed. Click the "Install" button to download a setup.exe file. This file is very small: 666KB – a lucky number:

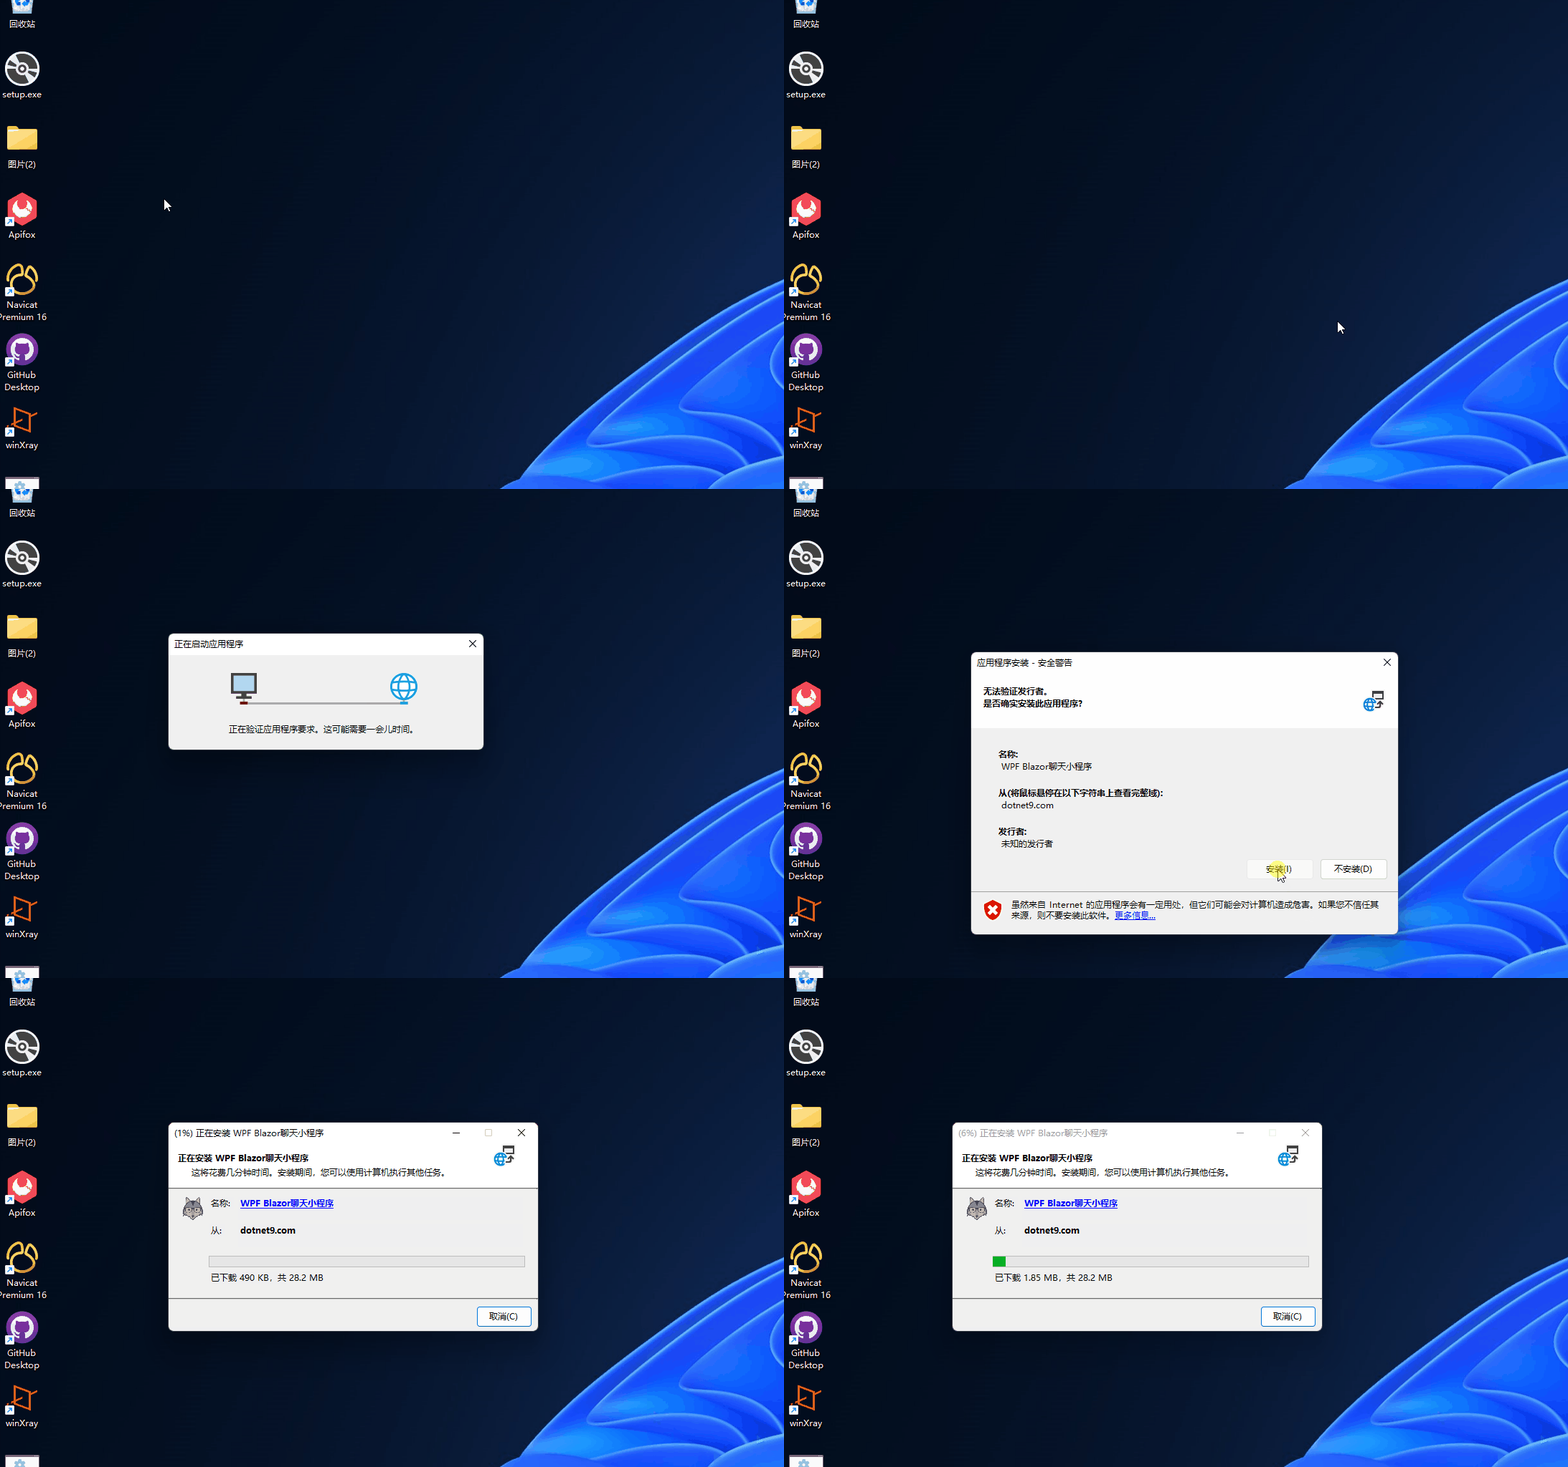
Run setup.exe, and it will automatically check for version numbers and file updates from the server (https://dotnet9.com/WPFBlazorChat/), and then automatically download the program files:
The image below shows the software installer information on the server:

The image below shows a screenshot of the installation process:

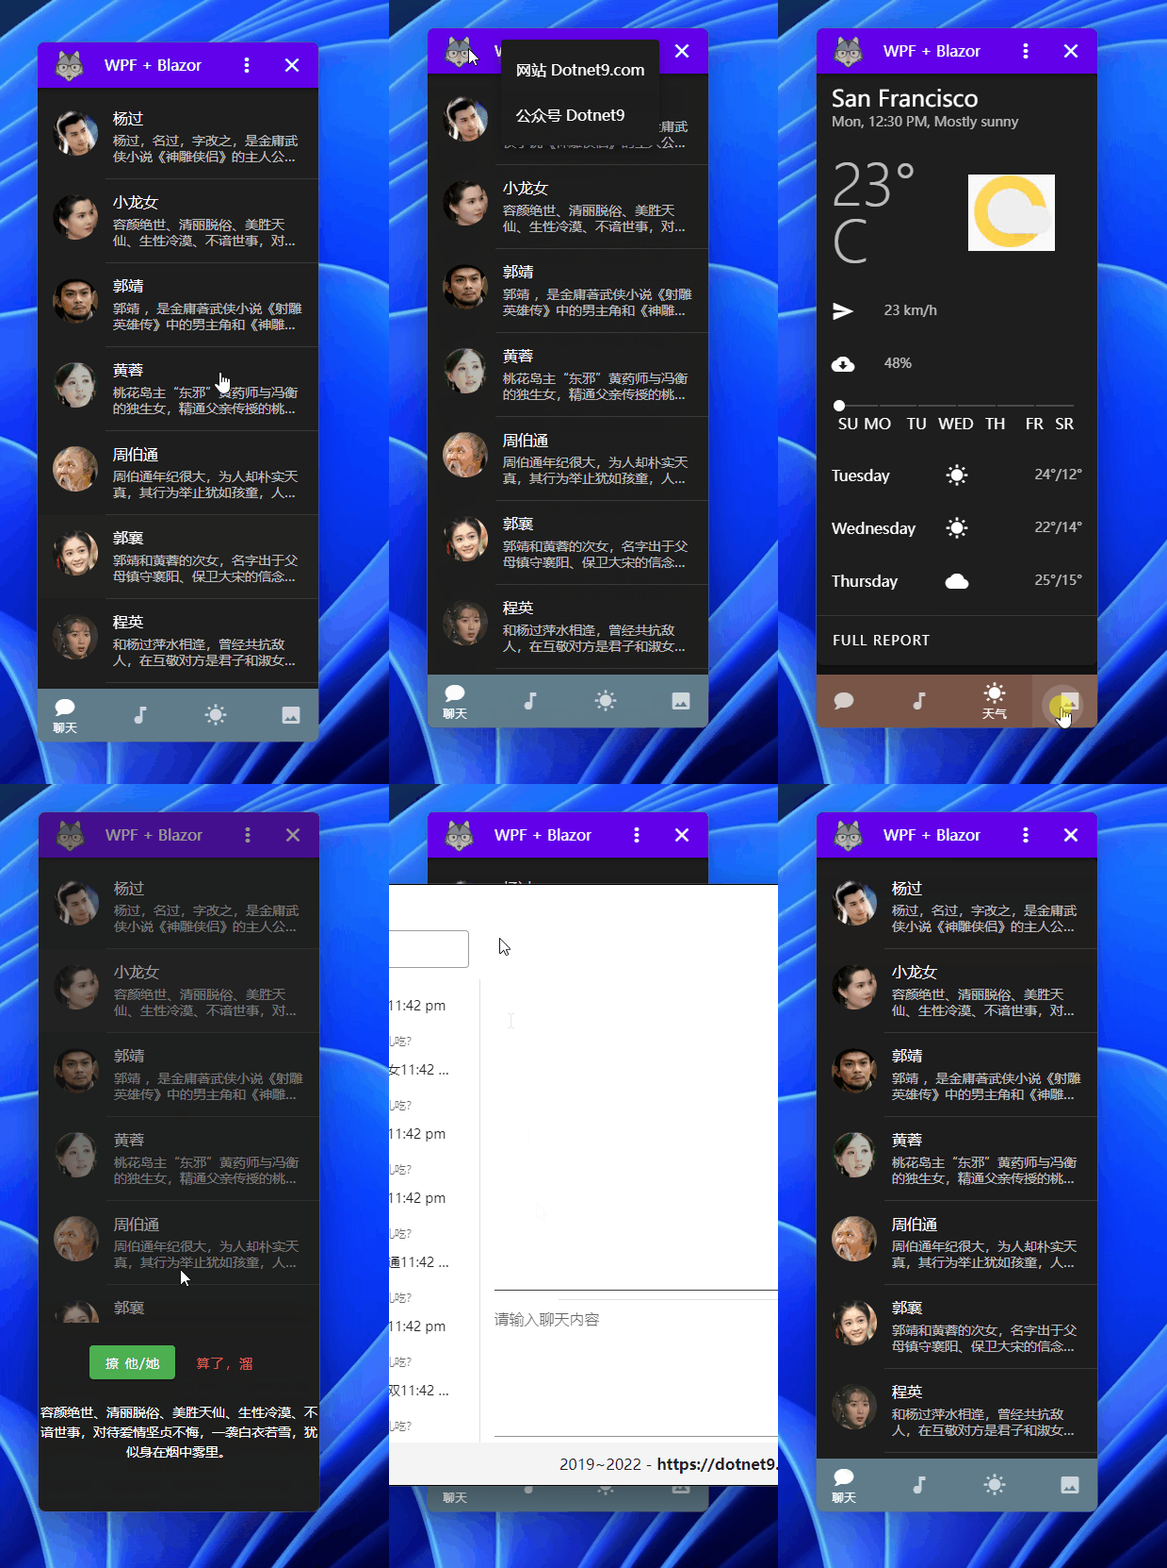
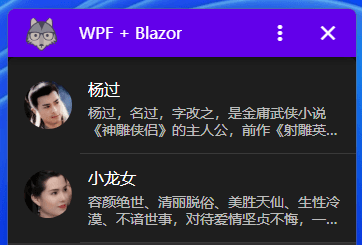
After the installer is downloaded, the program runs automatically. The following is the running interface of the test program. It was developed with WPF Blazor! Click to check the source code:

3. Q&A
- How ClickOnce deployment works
The core ClickOnce deployment architecture is based on two XML manifest files: the application manifest and the deployment manifest. These files are used to describe where ClickOnce applications are installed from, how they are updated, and when they are updated.
For more details, please visit the Microsoft documentation: https://learn.microsoft.com/en-us/visualstudio/deployment/clickonce-security-and-deployment?view=vs-2022
That's all for this article. The next article will introduce how to develop applications using Blazor in WPF.