
这个属性我们平时可能并不怎么用,先来看下 MSDN 上的解释:
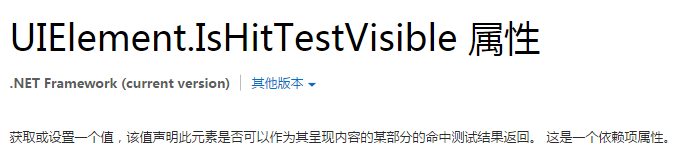
解释的非常专业,然而我并没有看懂。
说说我的理解吧:把这个属性设置为 false,看起来没有变化,但操作上已经把他完全忽视了,不触发事件,可以直接点到它下面的东西。
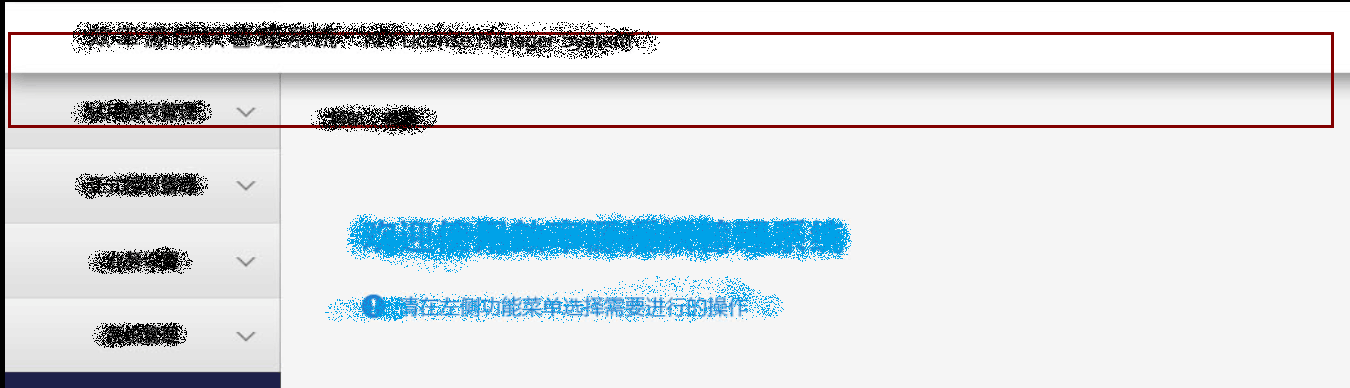
这个属性能方便的解决工作中常见的麻烦,比如下面这个例子:
 )
)
注意上面那部分.效果很简单,就是个渐变的效果.但是这个渐变贯穿了两列,就使得处理起来有点小麻烦.
当然解决方案有很多:
可以写两个 ListBoxItem 的样式,第一个放顶部有渐变的背景,和右部保持一致,通过样式选择器来实现.这显然比较麻烦.
还可以在大背景下放个渐变,ListBoxItem 的上半部分做成透明,这样相对简单,但不一定能实现理想的效果.
IsHitTestVisible 属性就很好的解决了这个问题.直接在上层放个 border,背景设置成渐变,IsHitTestVisible 设置为 false.这样就既能看到渐变效果,又能透过 border,直接点到 ListBoxItem.设置一个属性就解决了问题,非常方便.相当于在上面放了个蒙板,但是这个蒙板能看到却点不到.
类似的我还想到了一个场景:
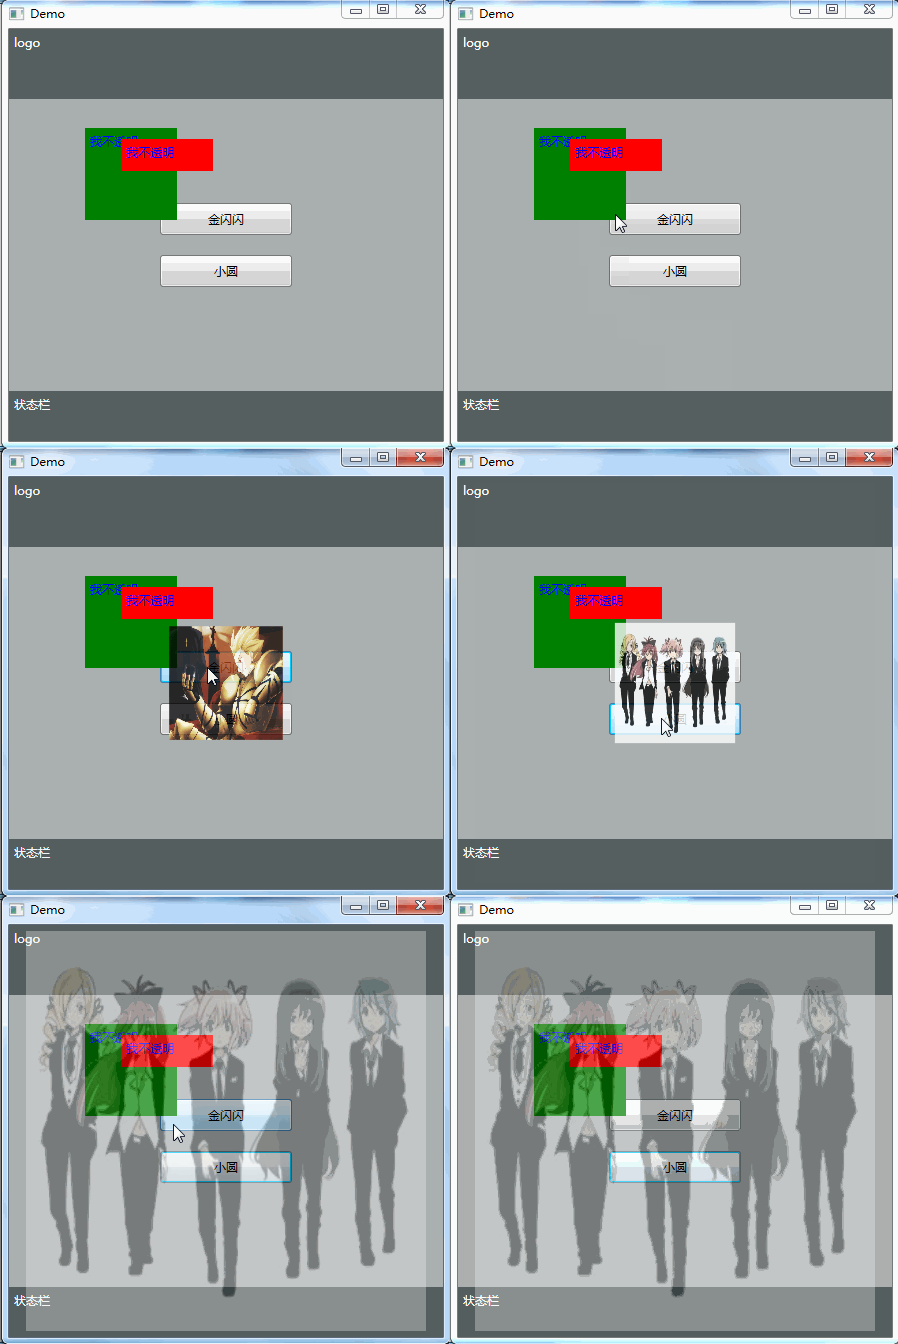
这个效果顶层是个图片,IsHitTestVisible 为 false,透明为 0.3.
并不是图片是个背景,然后所有控件都是半透明效果.
见代码:
XMAL:
<Grid>
  <Grid>
    <Grid.RowDefinitions>
      <RowDefinition Height="70"></RowDefinition>
      <RowDefinition></RowDefinition>
      <RowDefinition Height="50"></RowDefinition>
    </Grid.RowDefinitions>
    <Border Background="#555F5F">
      <label Content="logo" Foreground="White"></label>
    </Border>
    <Grid Grid.Row="1" Background="#AAAFAF">
      <StackPanel
        HorizontalAlignment="Center"
        VerticalAlignment="Center"
        Button.Click="StackPanel_Click"
      >
        <button Width="132" Height="32" Content="金闪闪" Margin="10"></button>
        <button Width="132" Height="32" Content="小圆" Margin="10"></button>
      </StackPanel>
      <label
        Content="我不透明"
        Background="Green"
        Foreground="Blue"
        Width="100"
        Height="100"
        Margin="76,29,266,171"
      ></label>
      <label
        Content="我不透明"
        Background="Red"
        Foreground="Blue"
        Width="100"
        Height="40"
        Margin="112,40,230,220"
      ></label>
    </Grid>
    <Border Grid.Row="2" Background="#555F5F">
      <label Content="状态栏" Foreground="White"></label>
    </Border>
  </Grid>
  <image
    Name="img"
    HorizontalAlignment="Center"
    VerticalAlignment="Center"
    Width="0"
    Height="0"
    Source="/Image/jinshanshan.jpg"
    Stretch="Fill"
    Opacity="0.1"
    IsHitTestVisible="False"
  ></image>
</Grid>
后台:
private void StackPanel_Click(object sender, RoutedEventArgs e)
{
    Button btn = (Button)e.OriginalSource;
    string content = btn.Content.ToString();
    if (content == "金闪闪")
    {
        img.Source = new BitmapImage(new Uri(@"/Image/jinshanshan.jpg", UriKind.Relative));
    }
    if (content == "小圆")
    {
        img.Source = new BitmapImage(new Uri(@"/Image/xiaoyuan.jpg", UriKind.Relative));
    }

    DoubleAnimation daX = new DoubleAnimation();
    daX.From = 0;
    daX.To = 400;
    daX.FillBehavior = FillBehavior.HoldEnd;
    Storyboard.SetTarget(daX, img);
    Storyboard.SetTargetProperty(daX, new PropertyPath(Image.WidthProperty));
    DoubleAnimation daY = new DoubleAnimation();
    daY.From = 0;
    daY.To = 400;
    daY.FillBehavior = FillBehavior.HoldEnd;
    Storyboard.SetTarget(daY, img);
    Storyboard.SetTargetProperty(daY, new PropertyPath(Image.HeightProperty));
    DoubleAnimation daOp = new DoubleAnimation();
    daOp.From = 1;
    daOp.To = 0.3;
    daOp.FillBehavior = FillBehavior.HoldEnd;
    Storyboard.SetTarget(daOp, img);
    Storyboard.SetTargetProperty(daOp, new PropertyPath(Image.OpacityProperty));

    Storyboard sb = new Storyboard();
    sb.Children.Add(daX);
    sb.Children.Add(daY);
    sb.Children.Add(daOp);
    sb.Begin();
}