
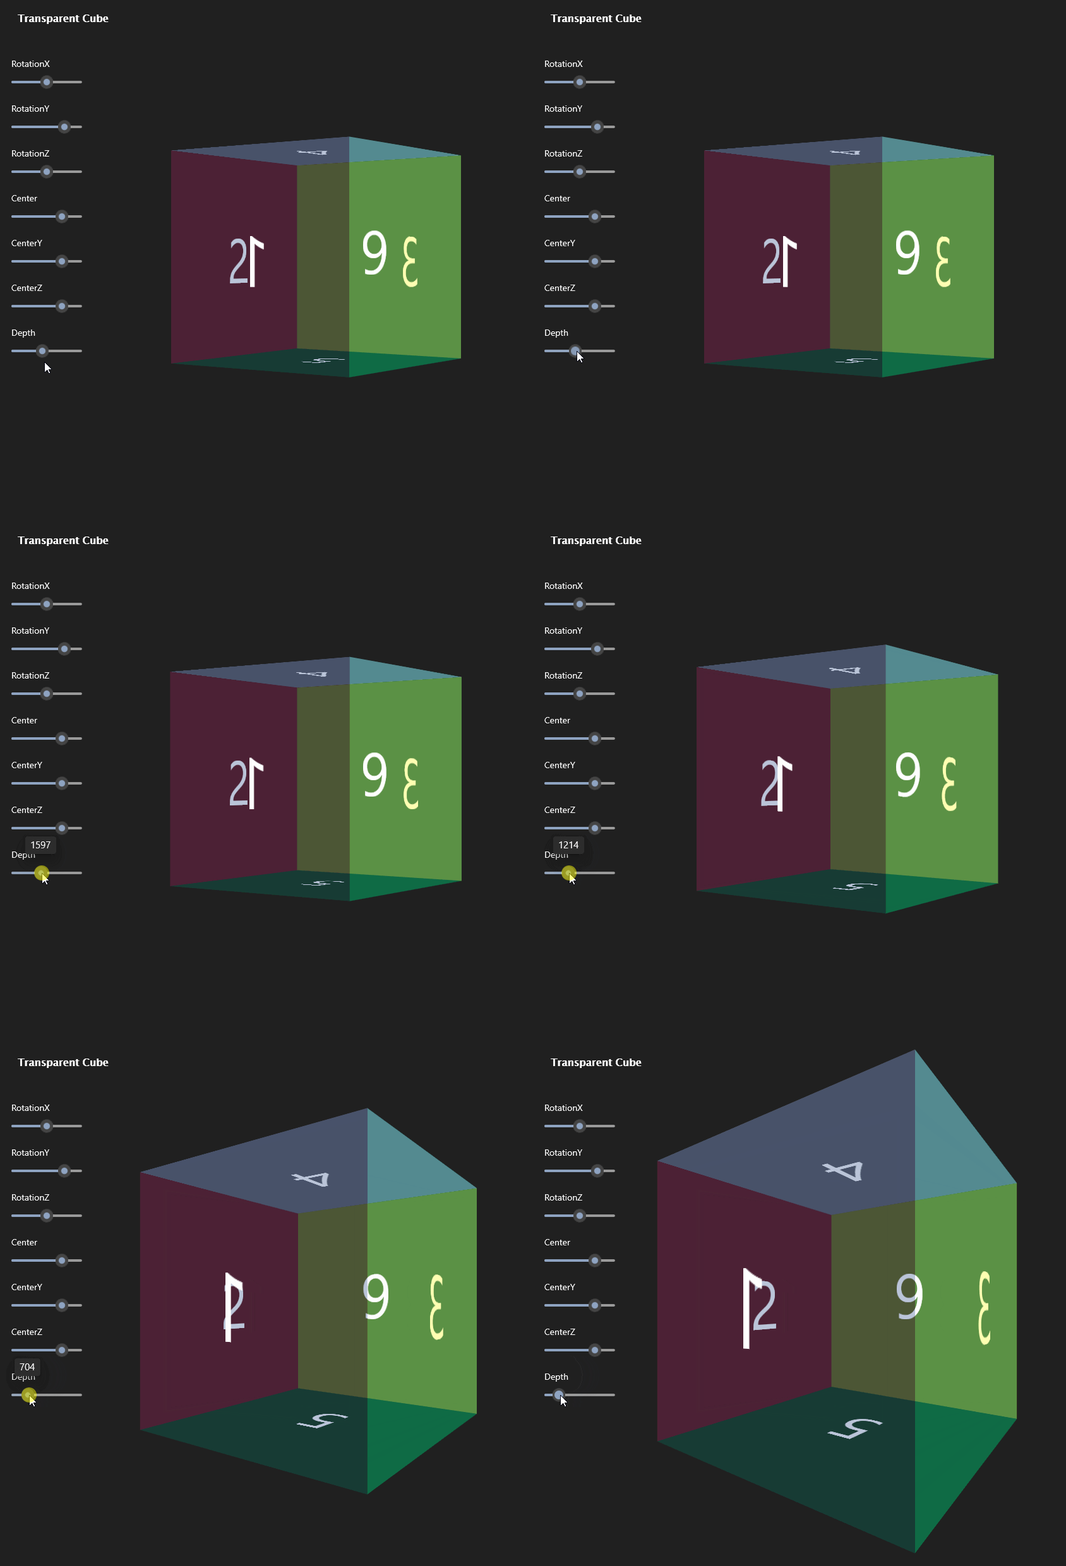
昨天 ChokCoco 大佬搞了个 3D 穿梭效果出来,具体可见这里:
这个效果太神奇了,他还问我能不能用 WPF 搞出来,因为我完全没用过 WPF 的 3D,我第一反应是“这太难为我了”。
晚上回家吃饭溜娃打打帝国时代 4,突然想起我很久没有宠幸 UWP 了。一股“吾有上将 UWP,可搞定 3D 穿梭效果”的豪气油然而生。
于是就把这动画效果造出来了。
总的来说,实现 3D 穿梭的原理是靠改变 CSS 中的 perspective 产生透视效果。perspective 指定了观察者与 z=0 平面的距离,使具有三维位置变换的元素产生透视效果。它的值越小,视角越深。
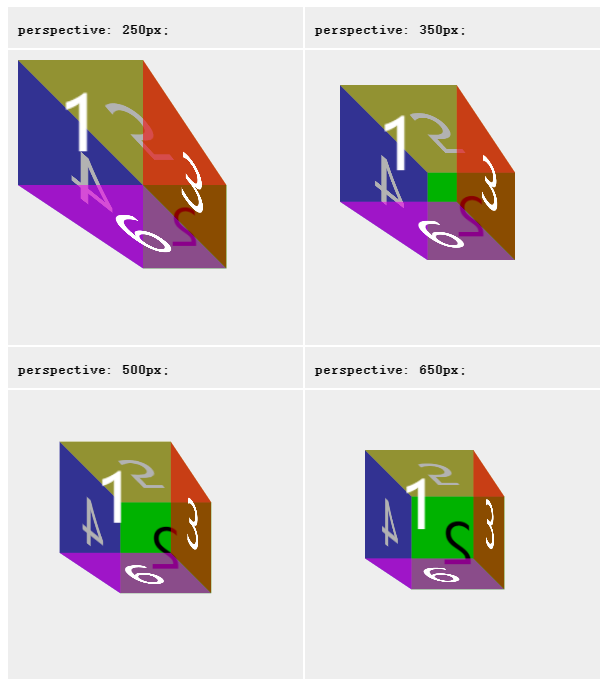
perspective 的具体用法可见此文档:
perspective - CSS(层叠样式表) _ MDN
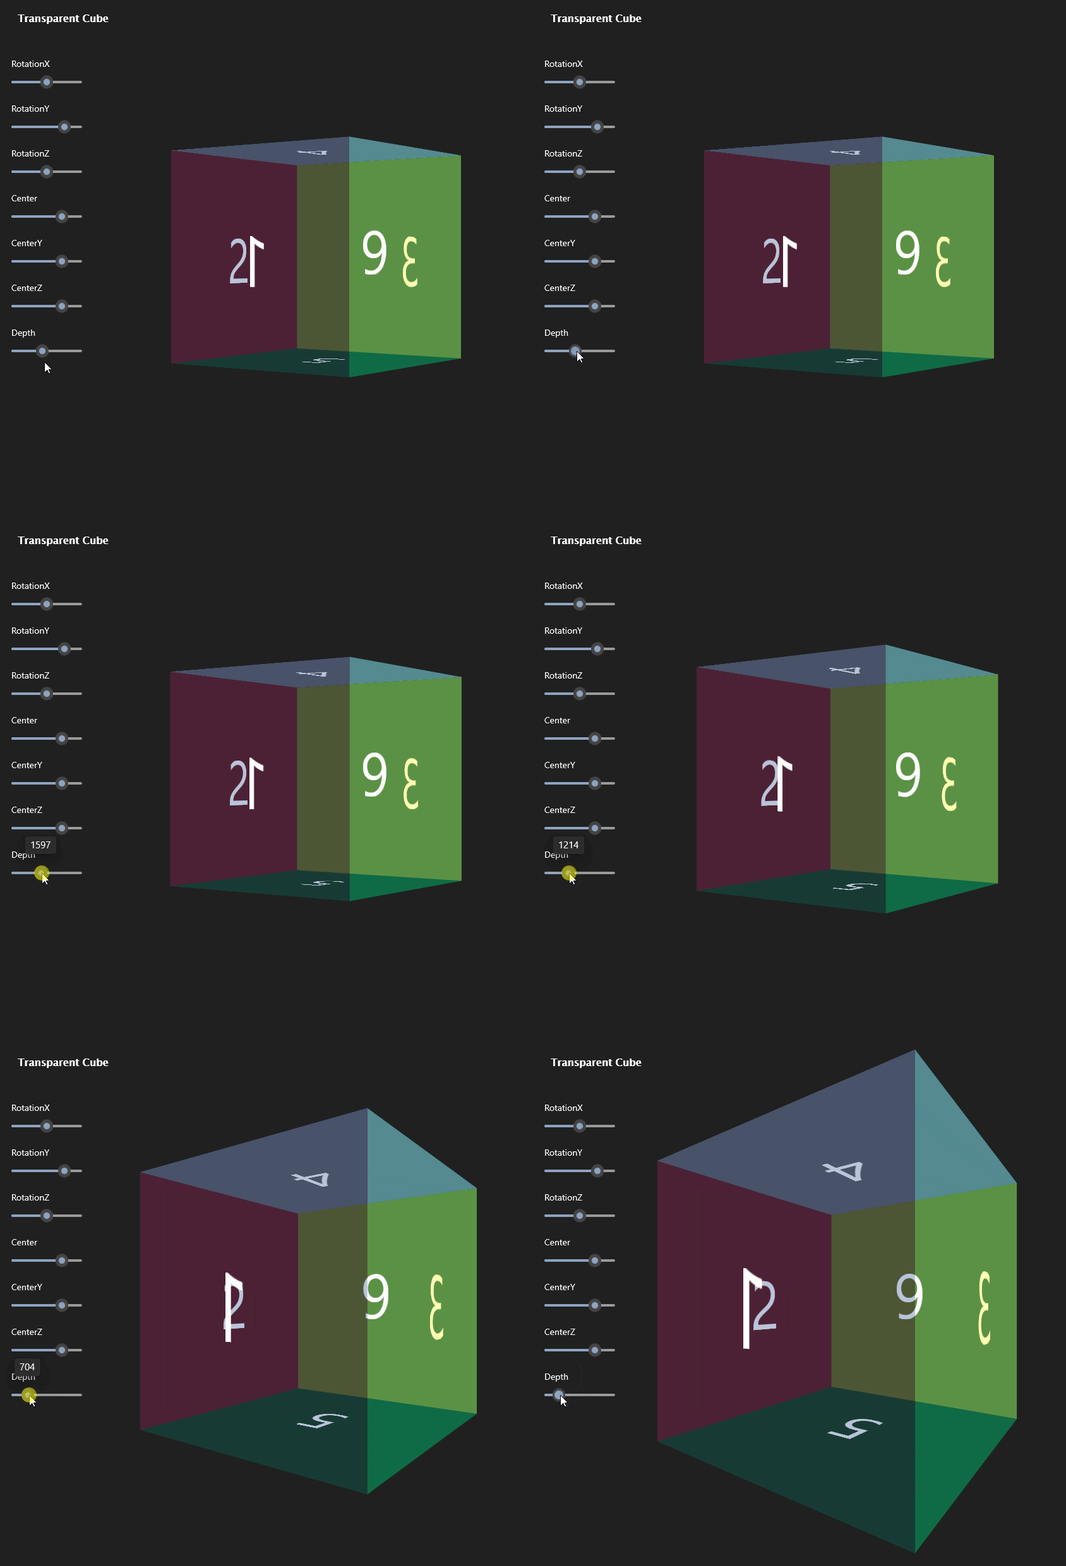
与之对应,UWP 中提供了 PerspectiveTransform3D 类,它的 Depth 属性 也有类似的效果,当 Depth 越小,视觉越深,与平面相交的对象就越变形:
了解原理后马上开工。首先在 Xaml 中将 Grid 的大小写死为 300,然后将 PerspectiveTransform3D 的 Depth 设得很小:
<Grid Height="300" Width="300">
  <Grid.Transform3D>
    <media3D:PerspectiveTransform3D Depth="2" />
  </Grid.Transform3D>
</Grid>
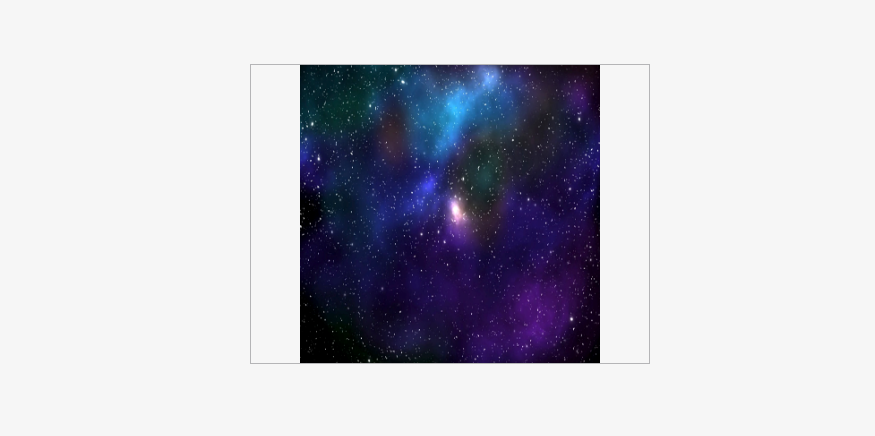
然后从 ChokCoco 大佬那里搞到张星空图片,放在 Grid 里:
然后将 CompositeTransform3D 的 RotationY 设为 -90,这时候图片就扭曲起来了:
<media3D:CompositeTransform3D RotationY="-90" />
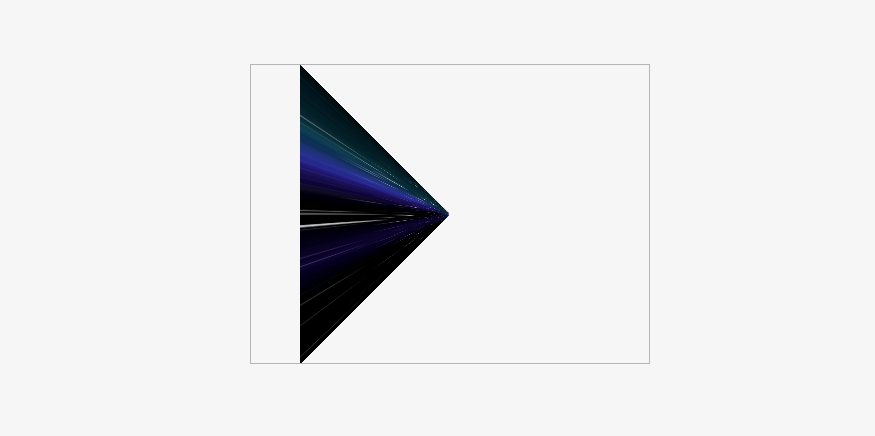
然后再设置 TranslateZ="100",让图片向外拉伸:
<media3D:CompositeTransform3D RotationY="-90" TranslateZ="100" />
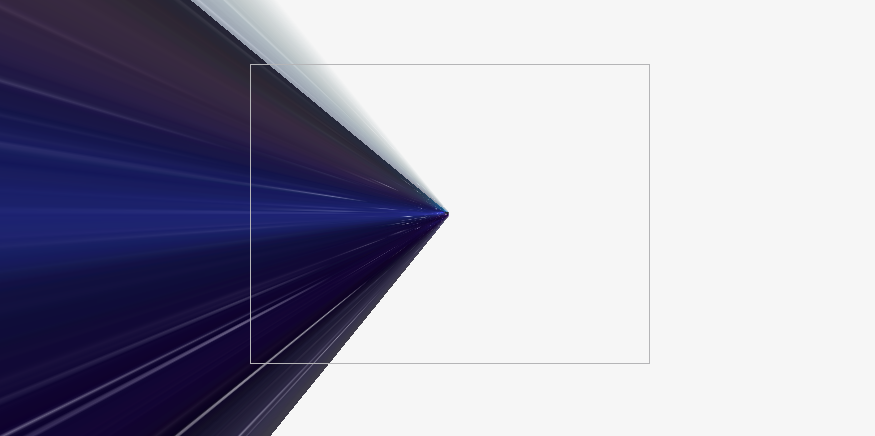
搞定了一个方向后,所有方向都大致这样操作,只是改变 Rotation 和 Translate 还有中心点,就完成了一张静态的 3D 穿梭图:
<media3D:CompositeTransform3D
  x:Name="TransformLeft"
  x:Key="TransformLeft"
  RotationY="-90"
  TranslateZ="100"
/>
<media3D:CompositeTransform3D
  x:Name="TransformUp"
  x:Key="TransformUp"
  RotationX="90"
  TranslateZ="50"
/>
<media3D:CompositeTransform3D
  x:Name="TransformRight"
  x:Key="TransformRight"
  RotationY="90"
  CenterX="300"
  TranslateZ="50"
/>
<media3D:CompositeTransform3D
  x:Name="TransformDown"
  x:Key="TransformDown"
  RotationX="-90"
  CenterY="300"
  TranslateZ="50"
/>

<Grid
  Background="{StaticResource ImageBackground}"
  Transform3D="{StaticResource TransformLeft}"
/>
<Grid
  Background="{StaticResource ImageBackground}"
  Transform3D="{StaticResource TransformUp}"
/>
<Grid
  Background="{StaticResource ImageBackground}"
  Transform3D="{StaticResource TransformRight}"
/>
<Grid
  Background="{StaticResource ImageBackground}"
  Transform3D="{StaticResource TransformDown}"
/>
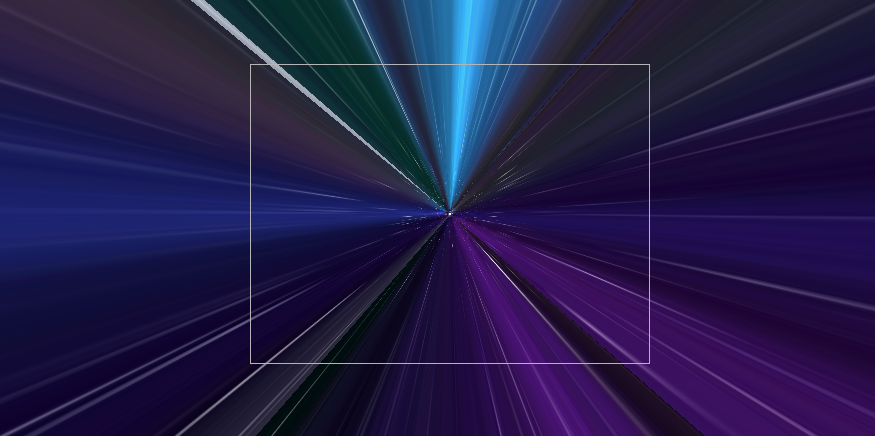
下一步就是要让这四张图片动起来。这简单,用最基本的 DoubleAnimation 操作 TranslateZ 从 10 变到 200:
<Storyboard x:Name="Move" x:Key="Move" RepeatBehavior="Forever">
  <DoubleAnimation
    Storyboard.TargetName="TransformLeft"
    Storyboard.TargetProperty="TranslateZ"
    From="10"
    To="200"
    Duration="0:0:8"
  />
  <DoubleAnimation
    Storyboard.TargetName="TransformUp"
    Storyboard.TargetProperty="TranslateZ"
    From="10"
    To="200"
    Duration="0:0:8"
  />
  <DoubleAnimation
    Storyboard.TargetName="TransformRight"
    Storyboard.TargetProperty="TranslateZ"
    From="10"
    To="200"
    Duration="0:0:8"
  />
  <DoubleAnimation
    Storyboard.TargetName="TransformDown"
    Storyboard.TargetProperty="TranslateZ"
    From="10"
    To="200"
    Duration="0:0:8"
  />
</Storyboard>
这时候基本的动画就已经实现了,但是没办法做到首尾相连,所以先把之前的成果封装成一个控件:
然后给它加上透明度变化的动画:
<Storyboard x:Name="Fade" RepeatBehavior="Forever">
  <DoubleAnimationUsingKeyFrames
    Storyboard.TargetName="Root"
    Storyboard.TargetProperty="Opacity"
    Duration="0:0:8"
  >
    <LinearDoubleKeyFrame KeyTime="0:0:0" Value="0" />
    <LinearDoubleKeyFrame KeyTime="0:0:2" Value="1" />
    <LinearDoubleKeyFrame KeyTime="0:0:4.8" Value="1" />
    <LinearDoubleKeyFrame KeyTime="0:0:8" Value="0" />
  </DoubleAnimationUsingKeyFrames>
</Storyboard>
通过叠加两个 GalaxyShuttleControl ,并且控制它们动画开始的时间,互相掩盖开头和结尾动画衔接不上的问题:
public TimeSpan Delay { get; set; }

private async void GalaxyShettleControl_Loaded(object sender, RoutedEventArgs e)
{
    await Task.Delay(Delay);
    Move.Begin();
    Fade.Begin();
}
<galaxyshuttles:GalaxyShuttleControl Delay="0:0:4" />
<galaxyshuttles:GalaxyShuttleControl/>
这样 3D 穿梭效果就实现了。
最后还差一点,ChokCoco 大佬的动画里加上了 hueRotate ,让颜色一直变化。UWP 里也可以使用 HueRotationEffect 实现这点,不过它的 Angle 的值范围是 0 到 2 * Math.Pi。要实现它的动画可以试试 Windows Community Toolkit 里的 PipelineVisualFactory 和 AnimationSet,这两个工具可以用来处理很复杂的效果和动画,用在这里反而大材小用:
<media:UIElementExtensions.VisualFactory>
    <media:PipelineVisualFactory>
        <media:HueRotationEffect x:Name="HueRotationEffect" IsAnimatable="True"/>
    </media:PipelineVisualFactory>
</media:UIElementExtensions.VisualFactory>
<animations:Explicit.Animations>
    <animations:AnimationSet x:Name="HueAnimation" >
        <animations:AnimationScope>
            <animations:HueRotationEffectAnimation From="0" To="6.28318530718" Target="{Binding ElementName=HueRotationEffect}"  Repeat="Forever" Duration="0:0:28"/>
        </animations:AnimationScope>
    </animations:AnimationSet>
</animations:Explicit.Animations>
最终实现的效果如下:

满足了好奇心后,下一步(自己生成图片)就不玩了。3D 穿梭动画实现起来不算难,最难的部分是 ChokCoco 大佬提供的创意,期待 ChokCoco 大佬下次再有别的动画让我抄来玩。
最后说一句,虽然用 MAIU 或 WinUI3 应该都能搞,而且这两个技术听起来更时髦些,可惜它们还没发布正式版,我还是趁现在多陪陪 UWP 好了。
源码: https://github.com/DinoChan/uwp_design_and_animation_lab