
本文由网友
蓝创精英团队投稿,欢迎转载、分享原文作者:蓝创精英团队
原文链接:https://blog.csdn.net/i2blue/article/details/125037626
简介
RPA 之前我已经介绍了,它就是一个机器人流程自动化的概念。
基于 RPA,有很多的产品,其中 Power Automate Desktop (PAD)就是一个相对来讲,免费的,容易使用的一个 RPA,另外它的国际化做的也很不错,中文效果也是很棒。
其中,国内的 RPA 产品影刀也是类似的产品,会了它,用影刀也很顺手的说。
当然,实际用的时候,也有一些不方便的地方,必须,你得先有一个微软的账号。
另外,对操作系统的限制也有,限制要在 WIN10 ++ 才可以。
所以,win7, win10 的家庭版,估计都会遇到一些问题。
另外 win11 是自带的就有,算是默认 windows 的一个 RPA 工具了(可以搜索一下关键词)
安装部署
它的安装地址如下
https://go.microsoft.com/fwlink/?linkid=2102613

直接下一步
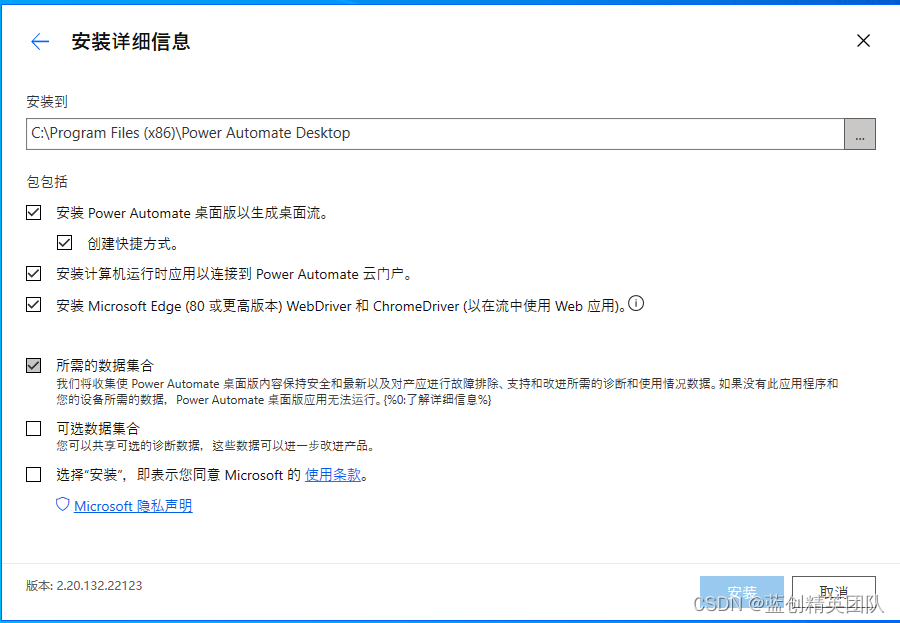
我个人一般都是全选,你需要安装的时候,可以按照自己的想法来。
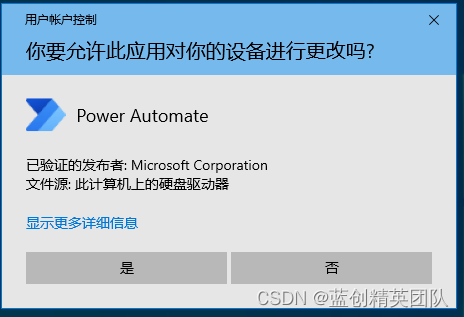
点击安装后,出现下边的选项,直接选是
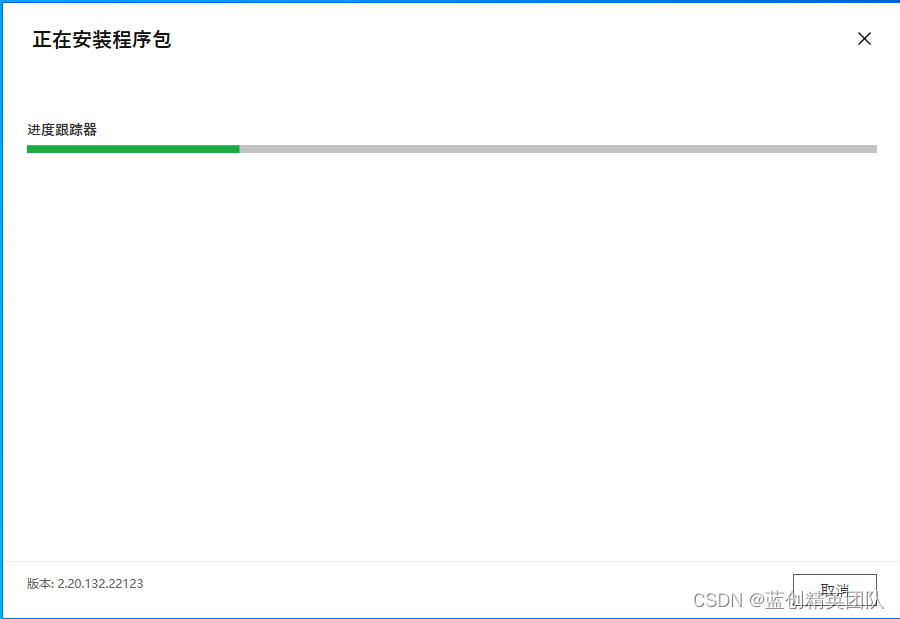
然后,它自己就开始安装了
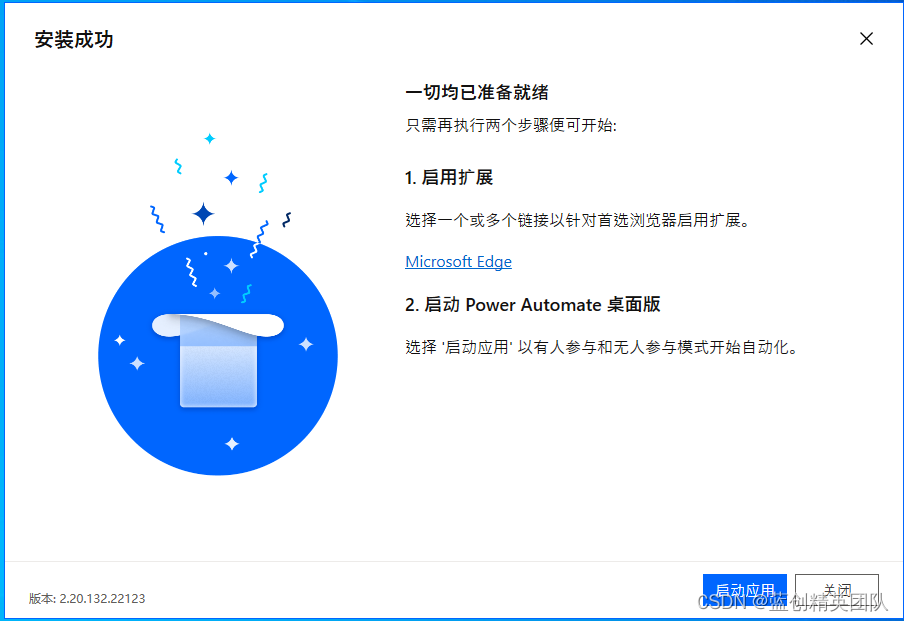
到这个时候,已经安装完毕了,可以启用服务了
登录账号
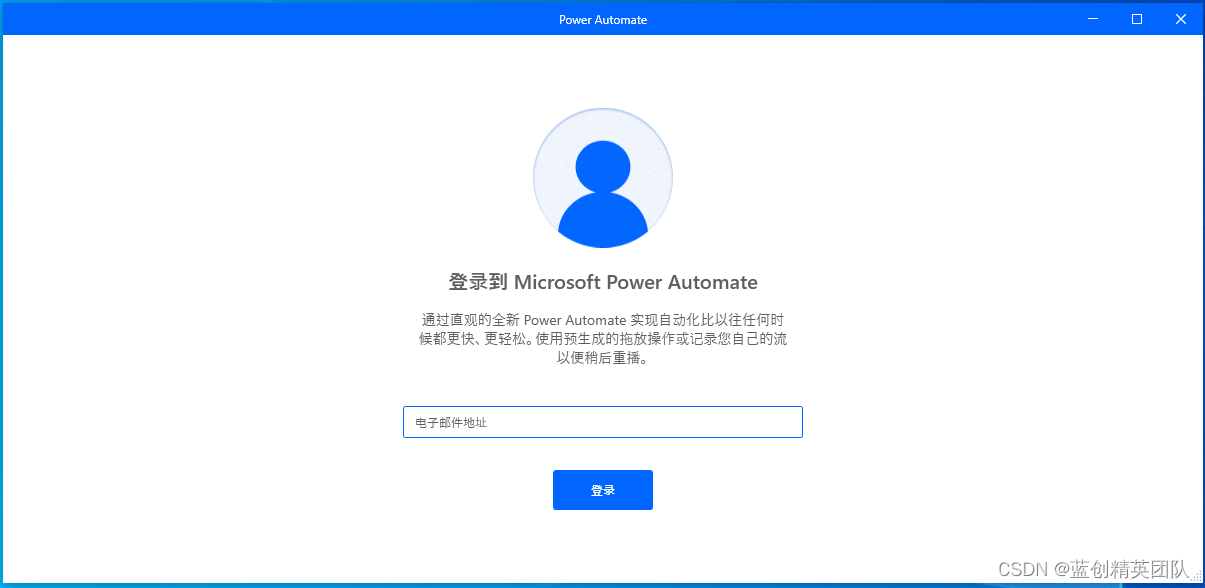
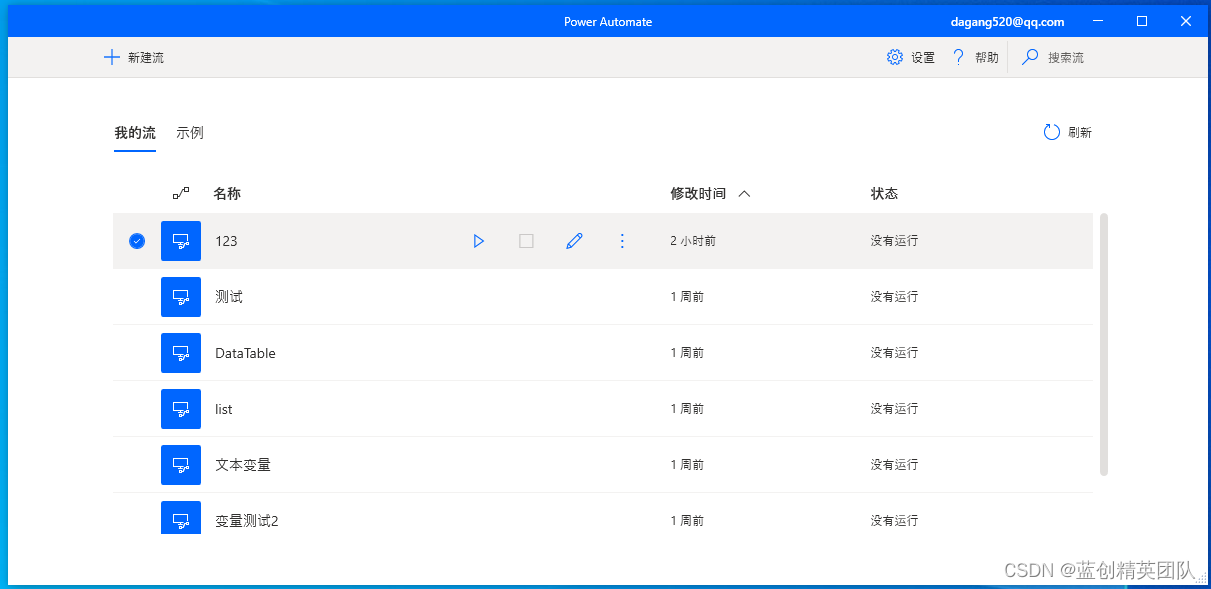
登录成功后,就看到了当前这个界面,我是因为以前就创建的有,所以是这个样子的。
PAD 界面简单介绍
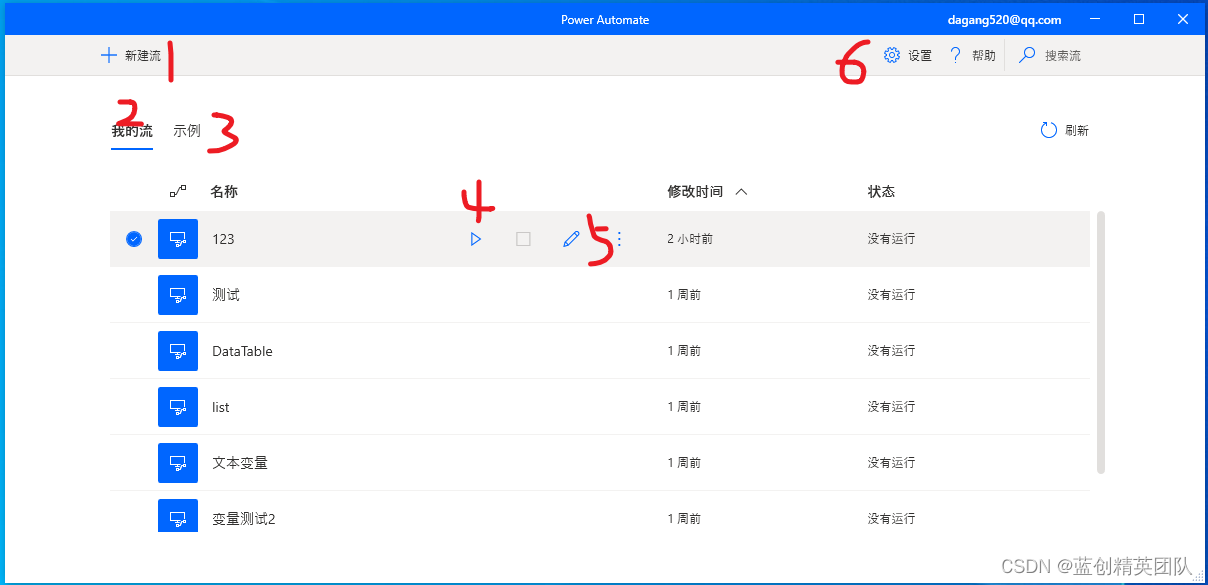
- 新建工作流任务,就像下面的列表一样,如果创建好
- 个人账号下,新建的桌面流
- 系统官网自带的流
- 启动流
- 修改编辑
- 其他设置信息
其中 5 编辑后,就会出现 PAD 的流程设计器。如下所示
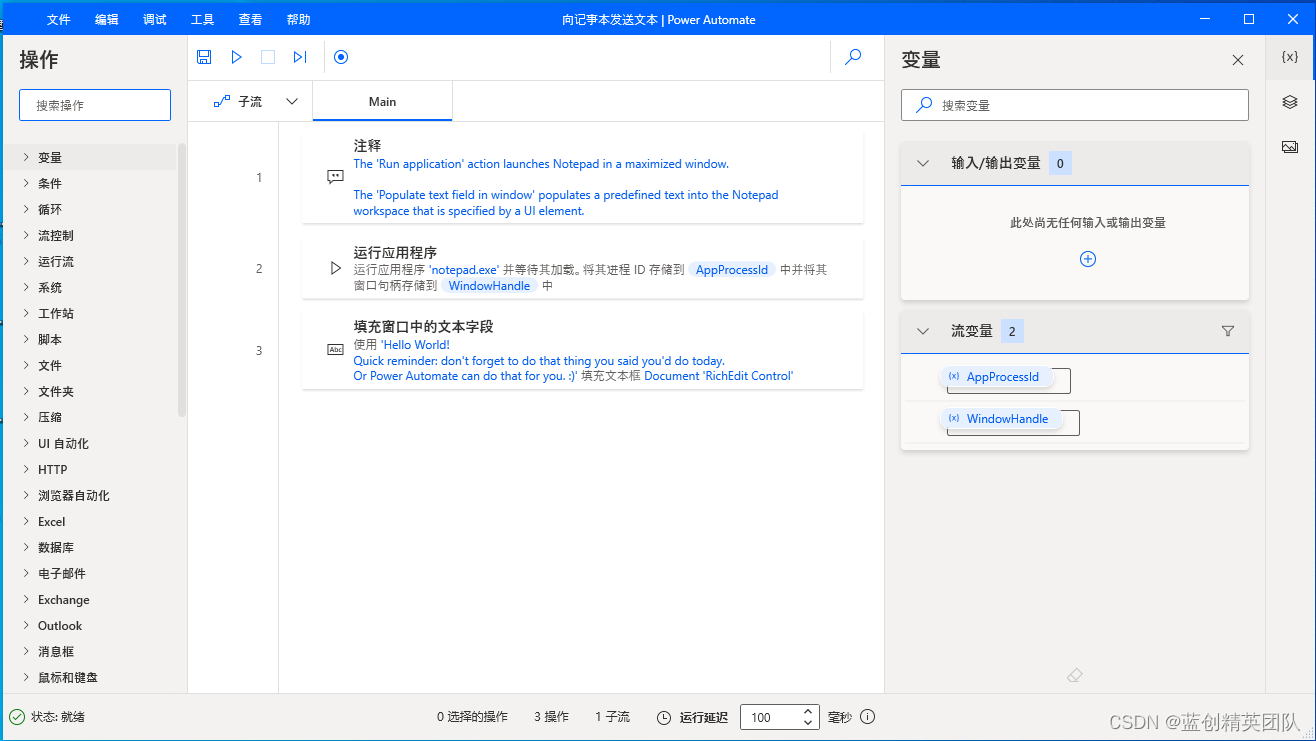
左侧为相应的逻辑功能组件,中间为流程逻辑,右边为变量相关。
左边清晰点就是
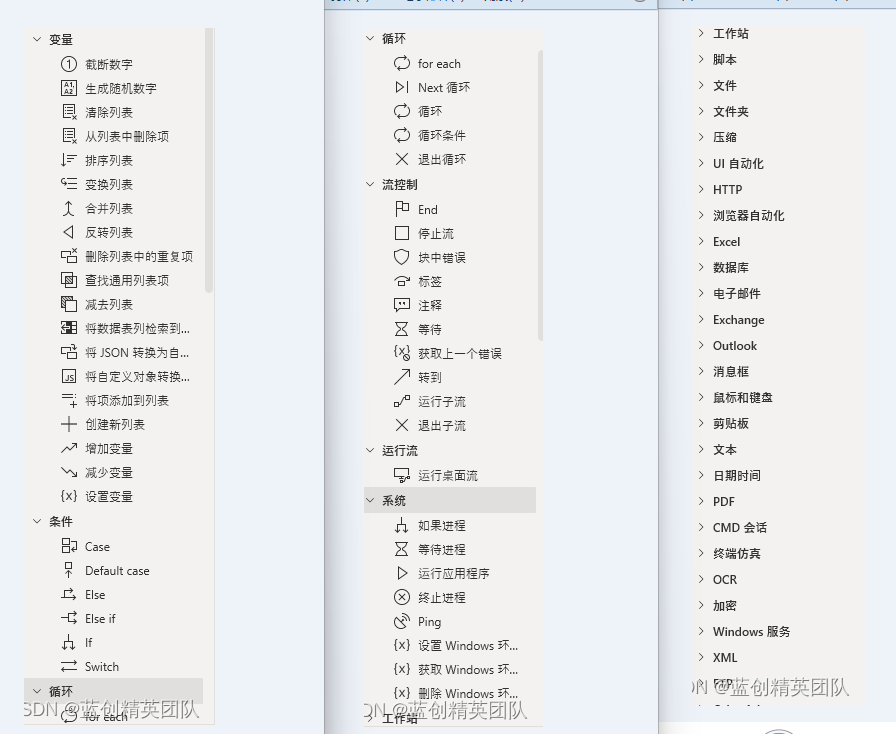
功能应用尽有,基本上,
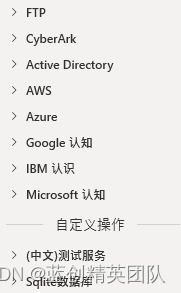
另外一些,都是需要微软线上云平台的支持,才能实现的。需要账号,秘钥啥的。
总的来说,它是面向全球,面向 Windwos 桌面端,但是,对国内很多实际场景还是没有特定的通用化方案,只能通过组件的扩展方式实现了。
官网示例展示
官方示例一共有三个示例,分别是 Excel 自动化,Web 自动化,桌面自动化三部分。
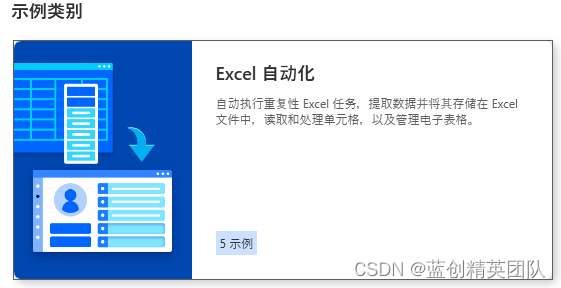
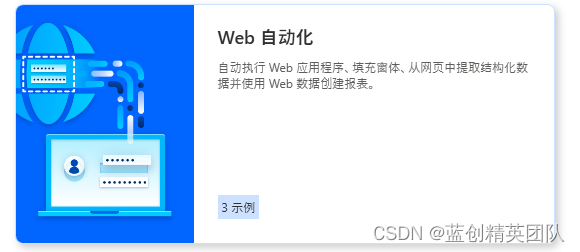
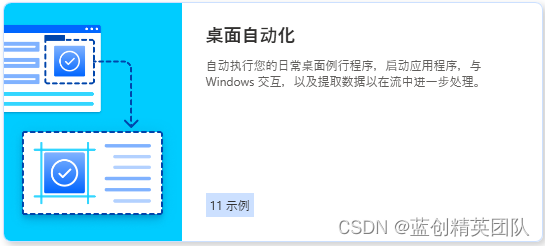
主要是这三种,都挺简单的,我这边随便挑选一个演示下,想学的,每个都点一下,基本就会了。
当然,如果会编程的,基本半小时,就精通了。
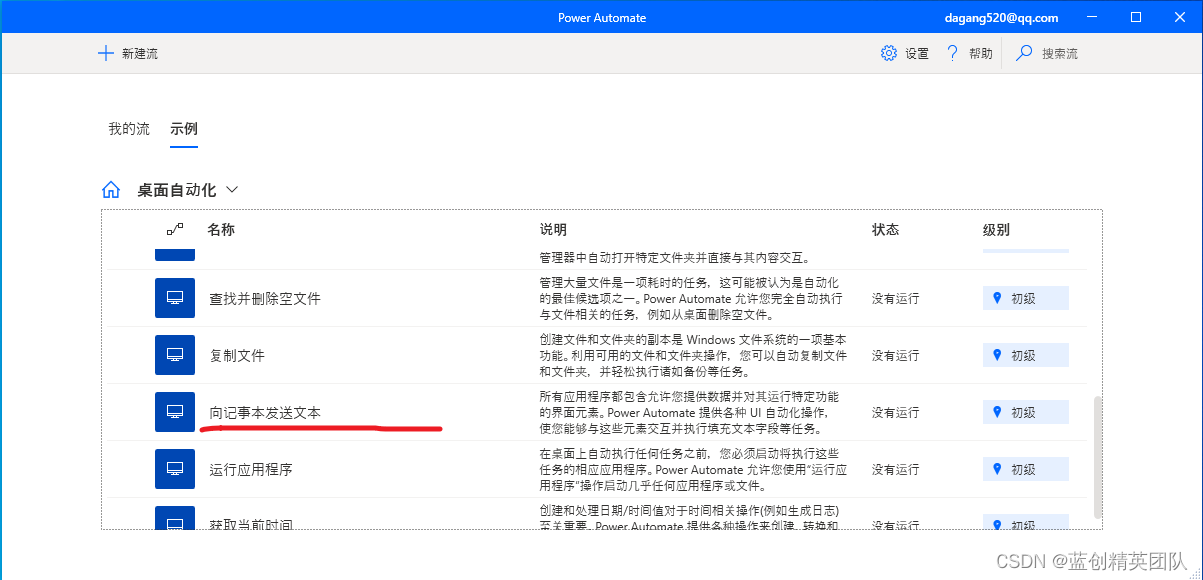
我选择这个,打开记事本,并向记事本里写东西。最后,关闭记事本,然后,读出来里面写的啥,并提示出来。
我直接根据这个示例修改为上边的业务需求。
需求如下:
打开记事本,并向记事本里写东西,最后关闭记事本,然后,读出来里面写的啥,并提示出来。
点击这个编辑,就会如下所示
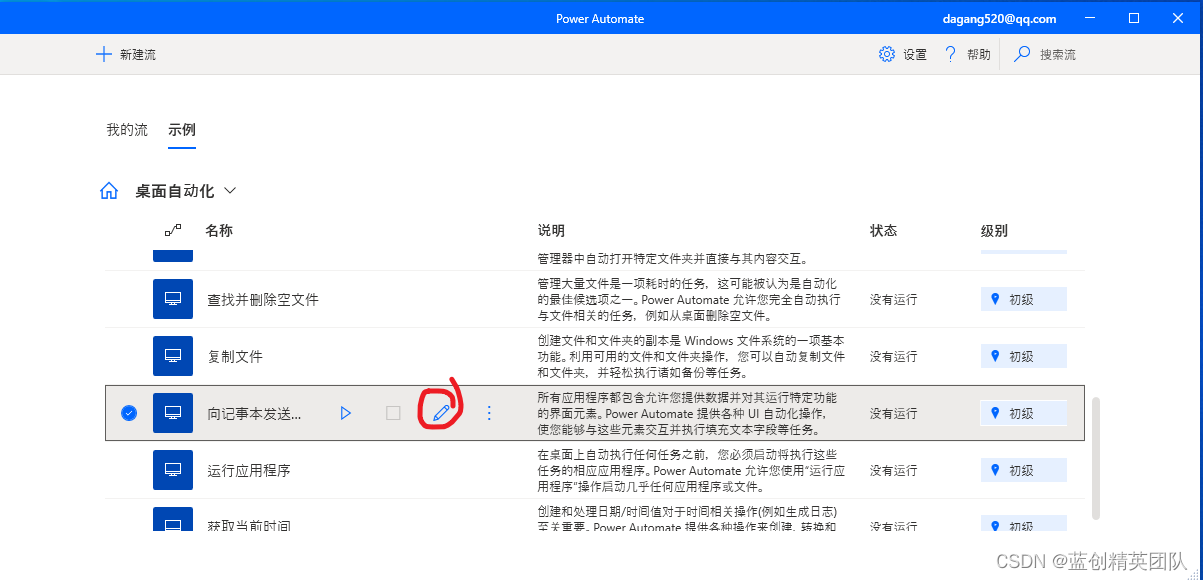
然后,出来这个地方
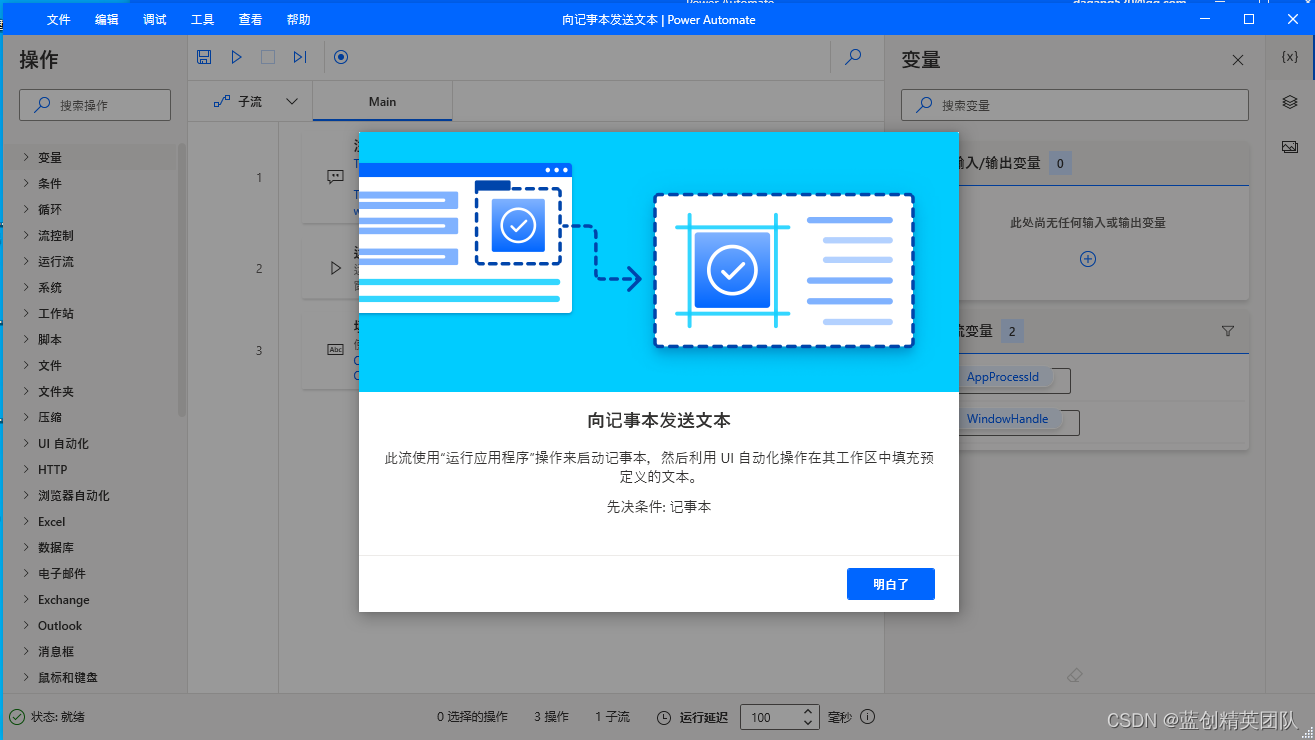
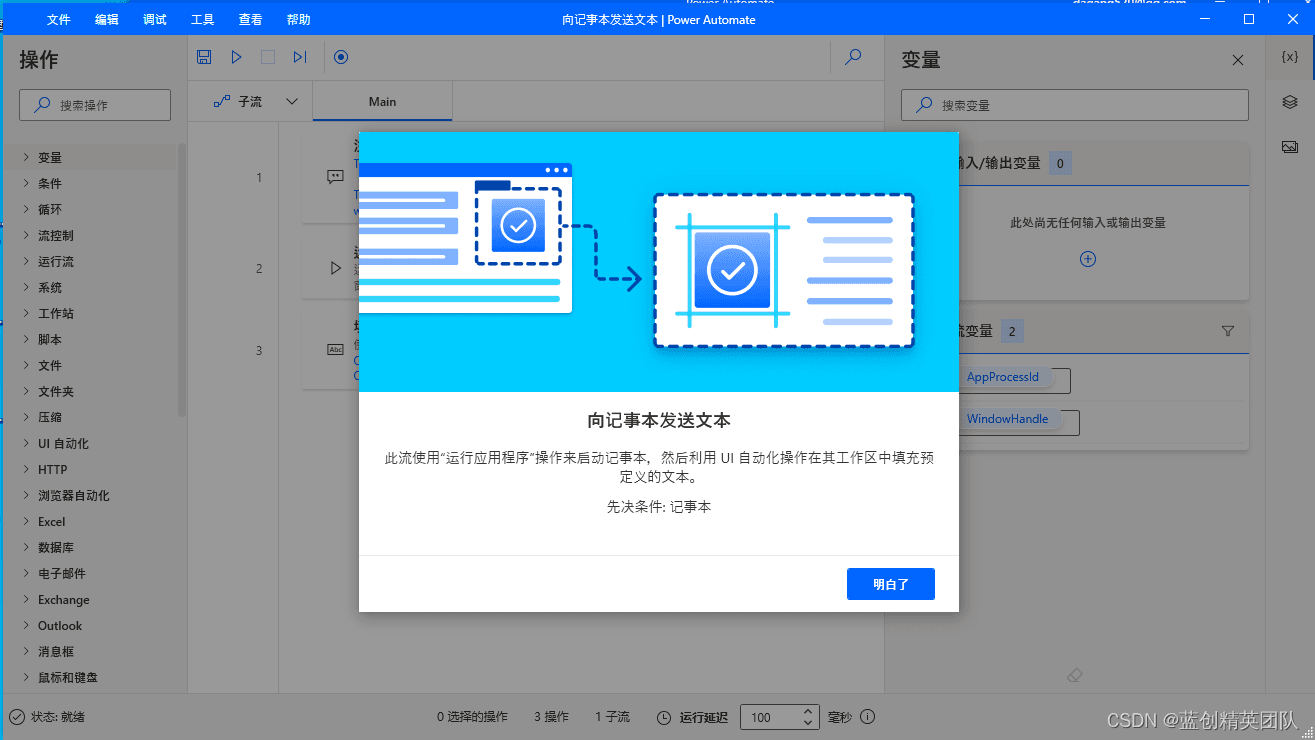
点击明白了,就是这样子的
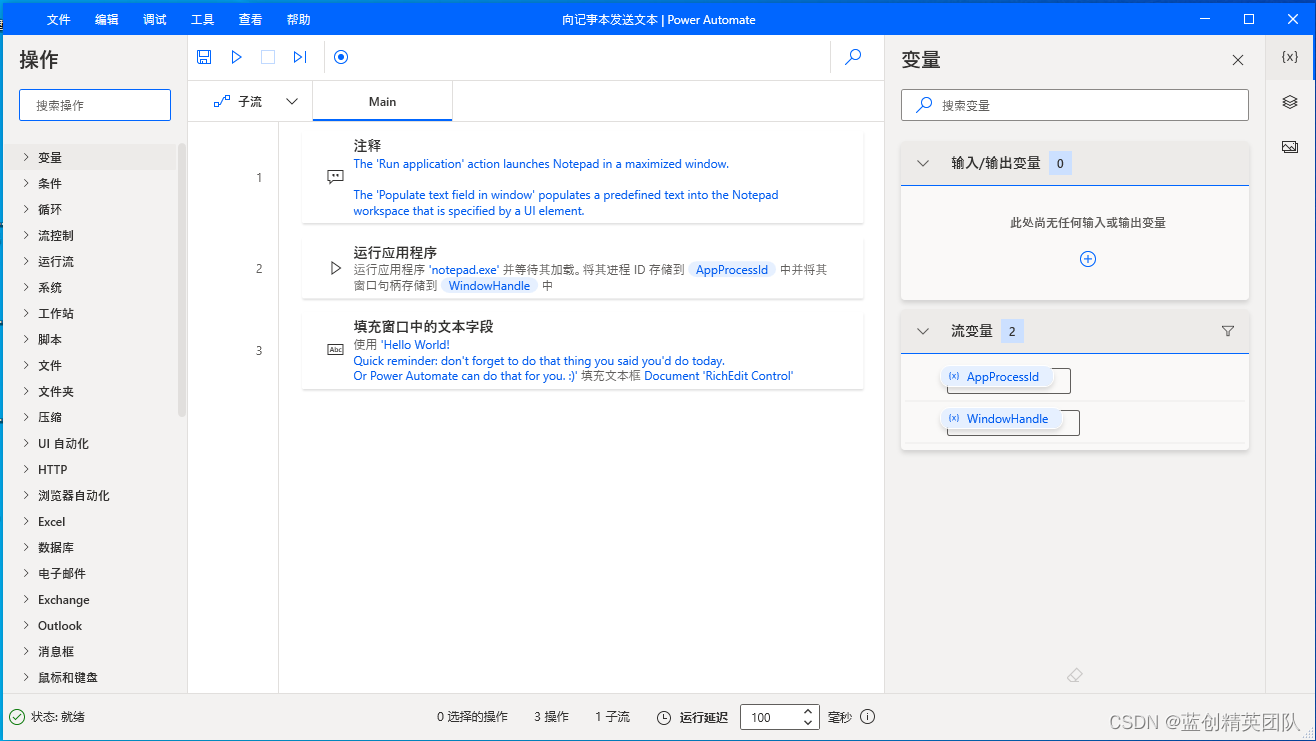
直接运行,其实是会报错的。
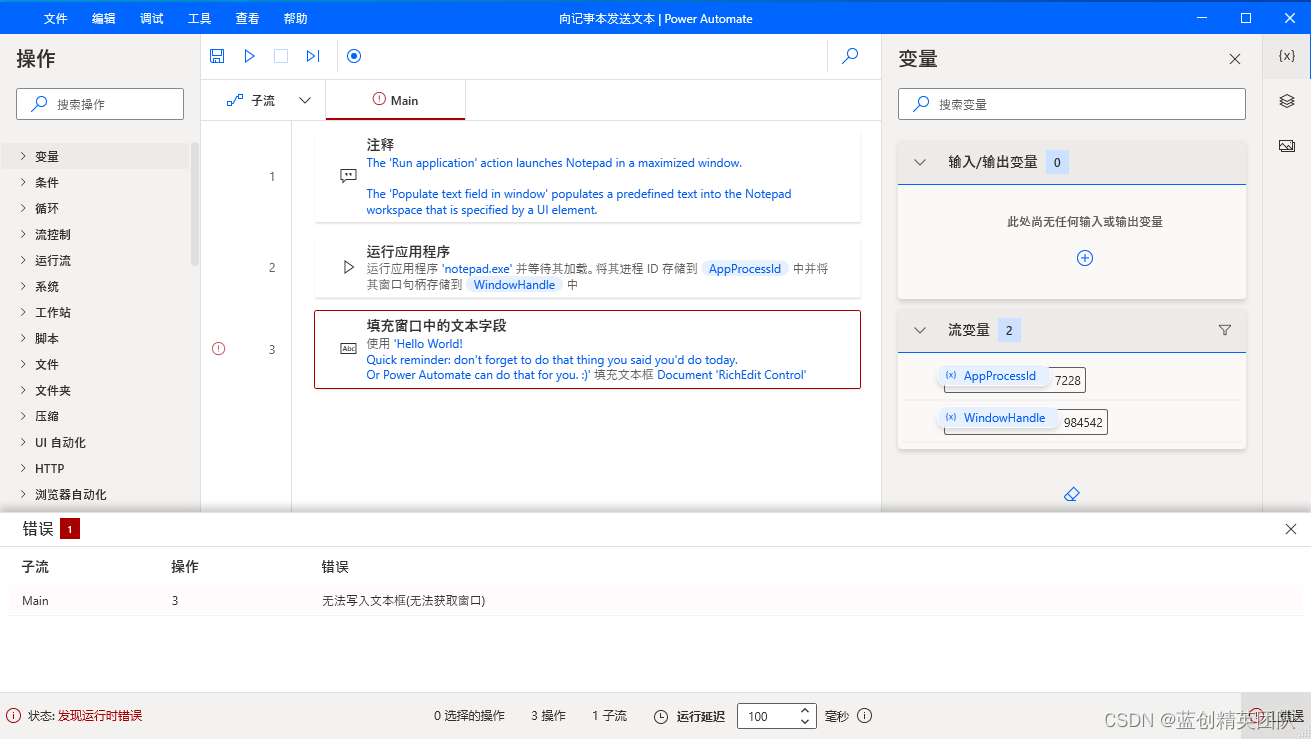
我们这里要更新一下它的 UI 界面路径为当下的路径就可以了
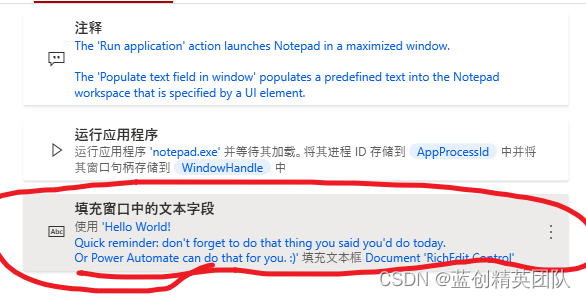
双击这个填充窗口中的文本字段
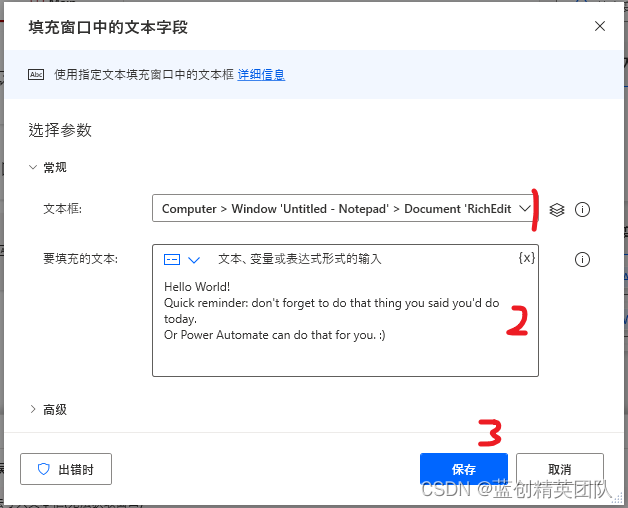
- 第一,就是文本框的地址
- 第二,就是输入到这个文本框,记事本里的内容(可以改成中文)
- 第三,就是保存此功能逻辑
第二步,自己也可以点点,记得打开记事本之后点击。
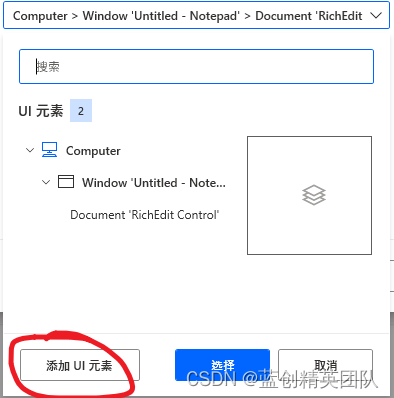
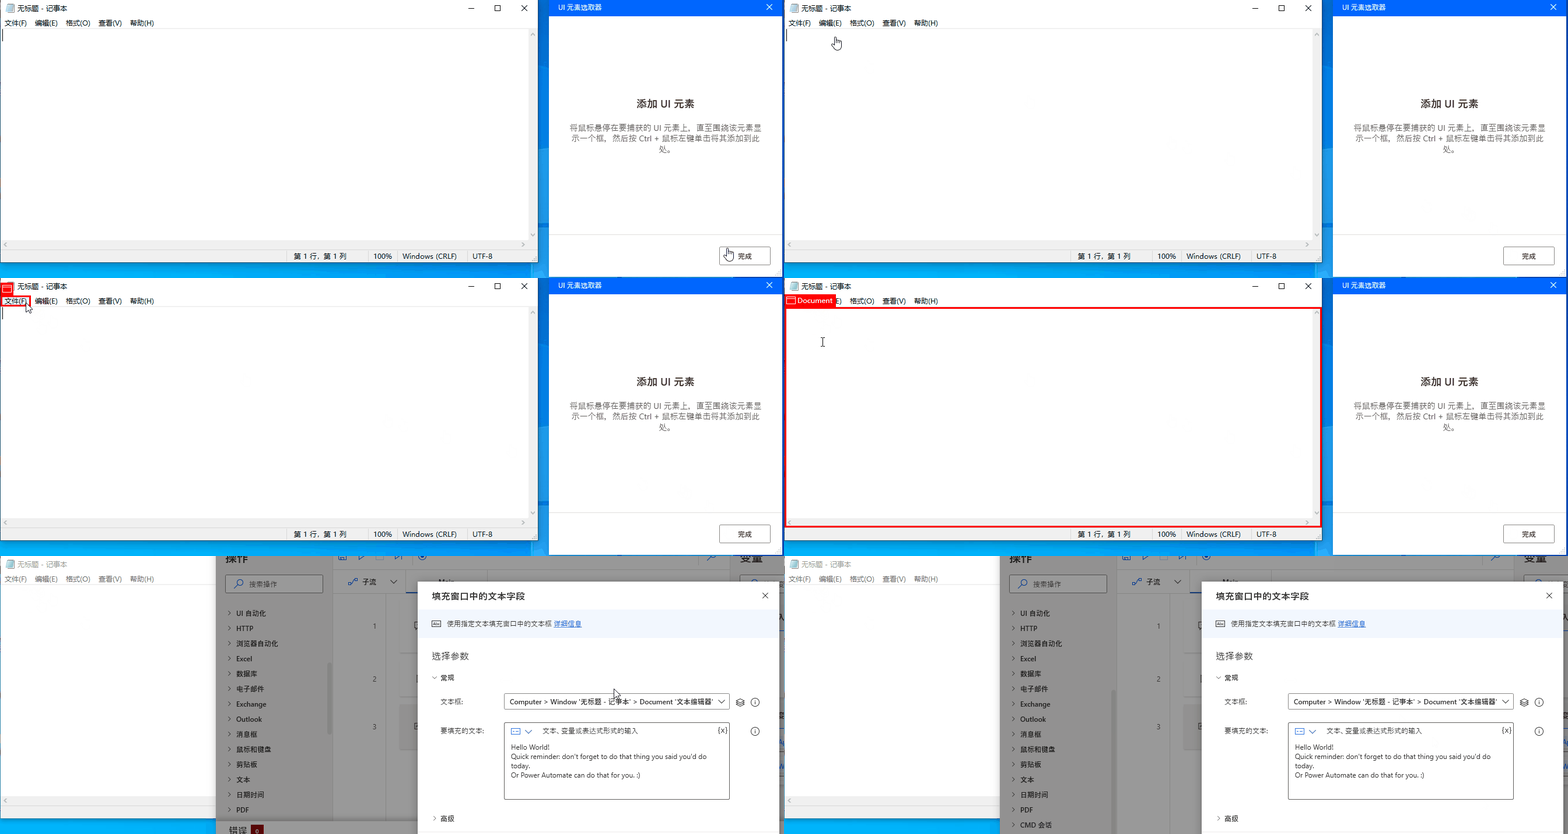
添加过程就如下,想添加哪个 UI 元素,直接 Ctrl+鼠标左键就可以了
修改完之后,直接运行,效果,确实如我们所想的一样。
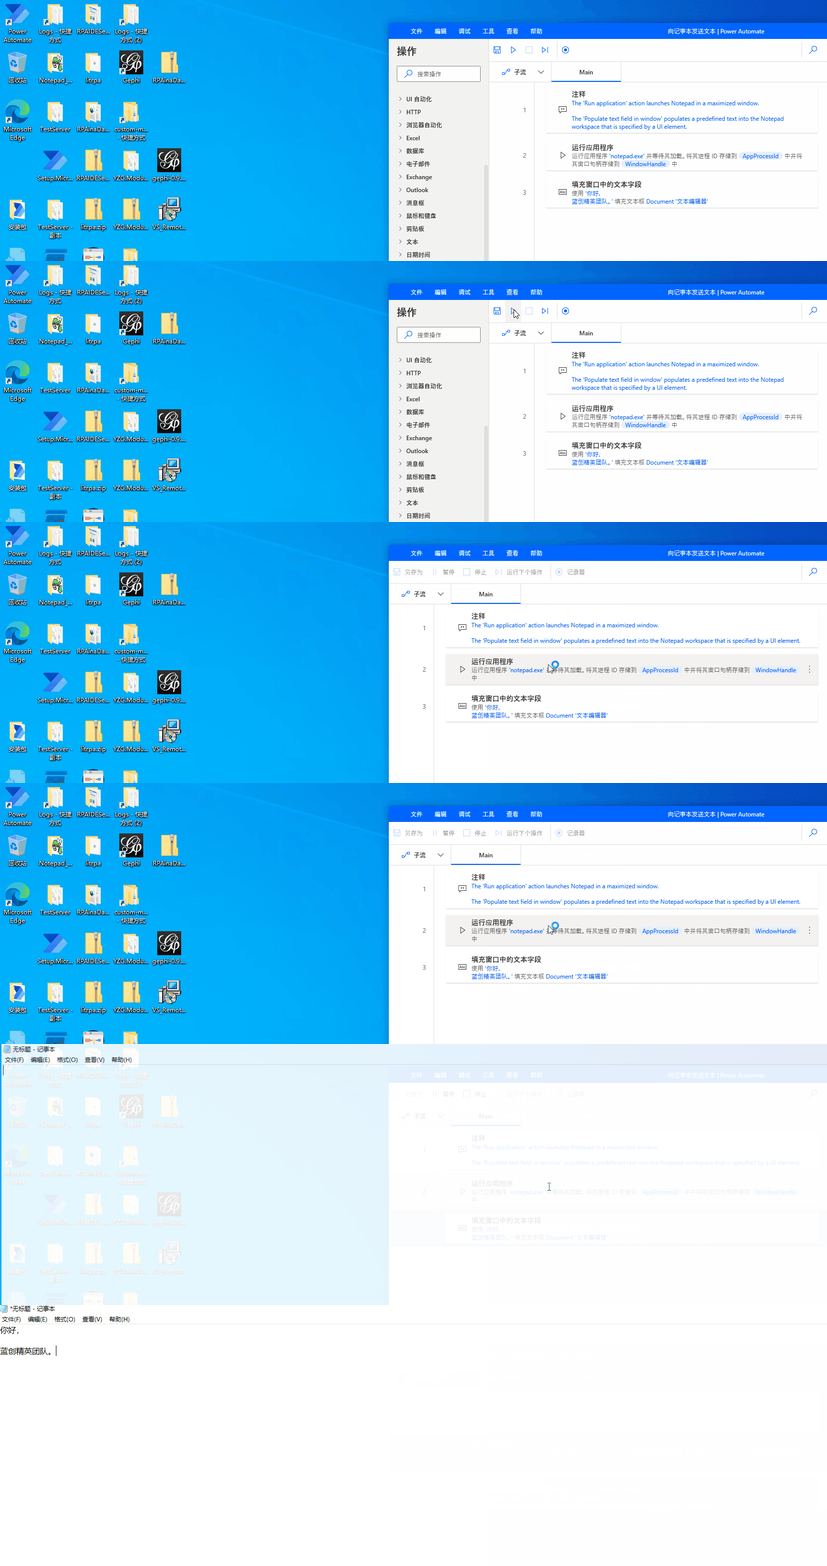
我们还根据上边的需求,增加相应的代码逻辑。
结果如下,效果还是很喜人的。

这个的代码示例如下:
IF (File.IfFile.Exists File: $'''C:\\Users\\kess\\Desktop\\测试.txt''') THEN
    File.Delete Files: $'''C:\\Users\\kess\\Desktop\\测试.txt'''
END
System.RunApplication.RunApplicationAndWaitToLoad ApplicationPath: $'''notepad.exe''' WindowStyle: System.ProcessWindowStyle.Maximized Timeout: 0 ProcessId=> AppProcessId WindowHandle=> WindowHandle
DateTime.GetCurrentDateTime.Local DateTimeFormat: DateTime.DateTimeFormat.DateAndTime CurrentDateTime=> CurrentDateTime
UIAutomation.PopulateTextField TextField: appmask['Window \'无标题 - 记事本\'']['Document \'文本编辑器\''] Text: $'''你好,
蓝创精英团队。
%CurrentDateTime%''' Mode: UIAutomation.PopulateTextMode.Replace ClickType: UIAutomation.PopulateMouseClickType.SingleClick
MouseAndKeyboard.SendKeys.FocusAndSendKeys TextToSend: $'''{Control}{Shift}({S})''' DelayBetweenKeystrokes: 10 SendTextAsHardwareKeys: False
UIAutomation.Click Element: appmask['Window \'*无标题 - 记事本\'']['Tree Item \'桌面\''] ClickType: UIAutomation.ClickType.LeftClick MousePositionRelativeToElement: UIAutomation.RectangleEdgePoint.MiddleCenter OffsetX: 0 OffsetY: 0
UIAutomation.PopulateTextField TextField: appmask['Window \'*无标题 - 记事本\'']['Edit \'文件名:\''] Text: $'''测试.txt''' Mode: UIAutomation.PopulateTextMode.Replace ClickType: UIAutomation.PopulateMouseClickType.SingleClick
UIAutomation.Click Element: appmask['Window \'*无标题 - 记事本\'']['Button \'保存(S)\''] ClickType: UIAutomation.ClickType.LeftClick MousePositionRelativeToElement: UIAutomation.RectangleEdgePoint.MiddleCenter OffsetX: 0 OffsetY: 0
WAIT (UIAutomation.WaitForWindow.ToClose Window: appmask['Window \'测试.txt - 记事本\'']['Window \'另存为\'']) FOR 3
ON ERROR

END
System.TerminateProcess.TerminateProcessById ProcessId: AppProcessId
File.ReadTextFromFile.ReadText File: $'''C:\\Users\\kess\\Desktop\\测试.txt''' Encoding: File.TextFileEncoding.UTF8 Content=> FileContents
Display.ShowMessageDialog.ShowMessage Title: $'''从文本中获取到的内容''' Message: FileContents Icon: Display.Icon.None Buttons: Display.Buttons.OK DefaultButton: Display.DefaultButton.Button1 IsTopMost: False ButtonPressed=> ButtonPressed
这个代码功能如何用呢,只要在 流程逻辑里面 Ctrl+Alt+A 全选,然后,复制,粘贴,就是这一串代码了。
同样,新建一个工作流,也可以直接在流程逻辑里面,点击一下,然后,粘贴。就出现了。
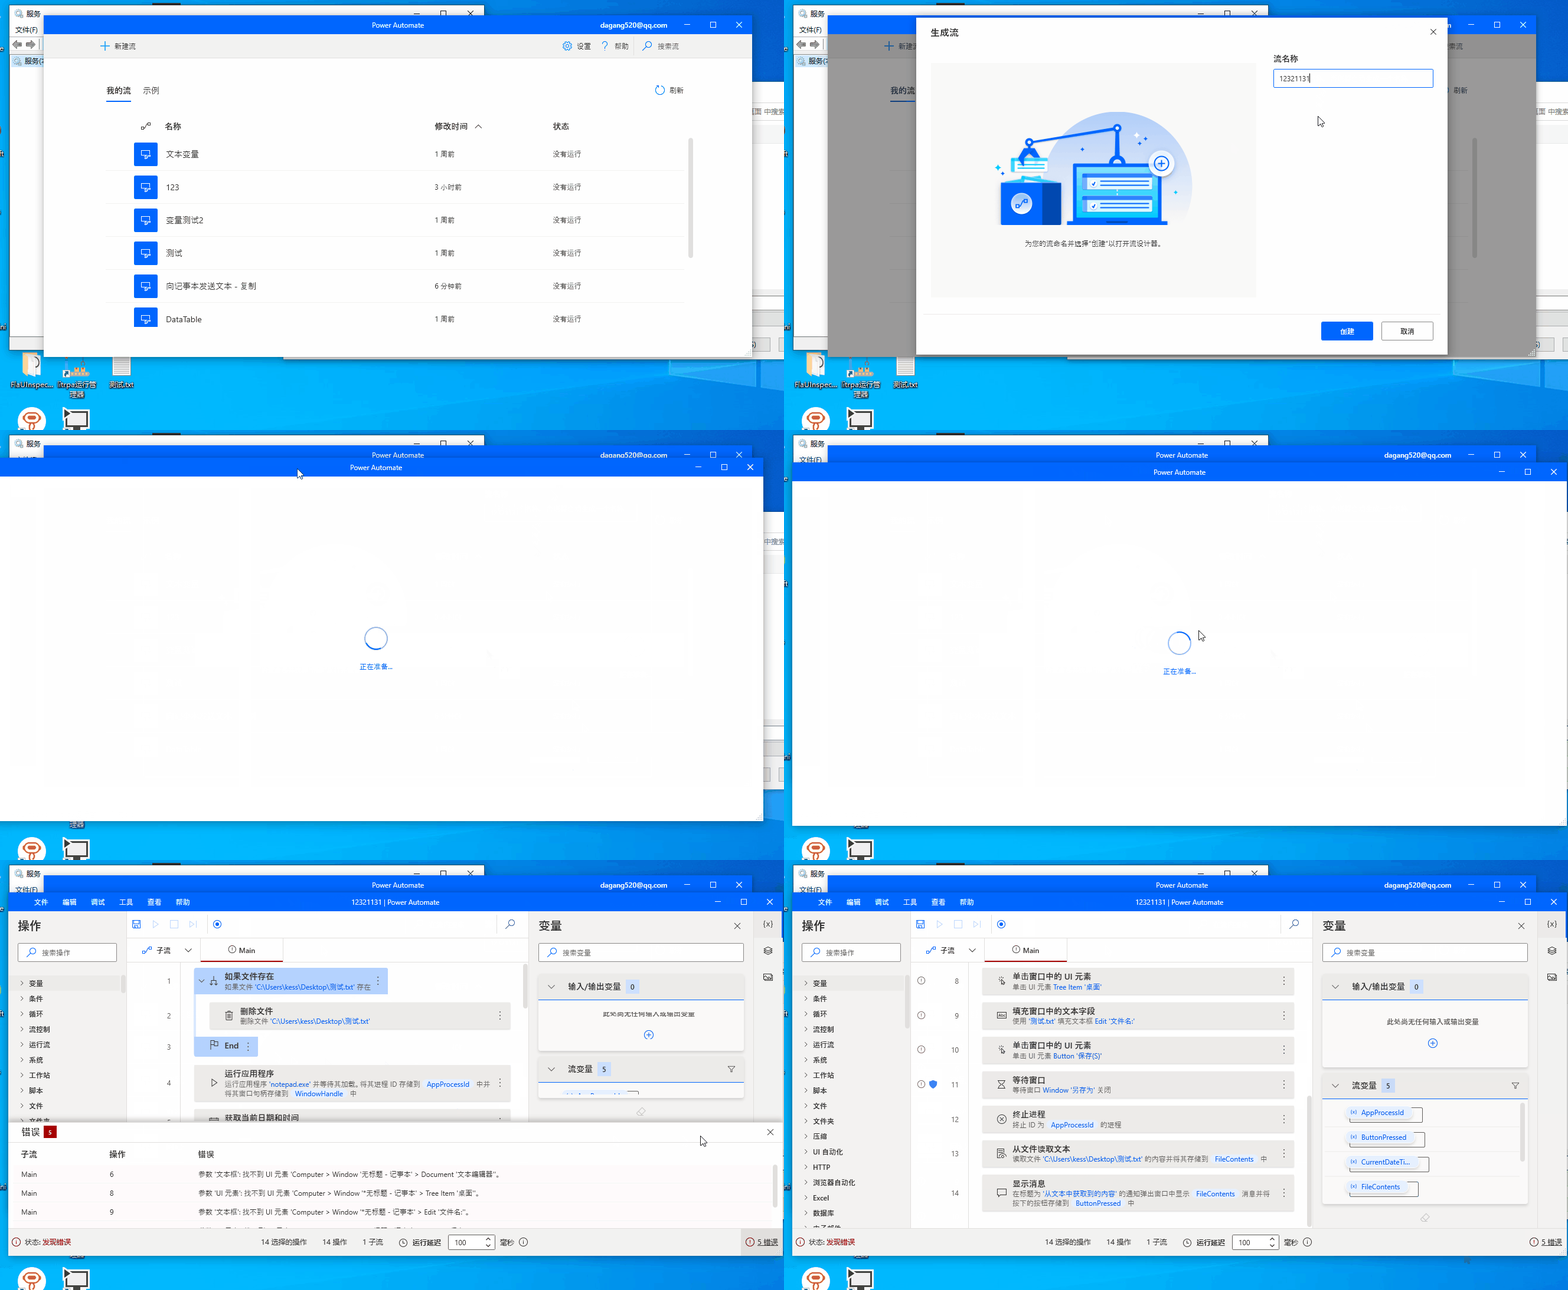
目前,还没有一个好的分享方案。
这种还是性价比,比较高的一种方式了。
个人使用后总结
我个人使用了之后,发现,它没有广告啥的,算是系统自带软件,所以,我对它还是很看好的,但是,它自己的很多功能不是很到位,很多稍微复杂的场景,还是需要定制化的组件的,那么,它是否支持组件呢,好消息是,它是支持的,但是,官方没有明确对外说是支持的。
但是,实际上是支持的,所以,你懂的。
结束
至此,我们也通过介绍,安装,简介,以及一个官方的示例修改,以及,自定义的功能的实现,我相信,你对 RPA 技术,以及 PAD 这样的产品已经有了一个直观的概念了。
提升生产力,从现在做起,加油!!!
你的支持,关注,都是我前进的动力!,有你的支持,蓝创精英团队会做的更好。
下一章,准备写一下 PAD 的扩展组件方式,让它的功能更强大。
引用
可以通过官网来学习大部分的功能。
https://docs.microsoft.com/zh-cn/power-automate/desktop-flows/actions-reference