
本文由网友投稿。
作者:智州 Ryan
原文标题:MAUI 桌面端标题栏设置和窗口调整
原文链接:https://blog.csdn.net/Sir_aligaduo/article/details/128880940
写在前面
如果你现在开始学习并使用 MAUI 开发桌面端,那么接下来的问题相信你都会遇到并且会想着尝试找方法解决它。
问题
本人在使用目前 VS2022 最新版 17.4 Professional 版创建新的 MAUI APP 基于.NET6.0 项目时,发现完全找不到跟 wpf 一样的WindowStyle或者ResizeMode这样的属性,有点强迫症,一定要把这个标题栏去掉,想着应该不难,但是资料太少了,文档写的也很乱,根本无法对应到这个,找着找着,加到了Dotnet9 网站站长,在他耐心的帮忙下,我解决了这个问题,所以特别感谢Dotnet9 网站站长风中一匹狼!
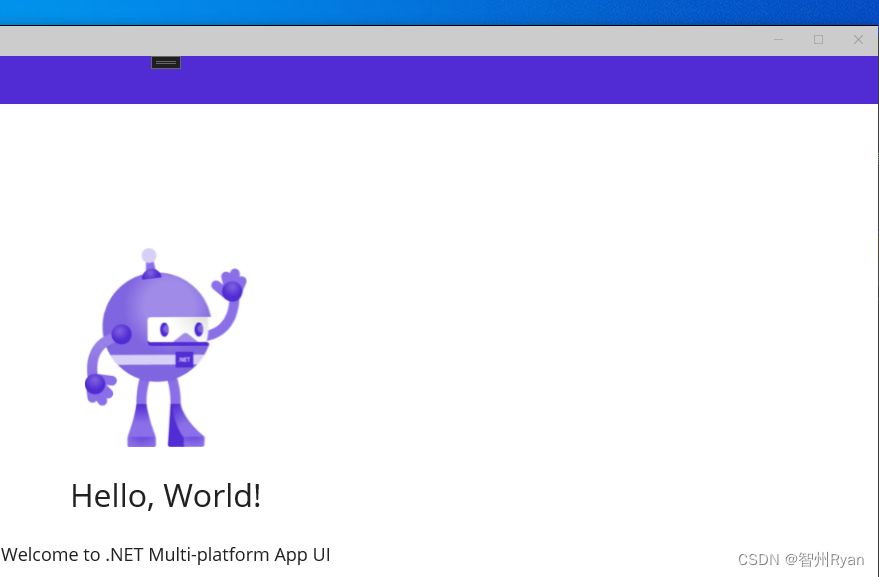
maui 自带的 windows 下的窗口是这样的(完全不在我审美上):
解决方法
一开始,我是根据站长网站里提供的方法,链接: Maui 学习之路(1)-Windows 窗体设置尝试解决该问题。
虽然能正常根据里面操作了,但是我操作的时候可能是我操作的问题,老是实现不了,只把标题栏跟下面的 content 融在一起,标题栏还是在那,而且我不好改颜色。
加了站长微信,站长耐心的帮我找了大佬 Chister.Wu 的 Demo, 对照他的 Demo 终于是把这个问题解决了,现在总结下去掉原标题栏的方法。
- 完美去掉标题栏,下面是代码,写在 MauiProgram.cs 里配置生命周期方法,具体的资料在上面的链接: Maui 学习之路(1)-Windows 窗体设置 里也有,但是看起来比较麻烦,直接看代码可能好理解一点:
var builder = MauiApp.CreateBuilder();
builder.UseMauiApp<App>()
		.ConfigureFonts(fonts =>
		{
			fonts.AddFont("OpenSans-Regular.ttf", "OpenSansRegular");
			fonts.AddFont("OpenSans-Semibold.ttf", "OpenSansSemibold");
		})
		.ConfigureLifecycleEvents(events =>
         {

#if WINDOWS
        events.AddWindows(windows => windows
        .OnWindowCreated(window =>
                      {
                          //window.SizeChanged += OnSizeChanged;
                          MauiWinUIWindow mauiwin = window as MauiWinUIWindow;
                          if (mauiwin == null) { return; }

                          //关闭扩展内容
                          mauiwin.ExtendsContentIntoTitleBar = false;
                          mauiwin.Title = "Hello Maui";


                          通过maui窗口句柄获取appwindow---
                          ///这里有个操蛋的东西我用最新版新建的工程没法直接getappwindow所以用了文章里的方法
                          var wndId = Microsoft.UI.Win32Interop.GetWindowIdFromWindow(mauiwin.WindowHandle);
                          Microsoft.UI.Windowing.AppWindow appwin = Microsoft.UI.Windowing.AppWindow.GetFromWindowId(wndId);

                          //对于OverlappedPresenter的解释文档在这个网址
                          //https://learn.microsoft.com/zh-tw/windows/windows-app-sdk/api/winrt/microsoft.ui.windowing.overlappedpresenter?view=windows-app-sdk-1.2

                          //大致就是OverlappedPresenter会设置这个窗口,这个窗口可以和其他窗口重叠,并对窗口标题栏 状态栏 工作栏进行设置,以及其他一些调整窗口的操作
                          var customOverlappedPresenter = Microsoft.UI.Windowing.OverlappedPresenter.CreateForContextMenu();
                          appwin.SetPresenter(customOverlappedPresenter);
                      }));
#endif
            });

        return builder.Build();
原理就是重写创建窗口的方法,在这里重写有个好处,窗口加载之后会刷新,我在 Mainpage.cs 下写 Loaded 的方法的话虽然标题栏的按钮去掉了,但是标题栏那块并没有去掉,把站长的文章和 Demo 给的结合起来才实现了这样的效果。
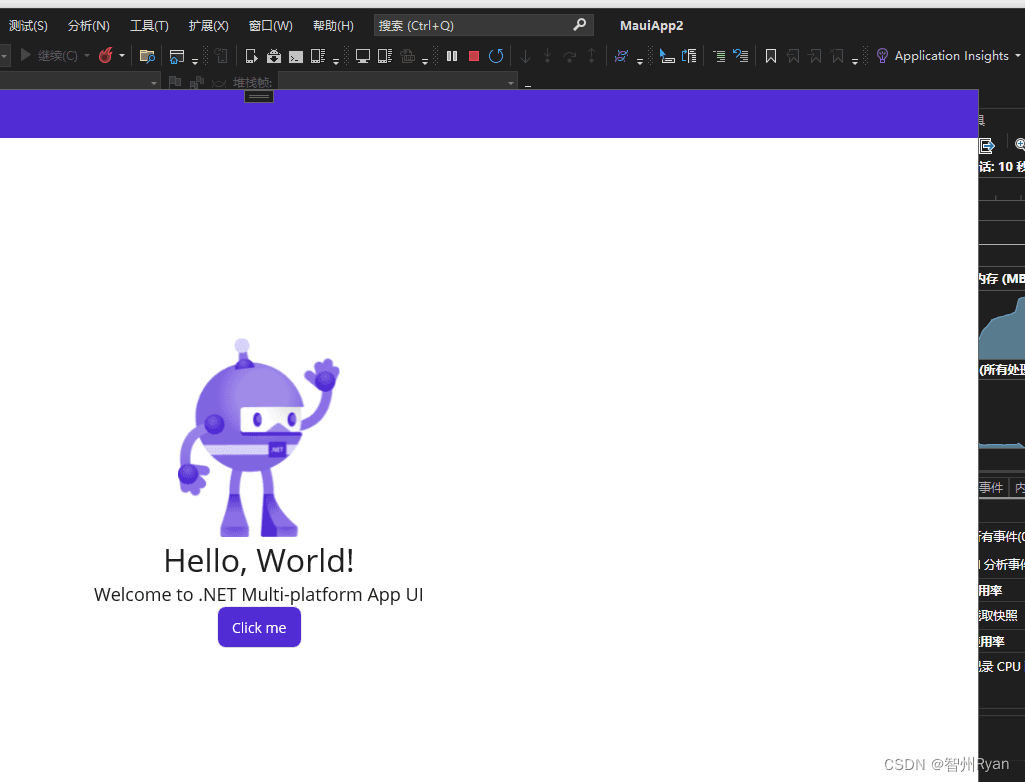
效果图如下, 完美去掉了:

- 直接在 MainPage 里写 Loaded 方法,这也是一开始我用的方法,代码如下:
private void ContentPage_Loaded(object sender, EventArgs e)
    {

#if WINDOWS
        var winuiWindow = Window.Handler?.PlatformView as  Microsoft.UI.Xaml.Window;
		MauiWinUIWindow maui = winuiWindow as MauiWinUIWindow;

        winuiWindow.ExtendsContentIntoTitleBar = false;
        if (winuiWindow is null)
            return;

		var wndId = Microsoft.UI.Win32Interop.GetWindowIdFromWindow(maui.WindowHandle);
        Microsoft.UI.Windowing.AppWindow appWindow = Microsoft.UI.Windowing.AppWindow.GetFromWindowId(wndId);
        //var appWindow = maui.GetAppWindow();
        if (appWindow is null)
            return;

        var customOverlappedPresenter =  Microsoft.UI.Windowing.OverlappedPresenter.CreateForContextMenu();
        appWindow.SetPresenter(customOverlappedPresenter);
#endif
    }
不足之处就是她会有一个类似 WPF 的 captionheight 标题栏那样的东西,视图没完全刷新。
以上就是去标题栏的方法,想要代码的可以去 gitee 上自己下载,链接: maui-title-handle-demo。
另外对于后续窗口的大小调整,自定义放大缩小按钮可以参考MauiDemo,注意一定要看清自己的项目配置。
参考文章:
参考 Demo