In the rich Web era, applications are becoming more powerful and, at the same time, more complex. Cluster deployment, isolated environments, canary releases, and dynamic scaling are all essential, with containerization serving as the necessary bridge.
In this section, we'll explore the mysterious world of Docker, mastering its fundamental principles and practical operations from scratch. It's time to stop guarding your small corner of frontend development and start expanding your horizons.
We'll cover the following points:
- A Story
- Virtual Machines vs. Containers
- Understanding Docker
- Core Concepts
- Installing Docker
- Quick Start
- Common Operations
- Best Practices
1. A Story
To better understand what Docker is, let's start with a story:
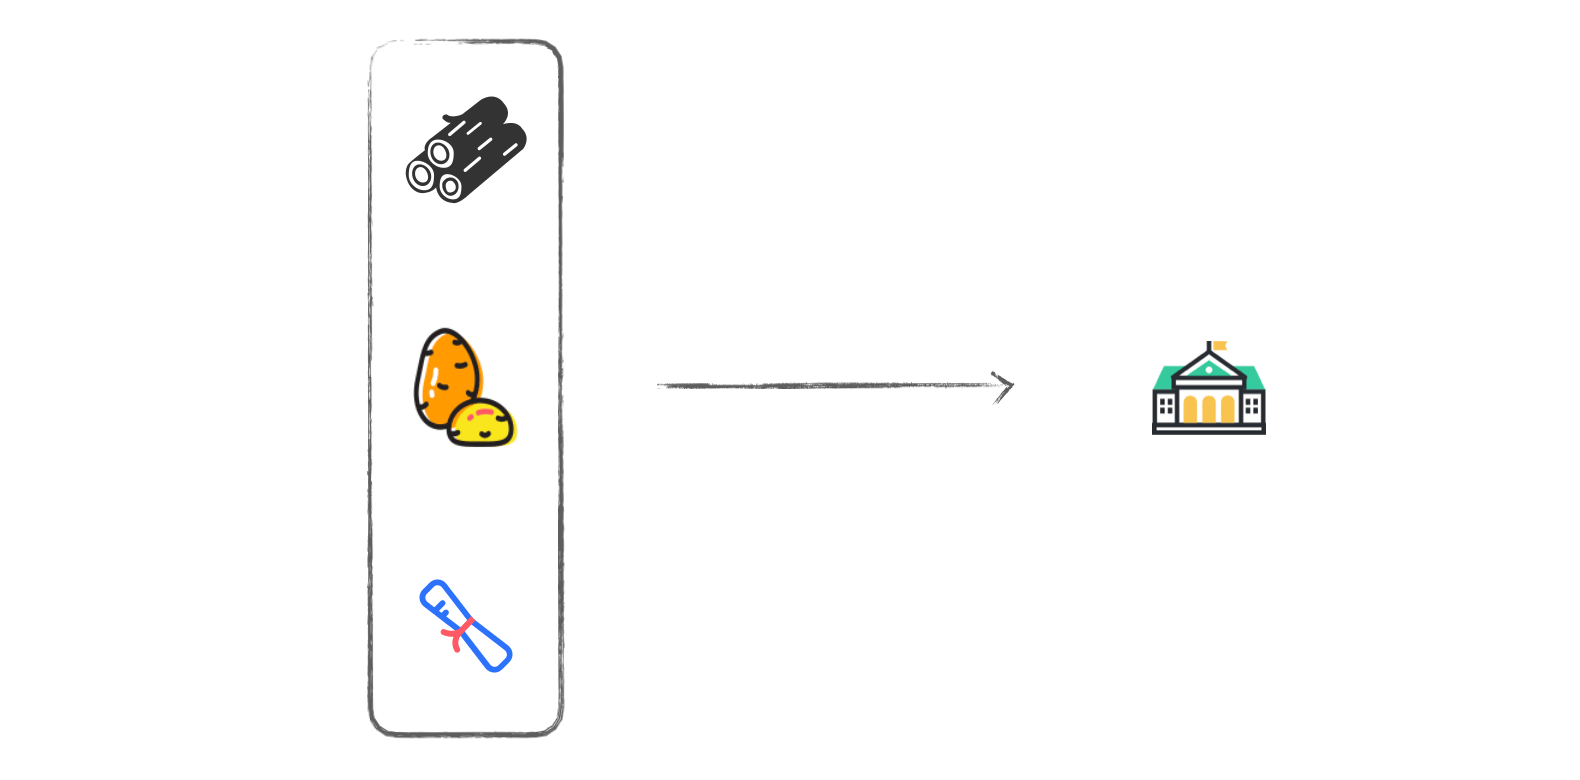
I need to build a house. So I haul stones, cut wood, draw blueprints, and build the house. After all that work, the house is finally done.

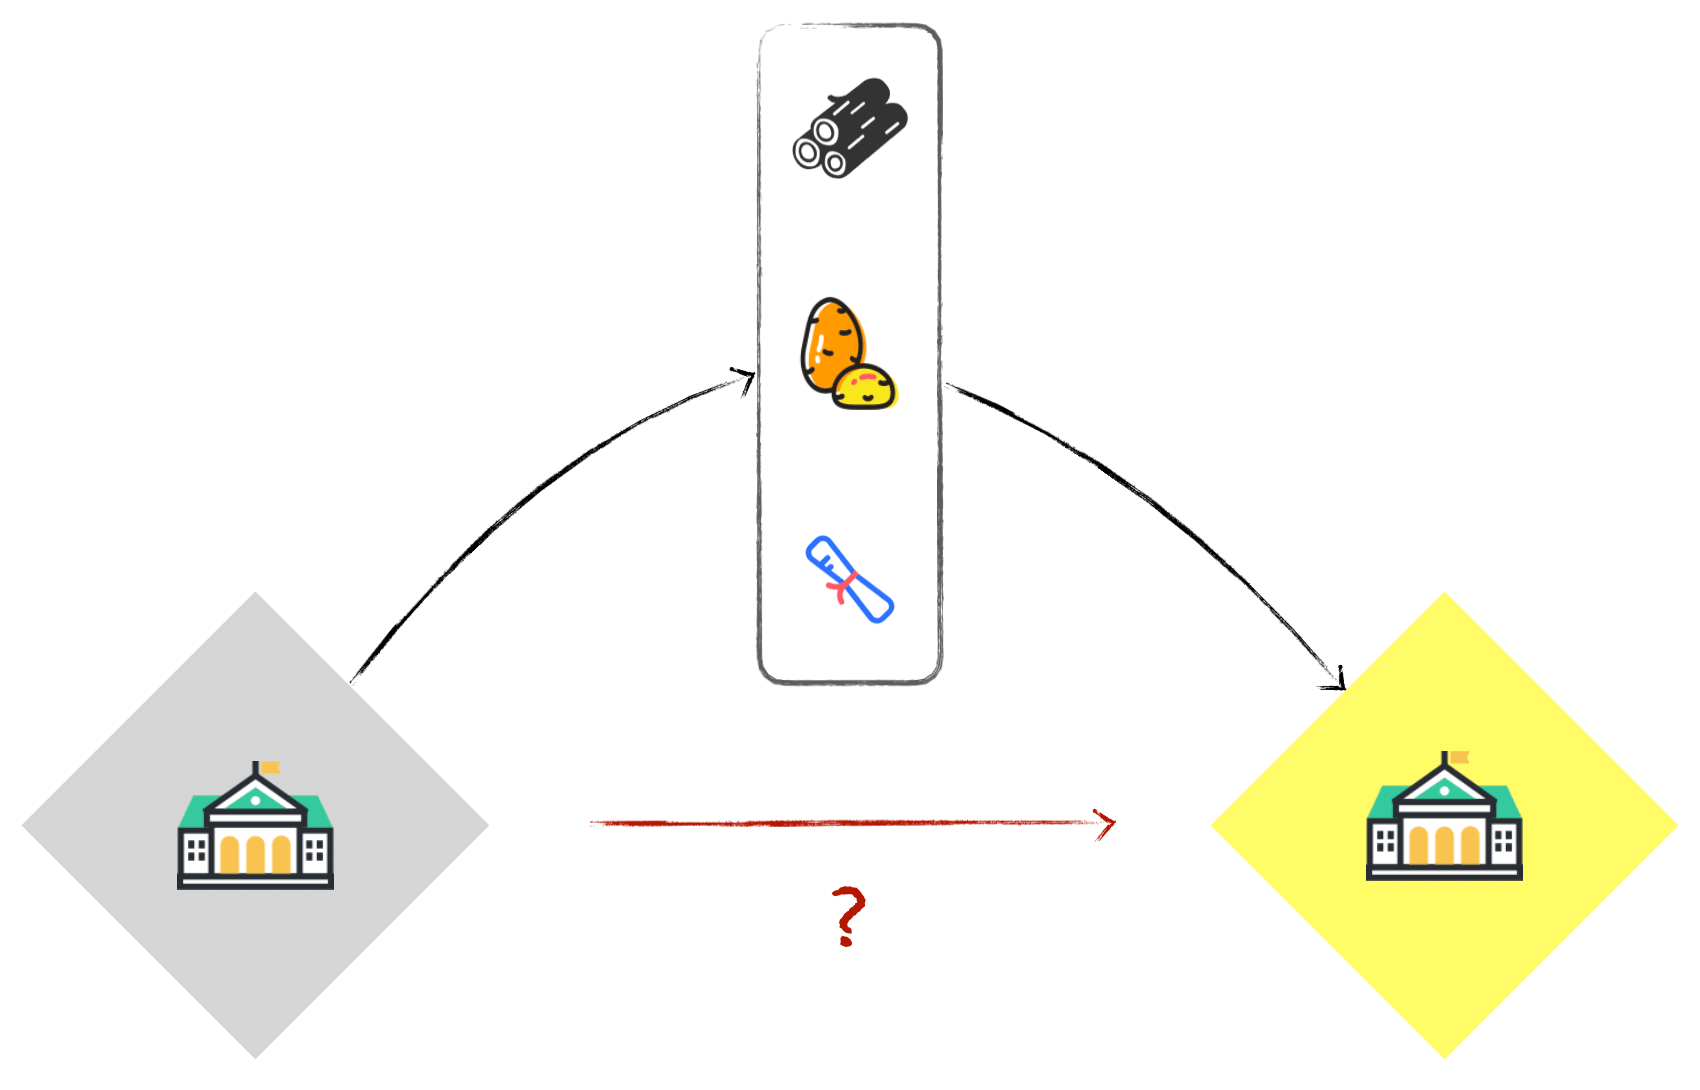
Then, after living in it for a while, I get a whim to move to the seaside. Using the old method, I'd have to go to the seaside, and again haul stones, cut wood, draw blueprints, and build a house.

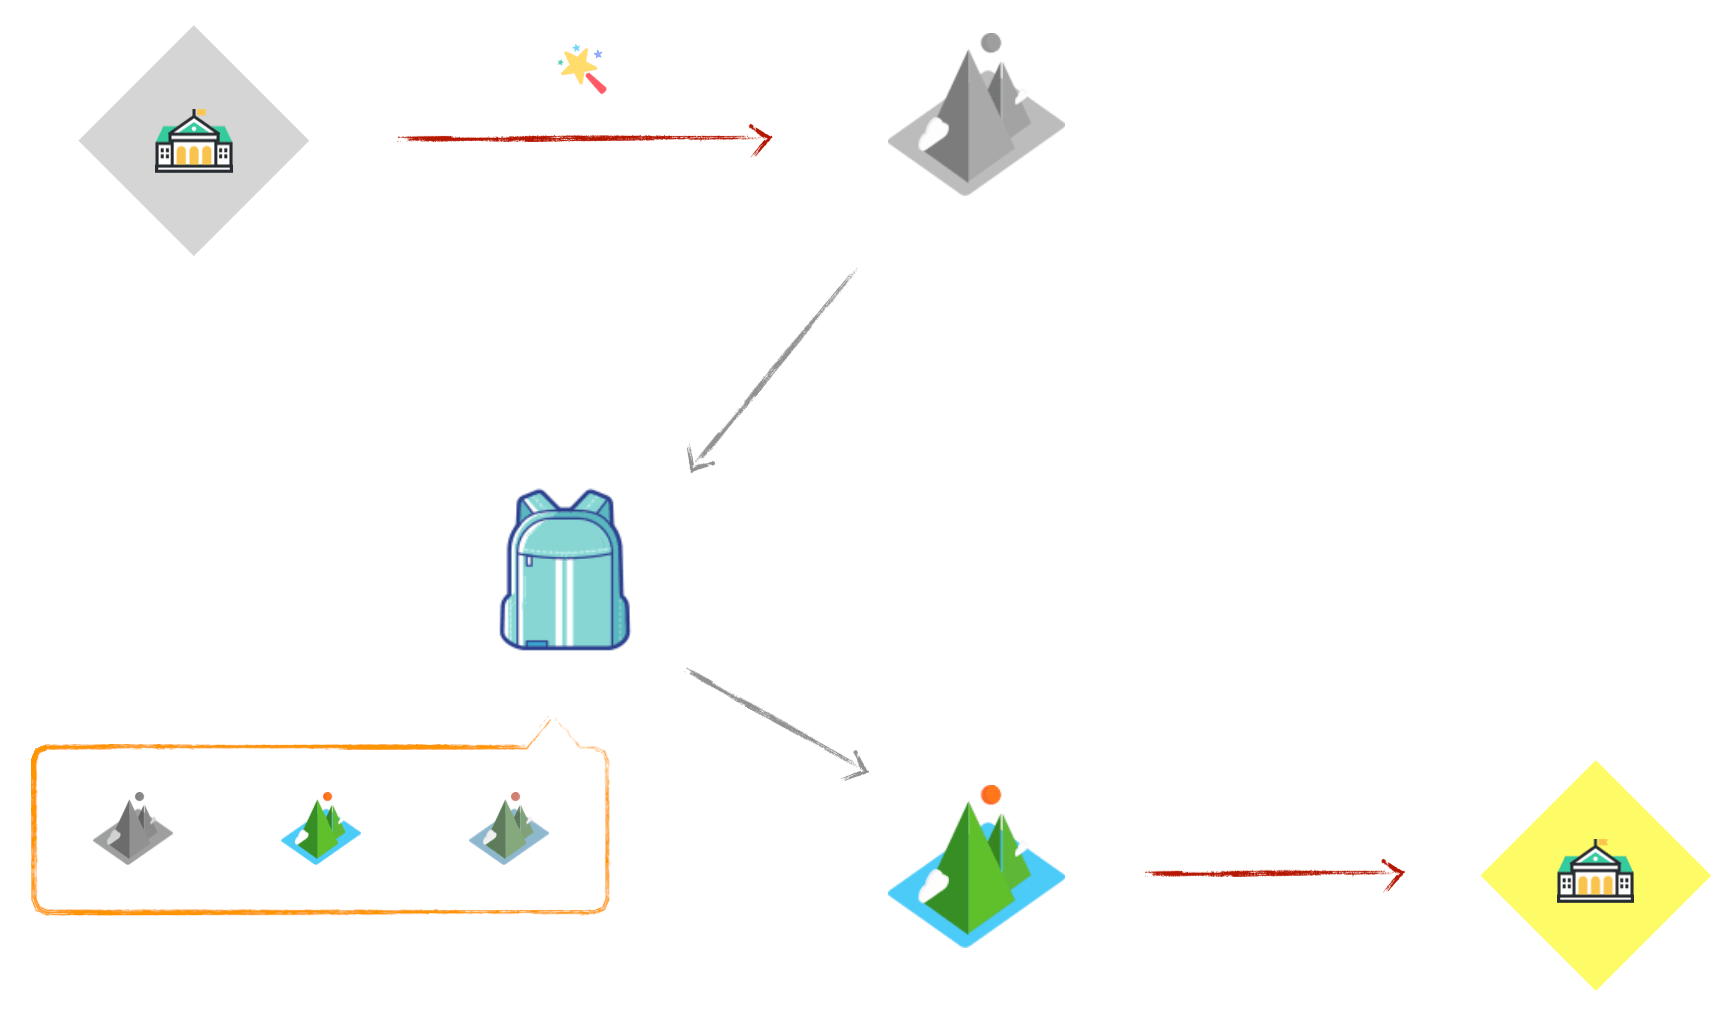
Frustrated, a wizard comes along and teaches me a magic trick. This magic lets me copy the house I built, turn it into an "image," and put it in my backpack.

When I get to the seaside, I use this "image" to replicate a house and just move in.
Isn't that amazing? In our projects, the house is the project itself, the image is the project's copy, and the backpack is the image registry. If you need to scale dynamically, you just take the project image from the registry and copy it as needed. Build once, Run anywhere!
No more worrying about versions, compatibility, deployment issues, completely solving the awkwardness of "deploy and crash, endless builds."
2. Virtual Machines vs. Containers
Before we begin, let's build some foundational knowledge:
- Virtual Machine: Virtualizes Hardware
A Virtual Machine refers to a complete computer system with full hardware system functionality, running in a completely isolated environment, simulated by software. Anything that can be done on a physical computer can be done within a virtual machine.
When creating a virtual machine on a physical computer, part of the physical machine's hard drive and memory capacity are allocated as the virtual machine's hard drive and memory capacity. Each virtual machine has its own CMOS, hard drive, and operating system, and can be operated just like a physical machine. Before container technology, virtual machines were the industry darling.
Representatives of virtual machine technology include VMWare and OpenStack. For more, please refer to Virtual Machine on Baidu Baike.
Container: Virtualizes the Operating System Layer, providing a standard software unit.
- Run Anywhere: Containers package code with configuration files and related dependencies, ensuring consistent operation in any environment.
- High Resource Utilization: Containers provide process-level isolation, allowing more granular control over CPU and memory usage, thus better utilizing server compute resources.
- Fast Scaling: Each container runs as a separate process and can share the underlying operating system's system resources, speeding up container startup and shutdown.
Differences and Connections
- Although virtual machines can isolate many "sub-computers," they take up more space and start slower. Virtual machine software can also be costly (e.g.,
VMWare). - Container technology doesn't need to virtualize an entire operating system, only a small-scale environment, similar to a "sandbox."
- In terms of space, virtual machines typically need from a few GB to tens of GB, while containers only require MB or even KB.
- Although virtual machines can isolate many "sub-computers," they take up more space and start slower. Virtual machine software can also be costly (e.g.,
Let's look at a comparison:
| Feature | Virtual Machine | Container |
|---|---|---|
| Isolation Level | Operating System-level | Process-level |
| Isolation Policy | Hypervisor | Cgroups (Control Groups) |
| System Overhead | 5-15% | 0-5% |
| Startup Time | Minutes | Seconds |
| Image Storage | GB - TB | KB - MB |
| Cluster Scale | Hundreds | Tens of thousands |
| HA Strategy | Backup, Disaster Recovery, Migration | Elasticity, Load Balancing, Dynamic Scaling |
Compared to virtual machines, containers are lighter and faster because they leverage the underlying Linux operating system to run in isolated environments. A virtual machine's Hypervisor creates a very strong boundary to prevent applications from breaking out, while a container's boundary is less powerful.
Physical server deployment cannot fully utilize resources, leading to waste. Virtual machine deployment consumes significant resources for the VMs themselves, also causing waste, and virtual machine performance can be poor. Containerized deployment is flexible, lightweight, and offers better performance.
Virtual machines represent virtualization technology, while container technologies like Docker represent lightweight virtualization.
3. Understanding Docker

- Concept
Docker is an open-source application container engine that allows developers to package their applications and dependencies into a portable container, which can then be published to any popular Linux machine, also enabling virtualization. Containers use a sandbox mechanism entirely, with no interfaces between them.
The three core concepts of Docker technology are: Image, Container, and Repository.
- Why is Docker lightweight?
You might be wondering: Why does Docker start so fast? How does it share the kernel with the host machine?
When we ask Docker to run a container, Docker sets up a resource-isolated environment on the computer. It then copies the packaged application and associated files into the filesystem within the Namespace, completing the environment setup. After that, Docker executes the pre-specified command to run the application.
An image contains no dynamic data; its content is not changed after being built.
4. Core Concepts
Build, Ship and Run;Build once, Run anywhere;Dockeritself is not a container; it is a tool for creating containers, an application container engine;- The three core concepts of
Dockerare: Image, Container, and Repository; Dockertechnology uses theLinuxkernel and kernel features (likeCgroupsandnamespaces) to separate processes so they run independently of each other.- Because
NamespaceandCgroupsfeatures are only available onLinux, containers cannot run natively on other operating systems. So how doesDockerrun onmacOSorWindows?Dockeractually uses a technique: installing aLinuxvirtual machine on non-Linuxoperating systems and running containers inside that VM. - An image is an executable package containing the code, runtime, libraries, environment variables, and configuration files needed to run an application. A container is a
runtime instanceof an image.
For more on Docker's principles, refer to Docker Working Principles and Containerization Simplified Guide. We won't elaborate further here.
5. Installing Docker
- Command Line Installation
Homebrew's Cask already supports Docker for Mac, so you can easily install it using Homebrew Cask by running:
brew cask install docker
For more installation methods, see the official documentation: Get Started Docker
- Check Version
docker -v
- Configure Image Acceleration
Configure Docker Engine by adding the configuration:
{
"registry-mirrors": [
"http://hub-mirror.c.163.com/",
"https://registry.docker-cn.com"
],
"insecure-registries": [],
"experimental": false,
"debug": true
}
- Install Desktop Client

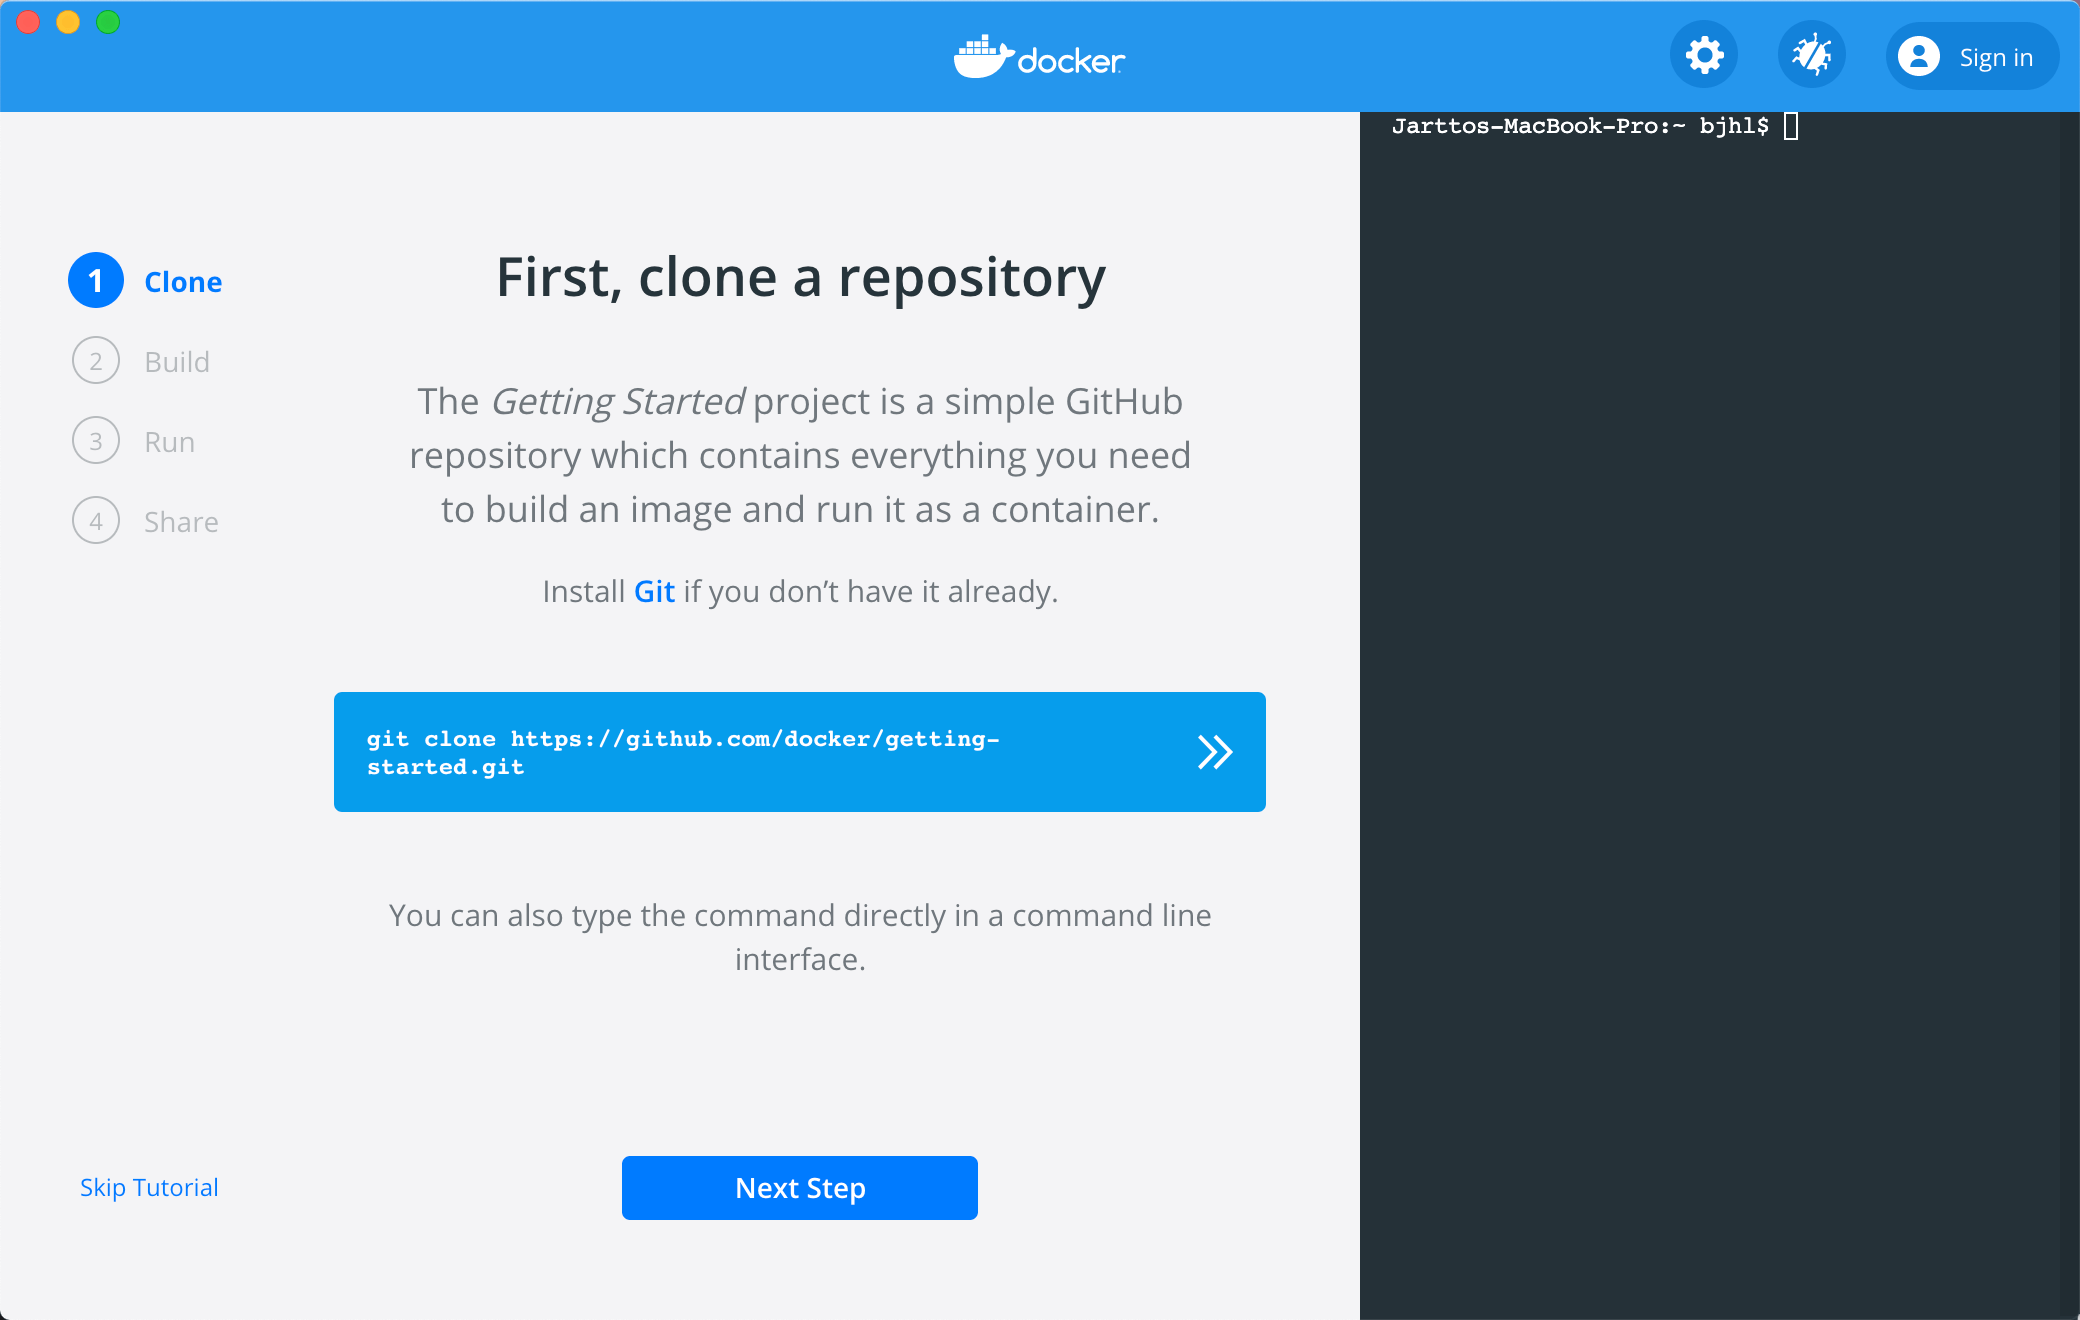
The desktop client is very simple to use. First, download it from the official site. Through the Docker desktop client, you can easily:
- clone: Clone a project
- build: Build an image
- run: Run an instance
- share: Share an image
Alright, preparations are done. Now we can get down to business!
6. Quick Start
After installing Docker, let's create an image for a practical project, learning by doing.
- First, get a basic understanding of the 11 commands we'll likely use.
| Command | Description |
|---|---|
| FROM | Base image to build from |
| MAINTAINER | Image creator |
| ENV | Declare environment variables |
| RUN | Execute commands during build |
| ADD | Add files from the host to the container; archives are automatically extracted |
| COPY | Add files from the host to the container |
| WORKDIR | Working directory |
| EXPOSE | Ports available for the application inside the container |
| CMD | Program to execute when the container starts; overridden if docker run includes a startup command |
| ENTRYPOINT | Same function as CMD, but not overridden by docker run; can be overridden with --entrypoint if needed |
| VOLUME | Data volume, mapping a host directory to a directory in the container |
- Create a New Project
For speed, let's directly use the Vue CLI to build a project:
vue create docker-demo
Try starting it:
yarn serve
Access it at: http://localhost:8080/. The project is ready. Now let's build it for production:
yarn build
Now, the dist directory in the project folder contains the static assets we need to deploy. Let's move on.
Note: Frontend projects generally fall into two categories: those deployed statically with Nginx, and those requiring a Node service. This section covers the first type. I'll explain Node services in a later section.
- Create a Dockerfile
cd docker-demo && touch Dockerfile
Now the project directory looks like this:
.
├── Dockerfile
├── README.md
├── babel.config.js
├── dist
├── node_modules
├── package.json
├── public
├── src
└── yarn.lock
We can see we've successfully created the Dockerfile inside the docker-demo directory.
- Prepare the Nginx Image
Run your Docker desktop client (it will start a daemon by default). Pull the Nginx image from the console:
docker pull nginx
The console will output something like:
Using default tag: latest
latest: Pulling from library/nginx
8559a31e96f4: Pull complete
8d69e59170f7: Pull complete
3f9f1ec1d262: Pull complete
d1f5ff4f210d: Pull complete
1e22bfa8652e: Pull complete
Digest: sha256:21f32f6c08406306d822a0e6e8b7dc81f53f336570e852e25fbe1e3e3d0d0133
Status: Downloaded newer image for nginx:latest
docker.io/library/nginx:latest
If you get an error like this, make sure the Docker instance is running properly.
Cannot connect to the Docker daemon at unix:///var/run/docker.sock. Is the docker daemon running?
The image is ready. Let's create an Nginx configuration file in the project root:
touch default.conf
Write the following content:
server {
listen 80;
server_name localhost;
#charset koi8-r;
access_log /var/log/nginx/host.access.log main;
error_log /var/log/nginx/error.log error;
location / {
root /usr/share/nginx/html;
index index.html index.htm;
}
error_page 500 502 503 504 /50x.html;
location = /50x.html {
root /usr/share/nginx/html;
}
}
- Configure the Image
Open the Dockerfile and write the following:
FROM nginx
COPY dist/ /usr/share/nginx/html/
COPY default.conf /etc/nginx/conf.d/default.conf
Let's break down the code line by line:
FROM nginx: Specifies that the image is based on thenginx:latestimage.COPY dist/ /usr/share/nginx/html/: Copies all files from thedistfolder in the project root to the/usr/share/nginx/html/directory inside the image.COPY default.conf /etc/nginx/conf.d/default.conf: Copies the localdefault.confto/etc/nginx/conf.d/default.conf, replacing the default configuration in the Nginx image.
- Build the Image
Docker uses the build command to build images:
docker build -t jartto-docker-demo .
Let's explain the command:
-ttags the image with the namejartto-docker-demo..indicates building the image based on theDockerfilein the current directory.
Upon successful execution, you'll see:
Sending build context to Docker daemon 115.4MB
Step 1/3 : FROM nginx
---> 2622e6cca7eb
Step 2/3 : COPY dist/ /usr/share/nginx/html/
---> Using cache
---> 82b31f98dce6
Step 3/3 : COPY default.conf /etc/nginx/conf.d/default.conf
---> 7df6efaf9592
Successfully built 7df6efaf9592
Successfully tagged jartto-docker-demo:latest
The image is successfully created! Let's check it:
docker image ls | grep jartto-docker-demo
We can see we've built a 133MB project image:
jartto-docker-demo latest 7df6efaf9592 About a minute ago 133MB
Images can be good or bad. We'll discuss optimization later. For now, we can ignore it.
- Run the Container
docker run -d -p 3000:80 --name docker-vue jartto-docker-demo
Let's explain the parameters:
-d: Run the container in the background (detached mode).-p: Map ports. Maps port3000on the host to port80in the container (so external access via port3000on the host reaches the app).--name: Assign a namedocker-vueto the container.jartto-docker-demo: The name of the image we built above.
As a bonus:
In the console, you can see the ID of the just-started Container using docker ps:
docker ps -a
The console will output:
CONTAINER ID IMAGE COMMAND CREATED STATUS PORTS NAMES
ab1375befb0b jartto-docker-demo "/docker-entrypoint.…" 8 minutes ago Up 7 minutes 0.0.0.0:3000->80/tcp docker-vue
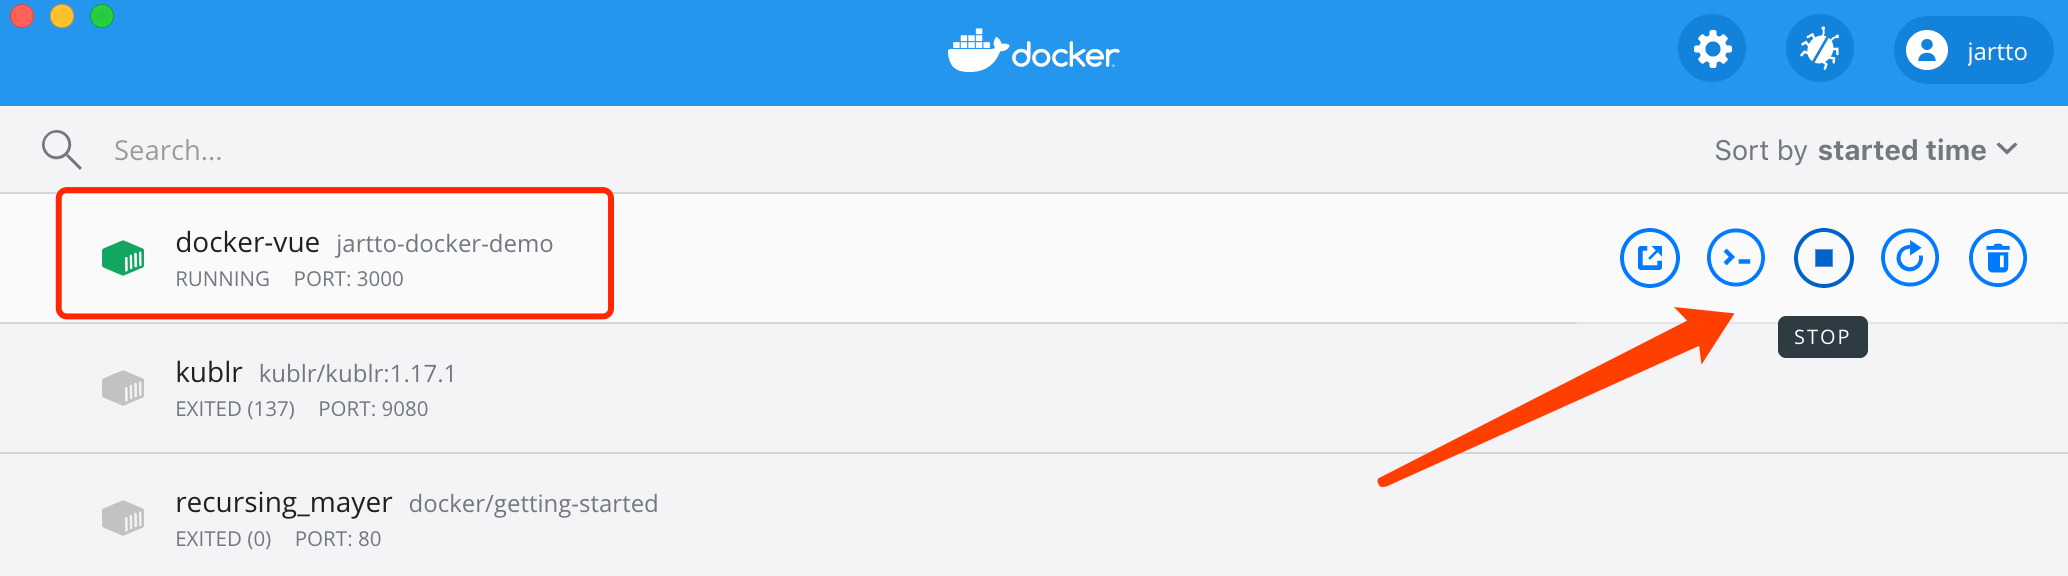
If you are using the desktop client, open Docker Dashboard to see the container list, as shown below:

- Access the Project
Since we mapped host port 3000, run:
curl -v -i localhost:3000
Or just open your browser and go to localhost:3000.
- Publish the Image
If you want to contribute to the community, you'll need to publish the image so other developers can use it.
Publishing an image requires these steps:
- Sign up for an account on Docker Hub.
- Log in via the command line:
docker login, then enter your credentials. - Before pushing the image, tag it properly:
docker tag <image> <username>/<repository>:<tag>.
The whole process is complete. From now on, when we need this project, we don't have to "haul stones, cut wood, draw blueprints, build a house" again. We just move in. This is the unique charm of Docker.
7. Common Operations
Congratulations on completing your Docker introduction project! If you want to go deeper, feel free to explore further.
- Parameter Usage
FROM
- Specifies the base image. Every built image must have a base image, and
FROMmust be the first command in theDockerfile. FROM <image> [AS <name>]: Build from an image and give the new image a name.FROM <image>[:<tag>] [AS <name>]: Specify the image versionTag.- Example:
FROM mysql:5.0 AS database
- Specifies the base image. Every built image must have a base image, and
MAINTAINER
- Image maintainer information.
MAINTAINER <name>- Example:
MAINTAINER Jartto Jartto@qq.com(Note: Deprecated in favor of LABEL)
RUN
- Commands to execute during the image build.
RUN <command>- Example:
RUN ["executable", "param1", "param2"]
ADD
- Add local files to the container. Archives are automatically extracted. Can access files over the network (downloads them).
ADD <src> <dest>- Example:
ADD *.js /appadds alljsfiles to the/appdirectory in the container.
COPY
- Same function as
ADD, but only copies; does not unpack archives or download files.
- Same function as
CMD
- Command to execute when the container starts. Different from
RUN, which executes during build. - Can be overridden by the command provided in
docker run. - Example:
CMD ["executable", "param1", "param2"]
- Command to execute when the container starts. Different from
ENTRYPOINT
- Also executes a command, similar to
CMD, but this command is not overridden by the command line. ENTRYPOINT ["executable", "param1", "param2"]- Example:
ENTRYPOINT ["donnet", "myapp.dll"](Note: Original likely meant["dotnet", "myapp.dll"])
- Also executes a command, similar to
LABEL: Adds metadata to the image in key-value format.
LABEL <key>=<value> <key>=<value> ...- Example:
LABEL version="1.0" description="This is a web application"
ENV: Sets environment variables. Some containers require specific environment variables at runtime.
ENV <key> <value>: Set one environment variable.ENV <key>=<value> <key>=<value> <key>=<value>: Set multiple environment variables.- Example:
ENV JAVA_HOME /usr/java1.8/
EXPOSE: Exposes a port (the port exposed inside the container, which is different from the host port even if they are the same number).
EXPOSE <port>- Example:
EXPOSE 80 - When running the container, you need to use
-pto map an external port to this container port for access.
VOLUME: Specifies a directory for data persistence; officially called a mount.
VOLUME /var/log: Specifies a directory in the container to be mounted. Docker maps this to a random directory on the host for data persistence and syncing.VOLUME ["/var/log","/var/test".....]: Specifies multiple directories in the container to be mounted to multiple random host directories.VOLUME /var/data /var/log: Mounts/var/login the container to/var/dataon the host. This syntax allows specifying the host path manually.
WORKDIR: Sets the working directory. After setting, the working directory for
RUN,CMD,COPY,ADDcommands is this path.WORKDIR <path>- Example:
WORKDIR /app/test
USER: Specifies the user to run subsequent commands. For security and permissions, choose appropriate users based on the commands.
USER <user>:[<group>]- Example:
USER test
ARG: Defines parameters to pass during the image build.
ARG <name>[=<value>]- Example:
ARG name=sss
For more operations, please refer to the official Docker documentation.
8. Best Practices
After mastering common Docker operations, it's easy to build project images you want. However, different operations can lead to vastly different images.
Why are images so different? Let's explore further.
Here are some best practices compiled from experience using Docker. Please try to follow these guidelines:
- Require Clarity: Know exactly what image you need.
- Streamline Steps: Prioritize steps that change less frequently.
- Clear Versioning: Name images clearly and explicitly.
- Documentation: The entire image building process should be reproducible.
Recommended reading:
9. Conclusion
Containerization technology is undoubtedly one of the indispensable skills for the cloud era, and Docker is just the tip of the iceberg. Following it are technologies like cluster container management (K8s), Service Mesh, Istio, and more. Open the door to Docker, keep peeling back the layers, delve deeper, and you will feel the infinite charm of containerization.
Hurry up and expand your skillset to empower your frontend technology!
Copyright Notice: This article was first published on Jartto's Blog. For reprinting, please be sure to include the article's source URL, author information, and this copyright notice in a hyperlink form.