How to Make a Cool Software Installation Package

How to Make a Cool Software Installation Package

Introducing a great software packaging tool

Last updated 5/6/2022 6:53 AM
沙漠尽头的狼
5 min read
Category
Share
Tags
Software Installation Package

This article is not an advertisement. When I started writing this post, I thought there was a free trial and that regular users could use it, with only special features requiring payment. To my surprise, all features are paid.

Preface

The site owner previously published an article on How to Make a Professional Software Installation Package?. Today, I'm introducing another software packaging tool, notable for its particularly cool and stunning installation and uninstallation effects: the Fire Phoenix Packaging Tool (hofoSetup). This software was recommended by the MoYin author: MoYin.

1. Preparation

1.1 Prepare Tools

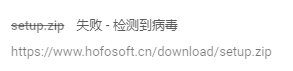
Note: When downloading, the operating system may prompt as follows

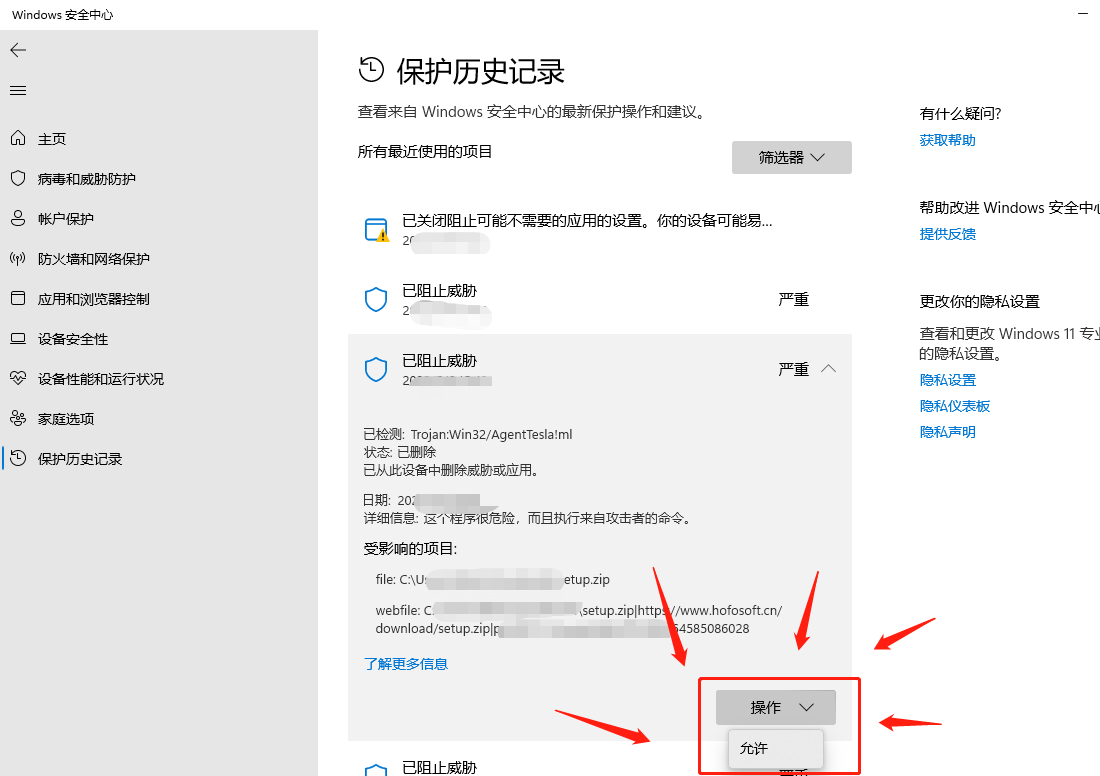
This is a false positive; first, add it to the trust list:

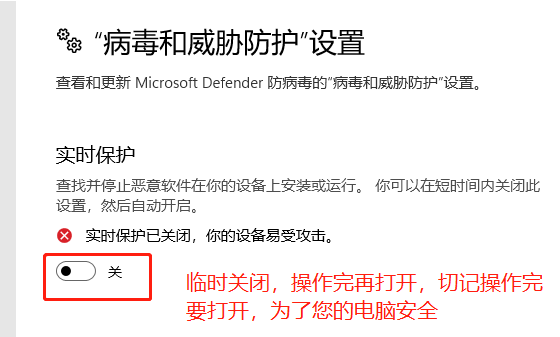
The above operation seems ineffective. Temporarily disable Windows real-time protection: Reference

1.2 Prepare Project

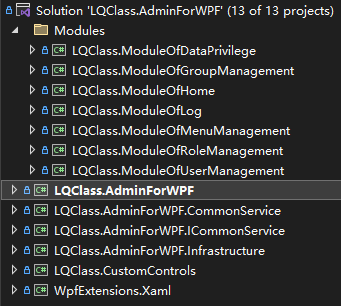
The site owner still uses the LQClass project as a test; of course, you can use other types of projects, not limited to C# (Winform/WPF), but also C++ (MFC, Qt), etc.

2. Packaging with the Tool

2.1 Install the Packaging Tool

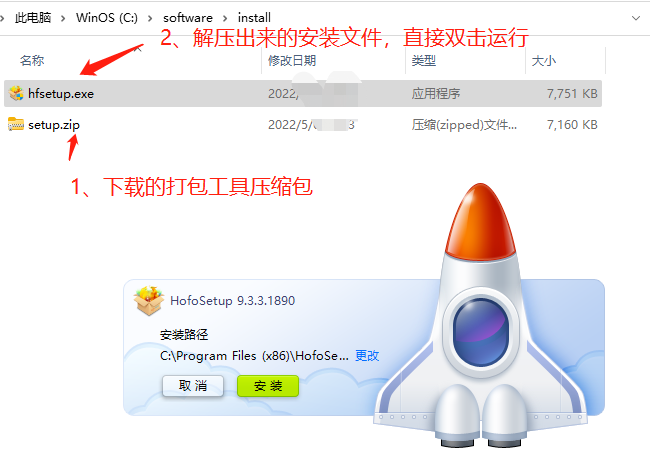
The Fire Phoenix Packaging Tool is downloaded as a compressed file (7.0 MB). Extract the installation file, as shown below, and run the installer:

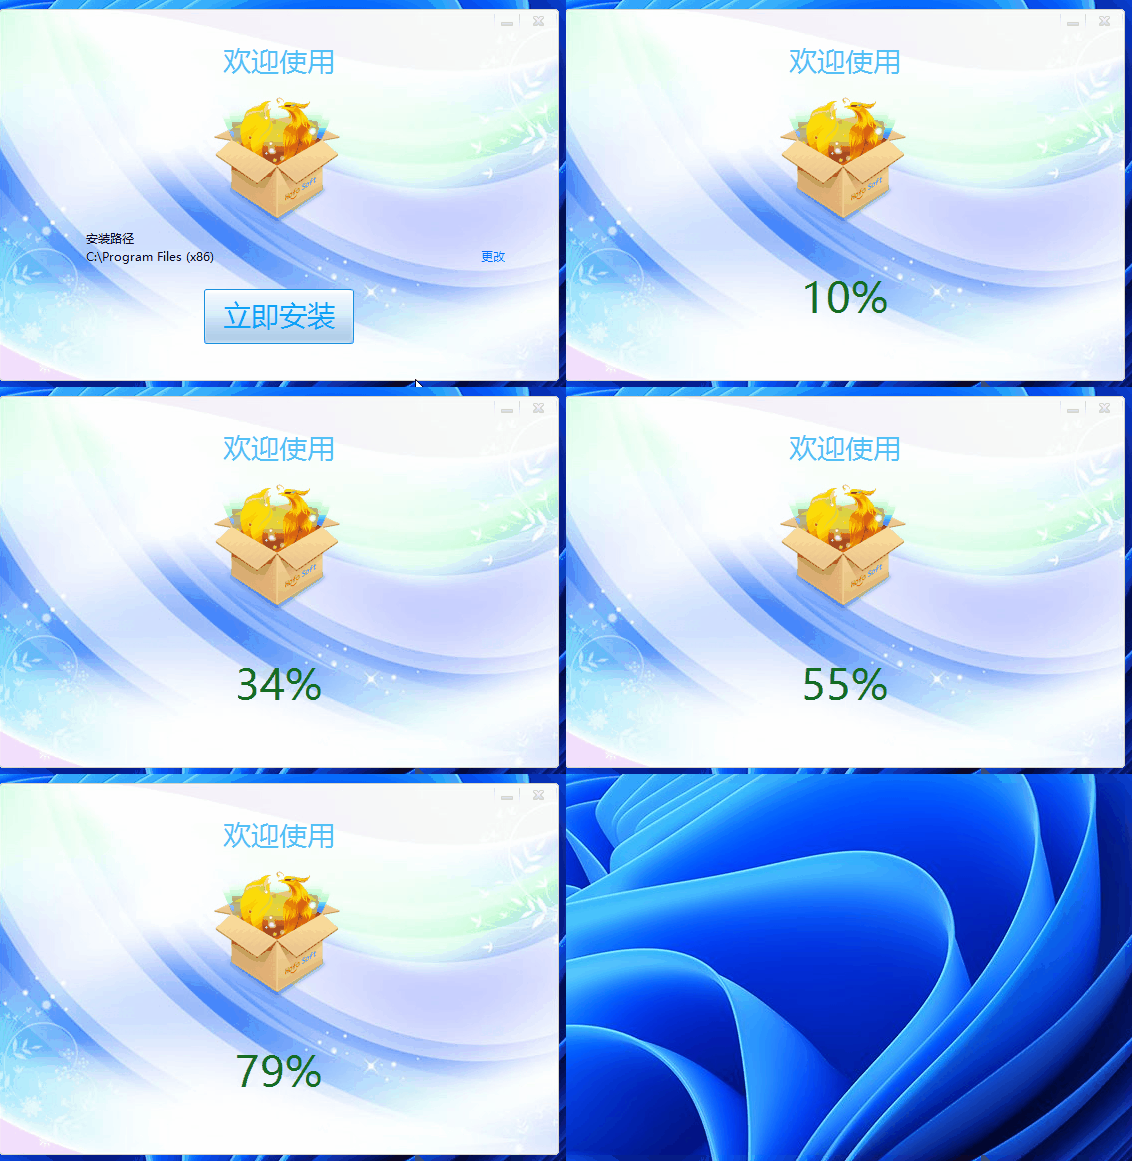
First, experience the installation effect of the packaging tool itself:

Looks good, right? Feels like there's no need to demonstrate further...

2.2 Packaging Settings

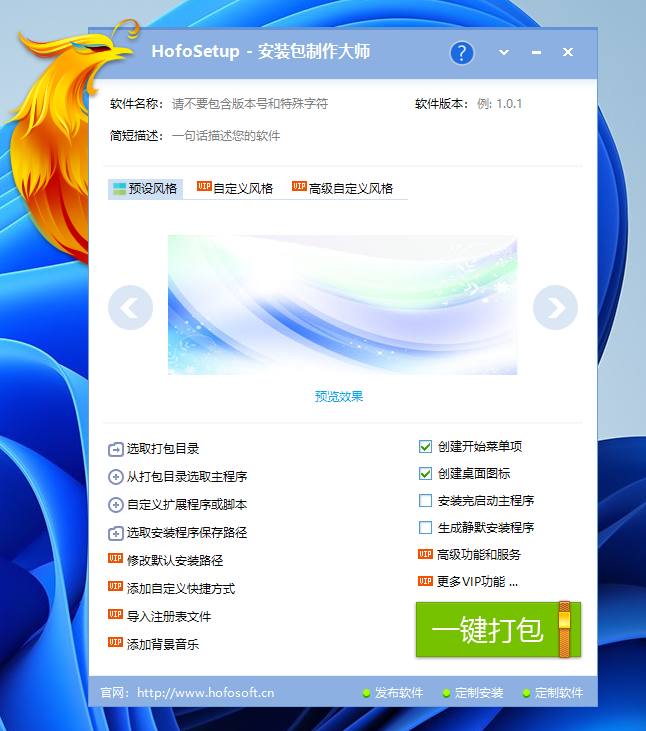
Run the packaging tool, which displays an irregular packaging configuration interface. Fill in the configuration information for the software package.

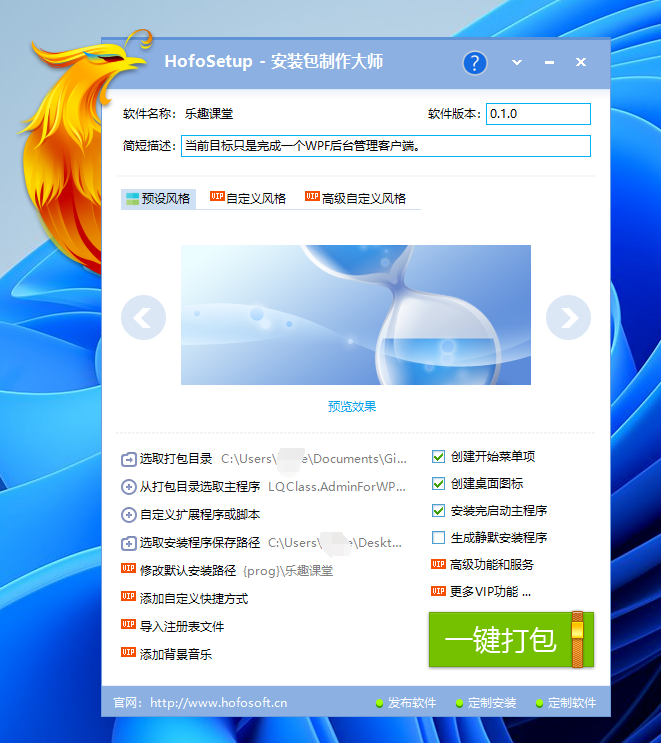
  • Software Name: The name of your project, e.g., "LQClass".
  • Software Version: The version number of your project, e.g., "0.1.0".
  • Short Description: A brief description of your software, e.g., "The current goal is to complete a WPF admin client."
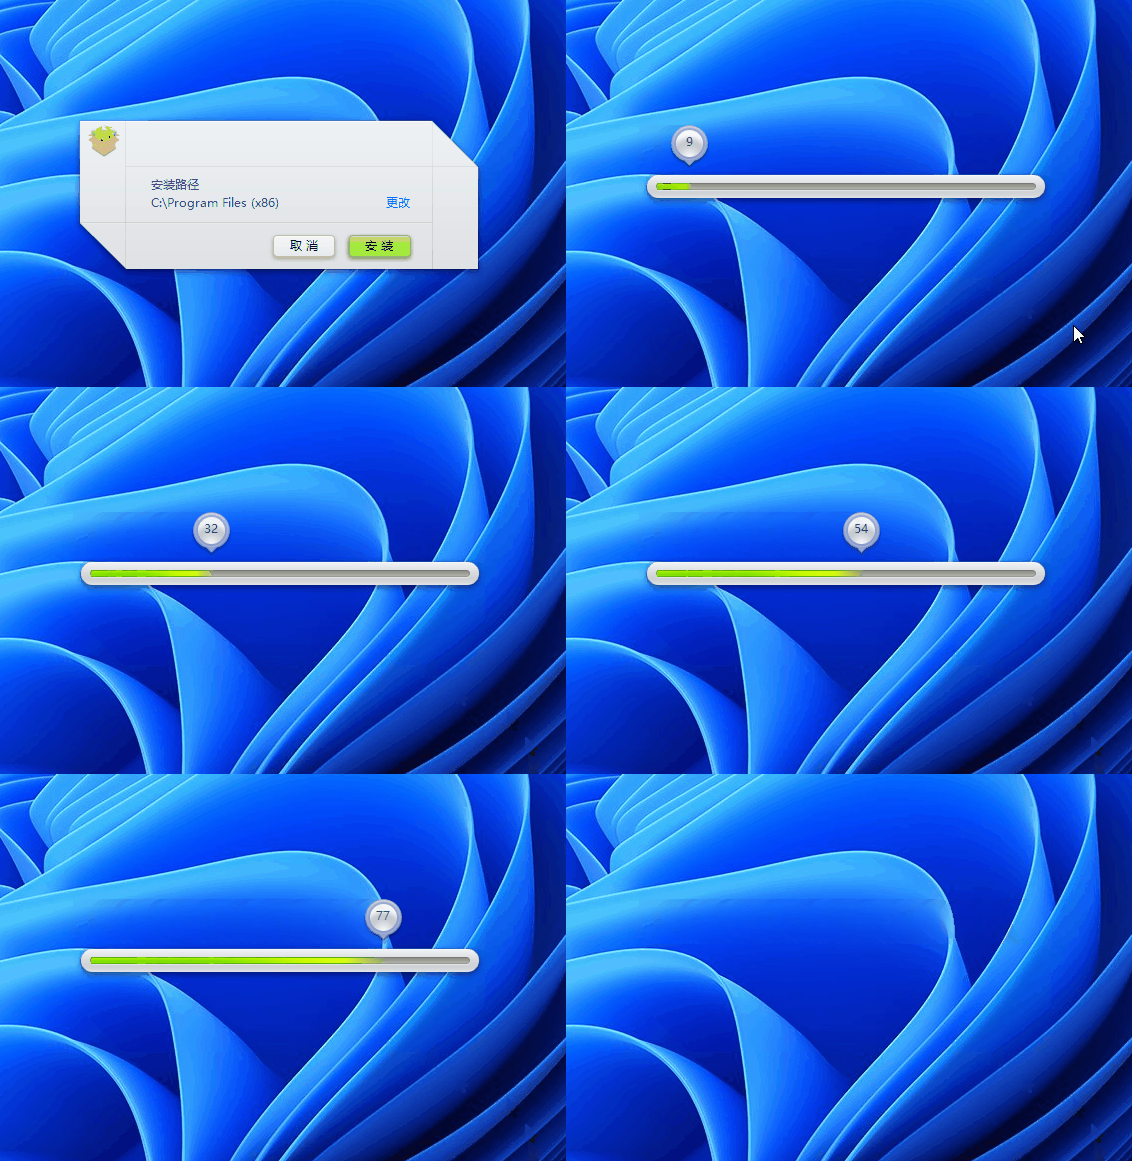
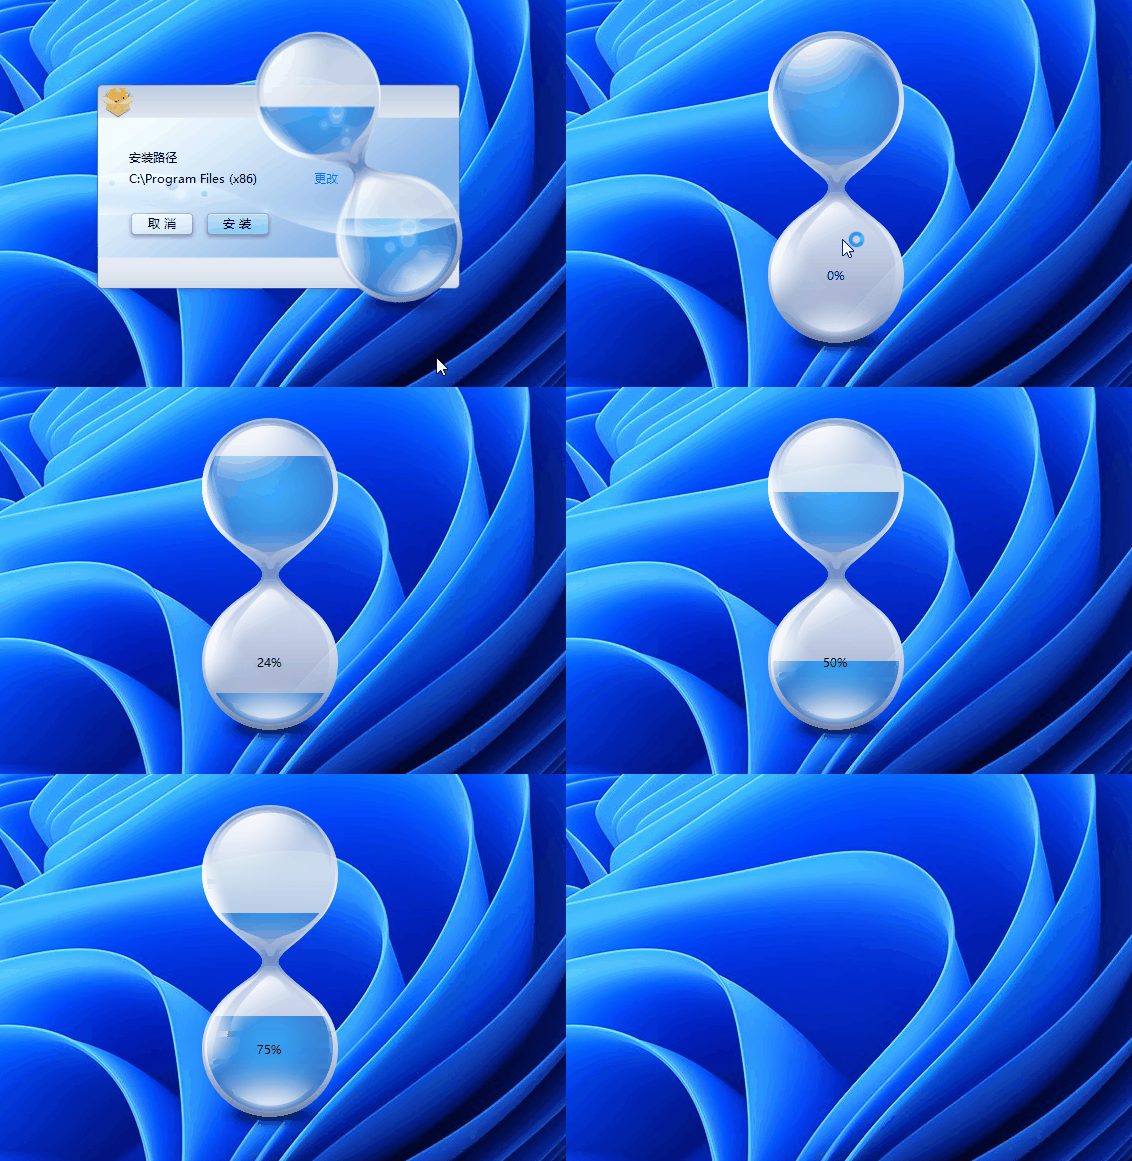
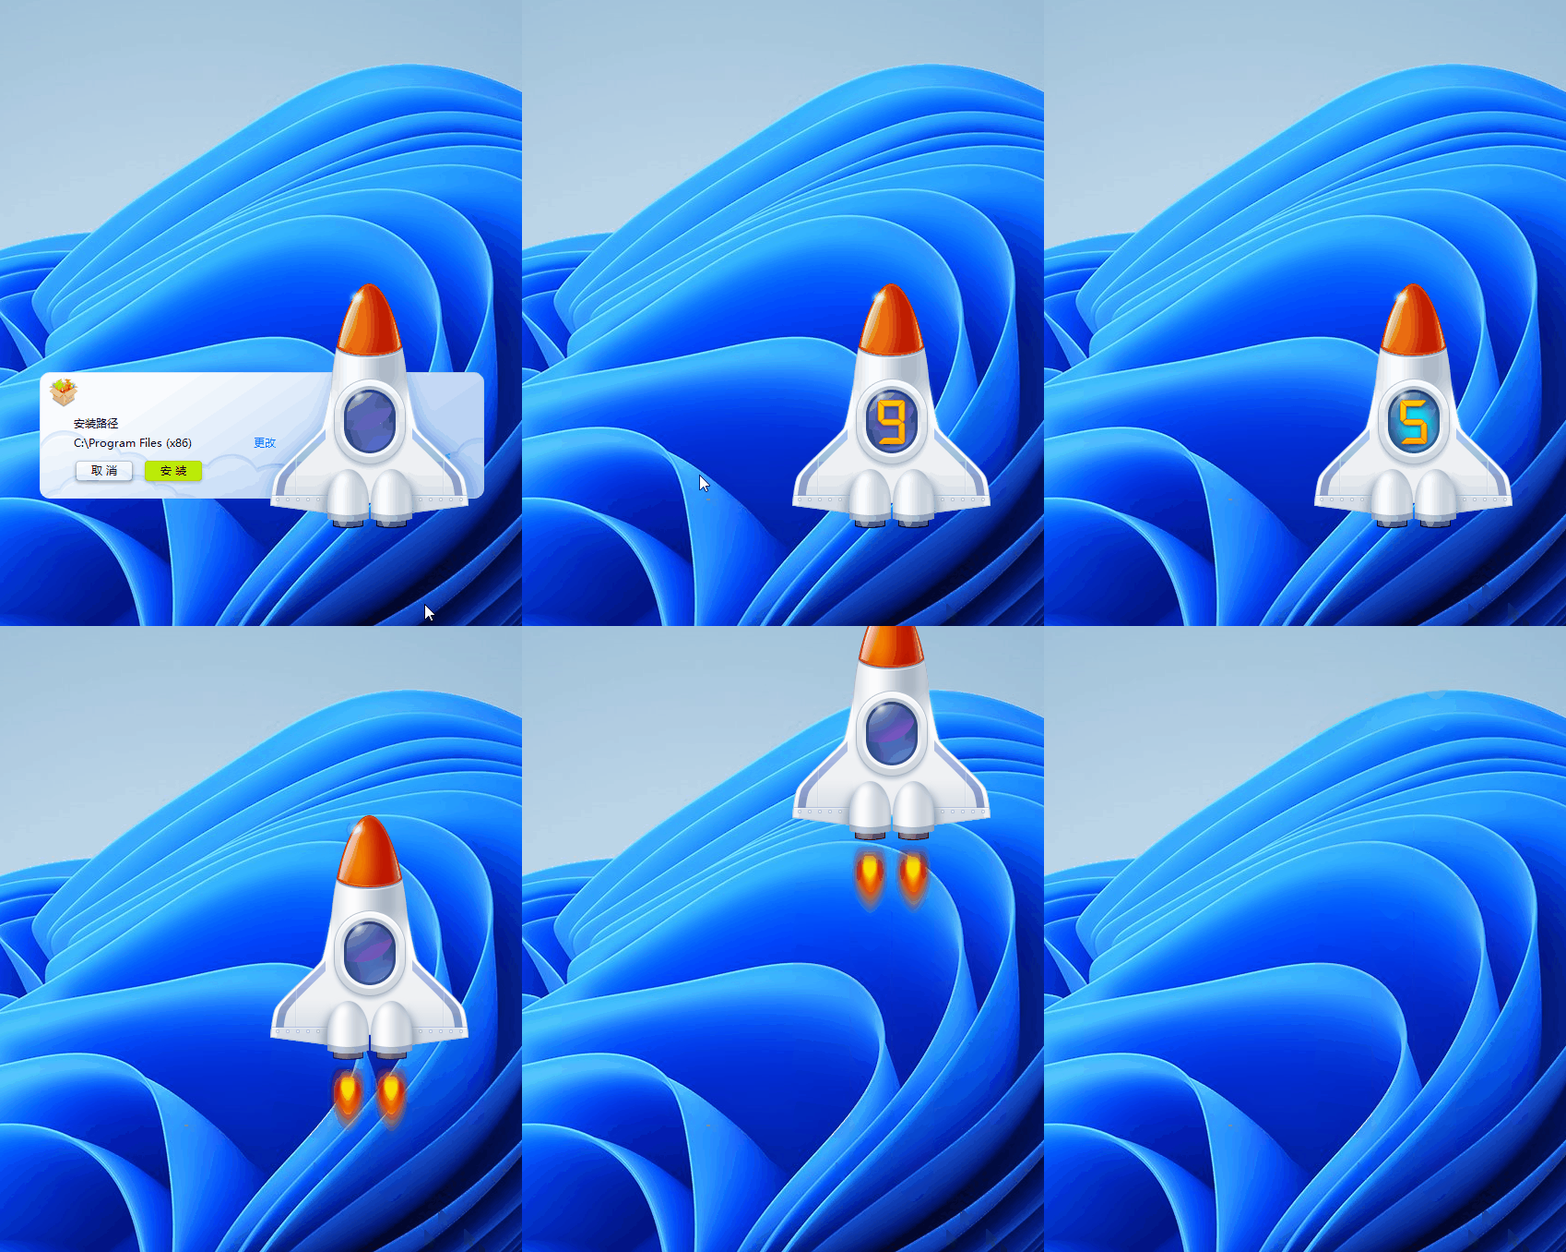
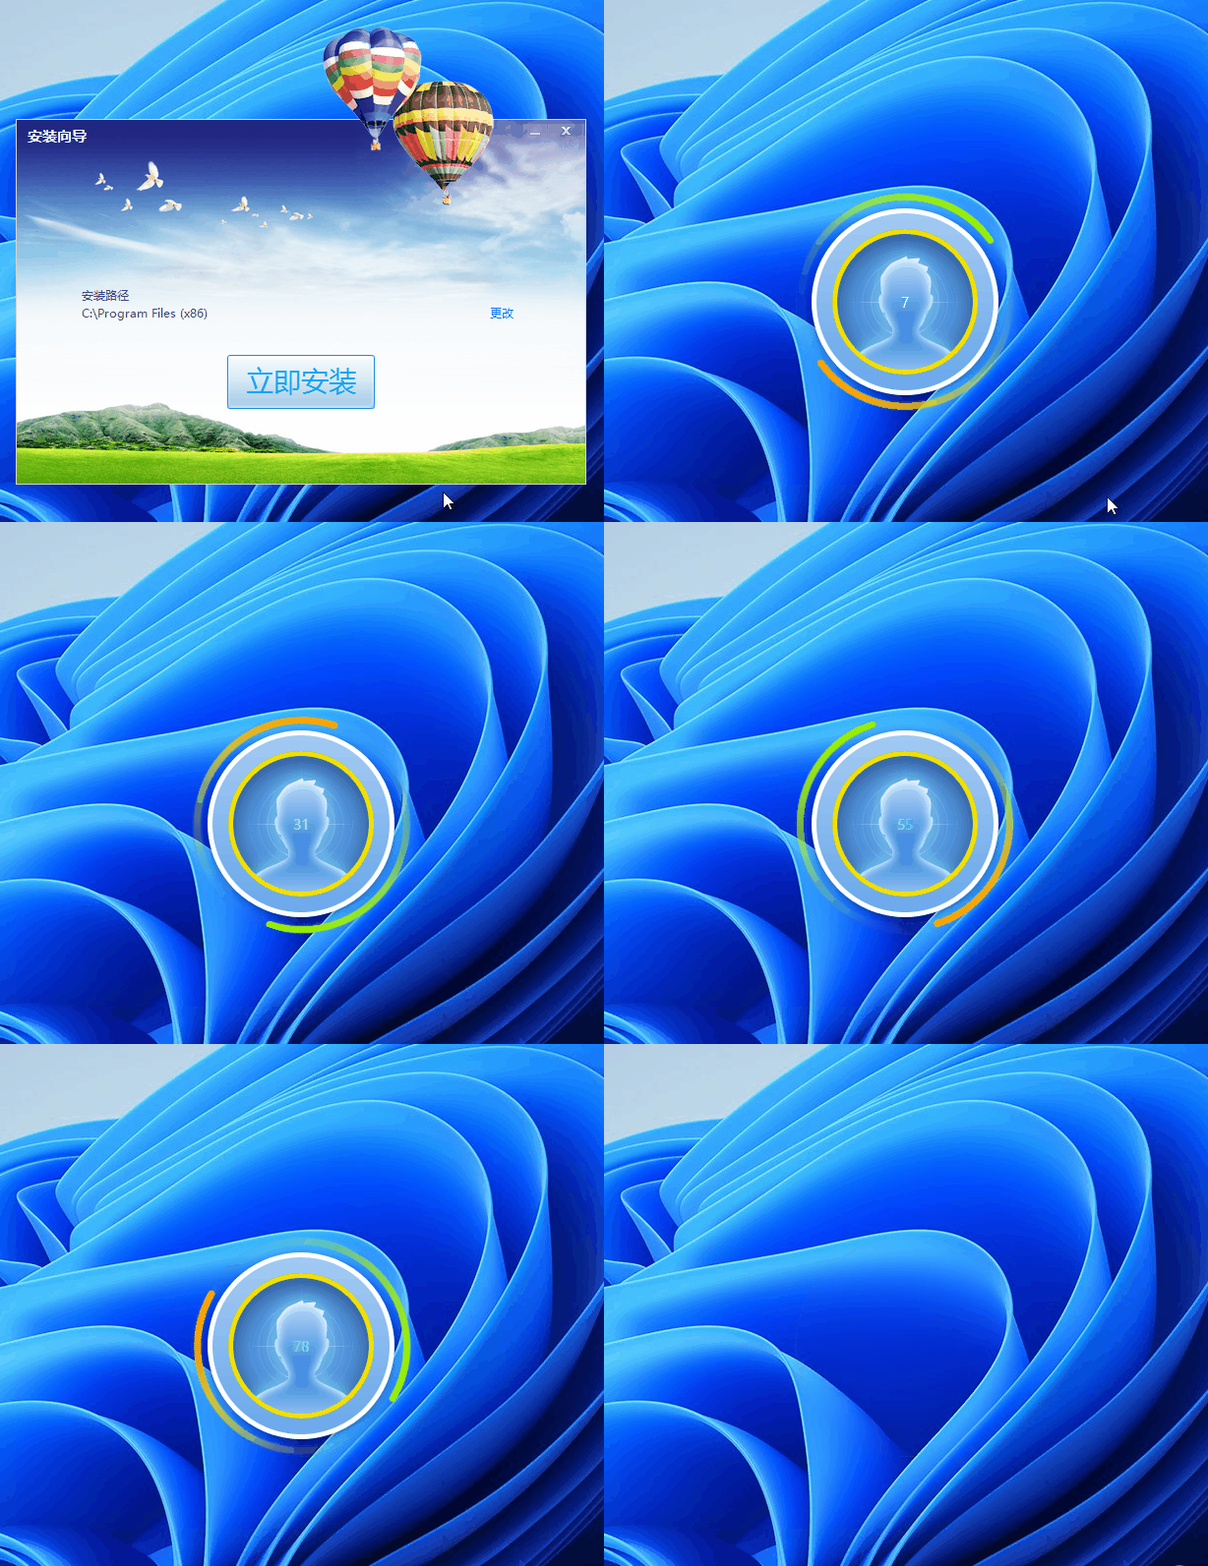
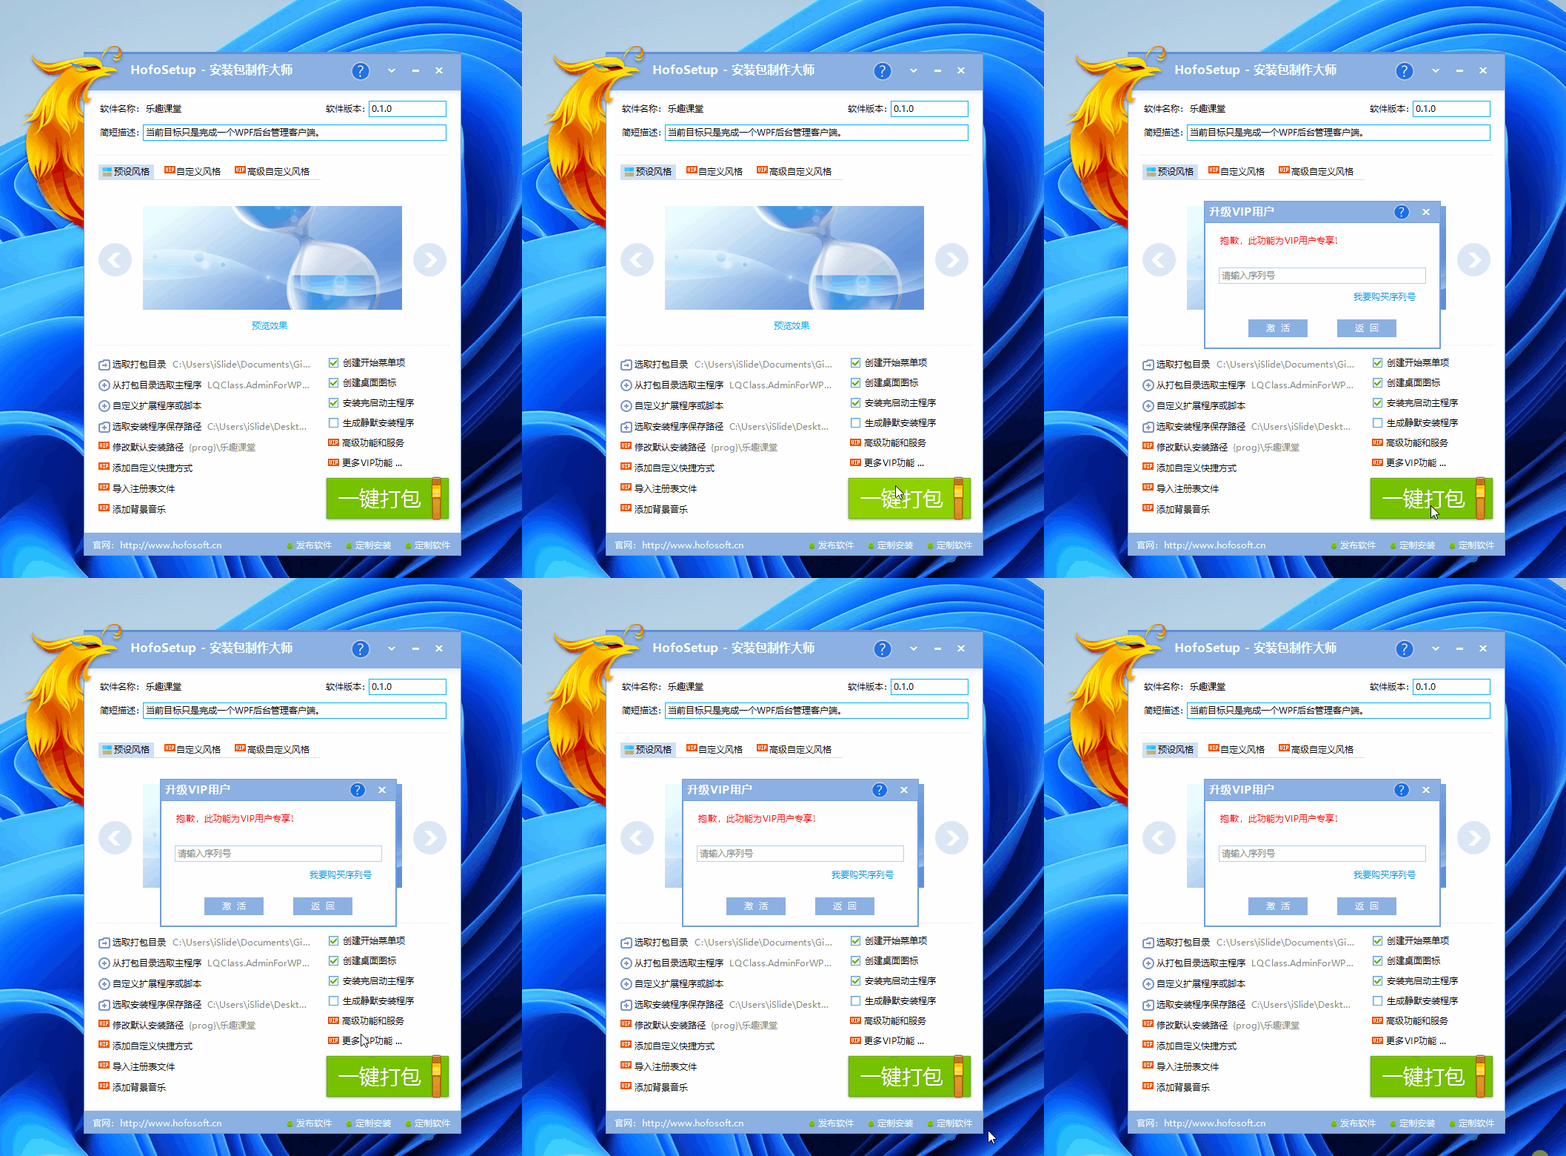
  • Preset Style: Includes three free skins and two VIP skins. See the GIF below; this article selects "Install Style 3 (Free)".
  • Custom Style: VIP exclusive, allows configuring images for slideshow during installation (up to 5), changing icons, and user license agreements.
  • Advanced Custom Style: VIP exclusive, same as above, plus more detailed configurations like changing background images.
  • Select Packaging Directory: The directory of the program to be packaged, e.g., "Program Directory\lqclass.com\src\LQClass.AdminForWPF\Build\publish".
  • Select Main Program from Packaging Directory: The main executable of the program, e.g., "Program Directory\lqclass.com\src\LQClass.AdminForWPF\Build\publish\LQClass.AdminForWPF.exe".
  • Custom Extension or Script: Flexible; allows writing scripts and other additional operations for your program. The site owner hasn't tested this.
  • Select Installer Save Path: Where the packaged EXE will be saved. (I saved it on the desktop as "LQClass.exe").
  • Other options are self-explanatory: Create Start Menu items, create desktop shortcuts, launch the main program after installation, etc.
  • VIP Options: The site owner hasn't tested; an annual membership is 1888 yuan/year...
  • Customization: Taskbar options include publishing software, custom installations, custom software links — all cost money, money, money...

The site owner's configuration is as follows:

Below are previews of several preset styles (Free might not truly be free; all features in the new version are paid. Crying inside, but the GIFs were already recorded without knowing...):

Install Style 1 (Free):

Install Style 2 (Free):

Install Style 3 (Free):

Install Style 4 (VIP):

Install Style 5 (VIP):

Check if all basic packaging information is filled correctly. If OK, proceed to the packaging operation...

2.3 Packaging Operation

Click the "One-click Package" button on the packaging tool — oh, no:

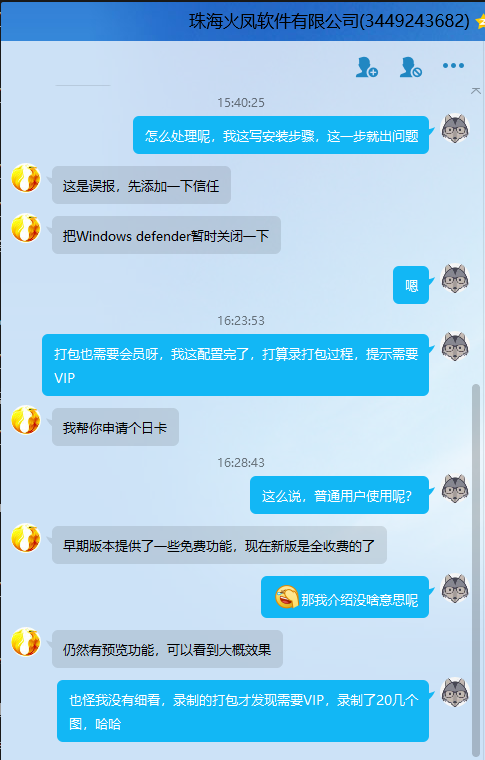
Halfway through writing this article, I didn't expect that packaging also requires VIP. Later, I contacted their staff, and this was the response:

Since I already recorded everything, I'll finish the article. If your company has the budget, or if you personally have the money and think it's worth it, I won't say more. After all, the effects are impressive.

2.4 Installation Process

Skipped — similar to the installation of the packaging tool itself. Without a trial card, no recording...

2.5 Uninstallation Process

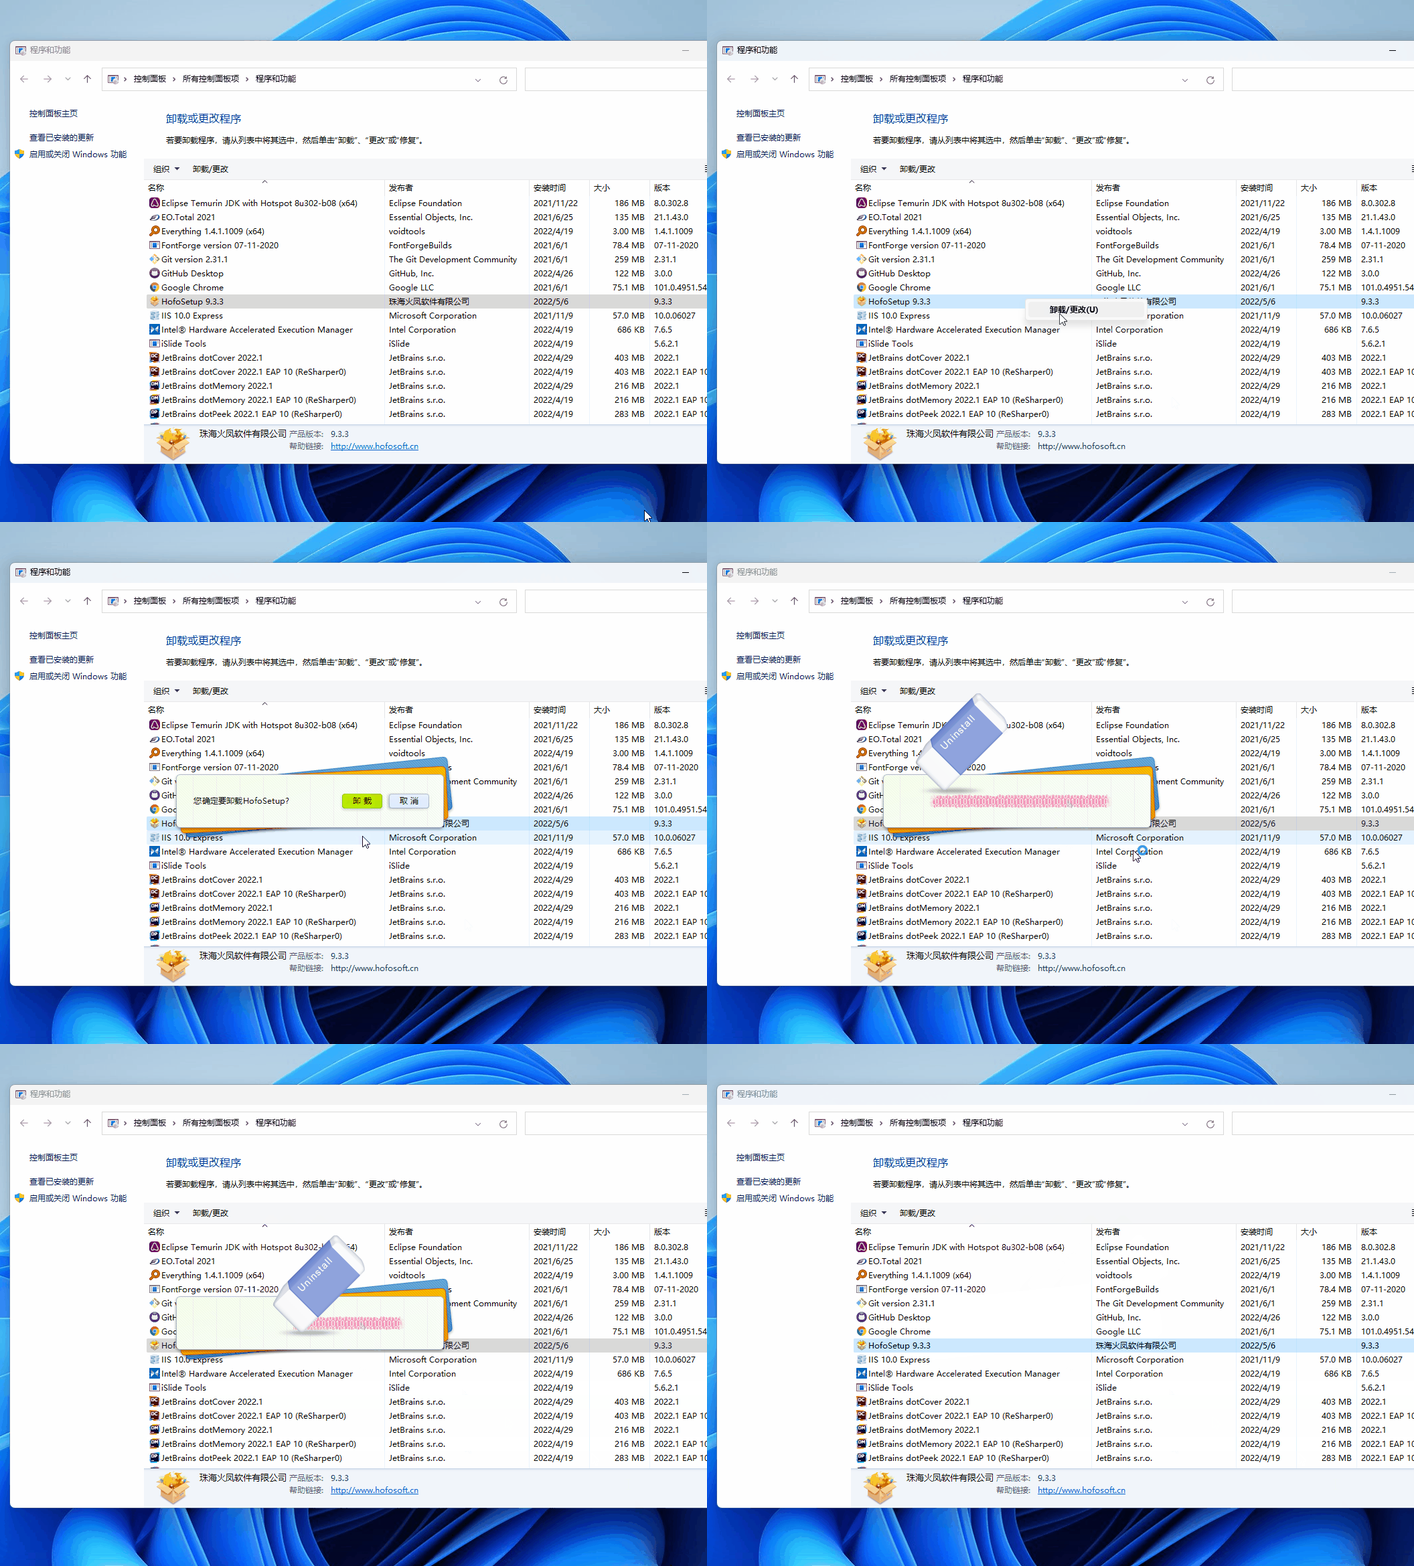
Skipped — similar to the uninstallation of the packaging tool itself. Without a trial card, no recording.

The uninstallation of the packaging tool features a beautiful eraser effect. I'll still record it here:

3. Summary

Packaging and installation are very fast, with unconventional and stunning effects. All features in the new version are paid (suitable for companies or individuals whose products sell very well and require the ultimate user experience).

Keep Exploring

Related Reading

More Articles
Recent update 5/18/2026

枝见 Zhijian: A Markdown Mind Map Editor Built with Avalonia

This article introduces Zhijian, a local mind map editor based on Avalonia, supporting blank creation, folder loading, precise onboarding guidance, macOS shortcut adaptation, outline/Markdown/mind map synchronization, node notes, thumbnails, zoom, canvas dragging, and Markdown/OPML/XMind file exchange.

Continue Reading