
本文经原作者授权以原创方式二次分享,欢迎转载、分享。
原文作者:眾尋
原文链接:https://www.cnblogs.com/ZXdeveloper/p/6058206.html
公司的同事离职了,接下来的日子可能会忙碌,能完善 DEMO 的时间也会少了,因此,把做的简易 DEMO 整体先记录一下,等后续不断的完善。
参考两位大神的日志:WEB 版微信协议部分功能分析、【完全开源】微信客户端.NET 版
尤其是周见智大神的 DEMO,因为好多和微信的服务端交互,都借鉴了大神的源码,帮助巨大,可以说我相当于做了一个翻版,只是用 WPF 开发的而已,外观上不同,但是实际交互上是差不多的。
微信分为两个部分,一个是登录,一个是主体,基于此,WPF 也主要是这两个窗体来实现。
一、登录模块
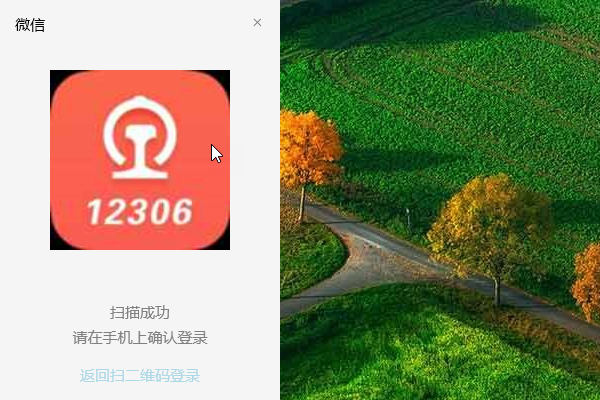
1、登录部分分为二维码和获取用户头像两个页面(因为是给予 WEB 的,所以没有客户端的登录按钮,只能通过扫码来登录)
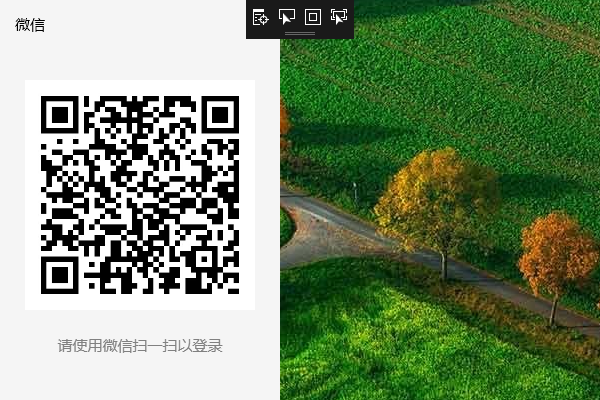
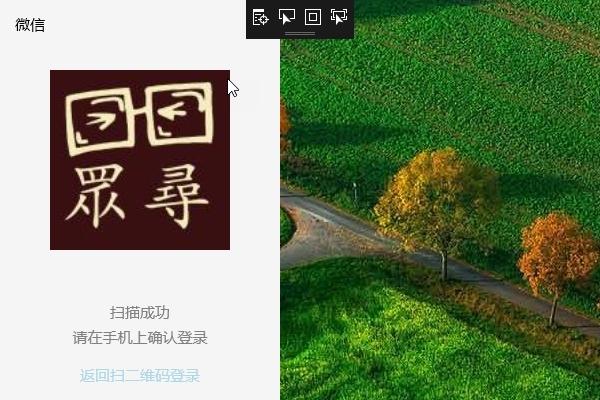
在程序启动以后,先通过请求获取到二维码,然后,在启动一个新的线程,不断的循环检索登录状态。
private void LoopLoginCheck()
{
    object login_result = null;
    //循环判断手机扫描二维码结果
    while (true)
    {
        login_result = ls.LoginCheck();
        //已扫描 未登录
        if (login_result is ImageSource)
        {
            HeadImageSource = login_result as ImageSource;
            //广播,通知到LoginUC页面,切换
            Messenger.Default.Send<object>(null, "ShowLoginInfoUC");
        }
        //已完成登录
        if (login_result is string)
        {
            //访问登录跳转URL
            ls.GetSidUid(login_result as string);

            //广播,隐藏登录页面,打开主页面
            Messenger.Default.Send<object>(null, "HideLoginUC");

            thread.Abort();
            break;
        }
        ////超时
        if (login_result is int)
        {
            //QRCodeImageSource = ls.GetQRCode();
            //返回二维码页面
            Messenger.Default.Send<object>(null, "ShowQRCodeUC");
        }
    }
}
因为是 MVVM,所以,需要用广播来进行操作页面的切换,即填充到登录窗体中间的控件是二维码,还是头像。
2、大家可以看到我上面的截图部分包含了一部分的背景,这个是用 Snagit(推荐这个截图工具,很好用)截图时,自动截出的,因为窗体本身的大小就是那么大,多余出来的部分是透明的,用来做二维码滑动出现的效果部分。

当处于二维码状态时划过,则出现动画,头像状态下则没有动画,是设置了 Image 的 Visibility 属性来控制的,滑动效果可以看我的另一篇博客微信 二维码鼠标滑动 图像显隐效果。
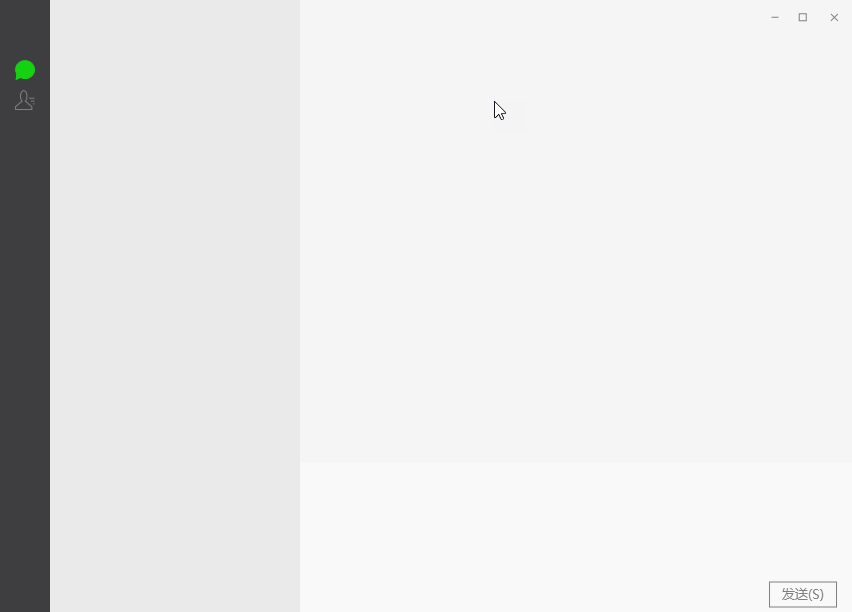
3、当扫码成功,并且在手机端点击登录以后,则跳转到主页面,此处没有加异步等待处理,所以,用户量大的朋友,请耐心等待(后期会加上)。
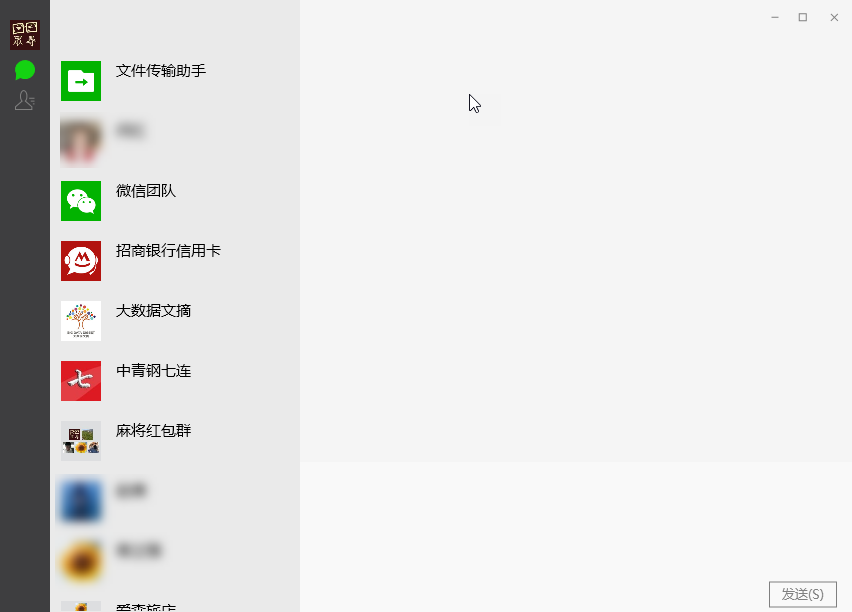
登录成功以后,就会出现主窗体和系统托盘,主窗体包含最近联系人和通讯录,系统托盘网上很多解决方案,可以自行查找。
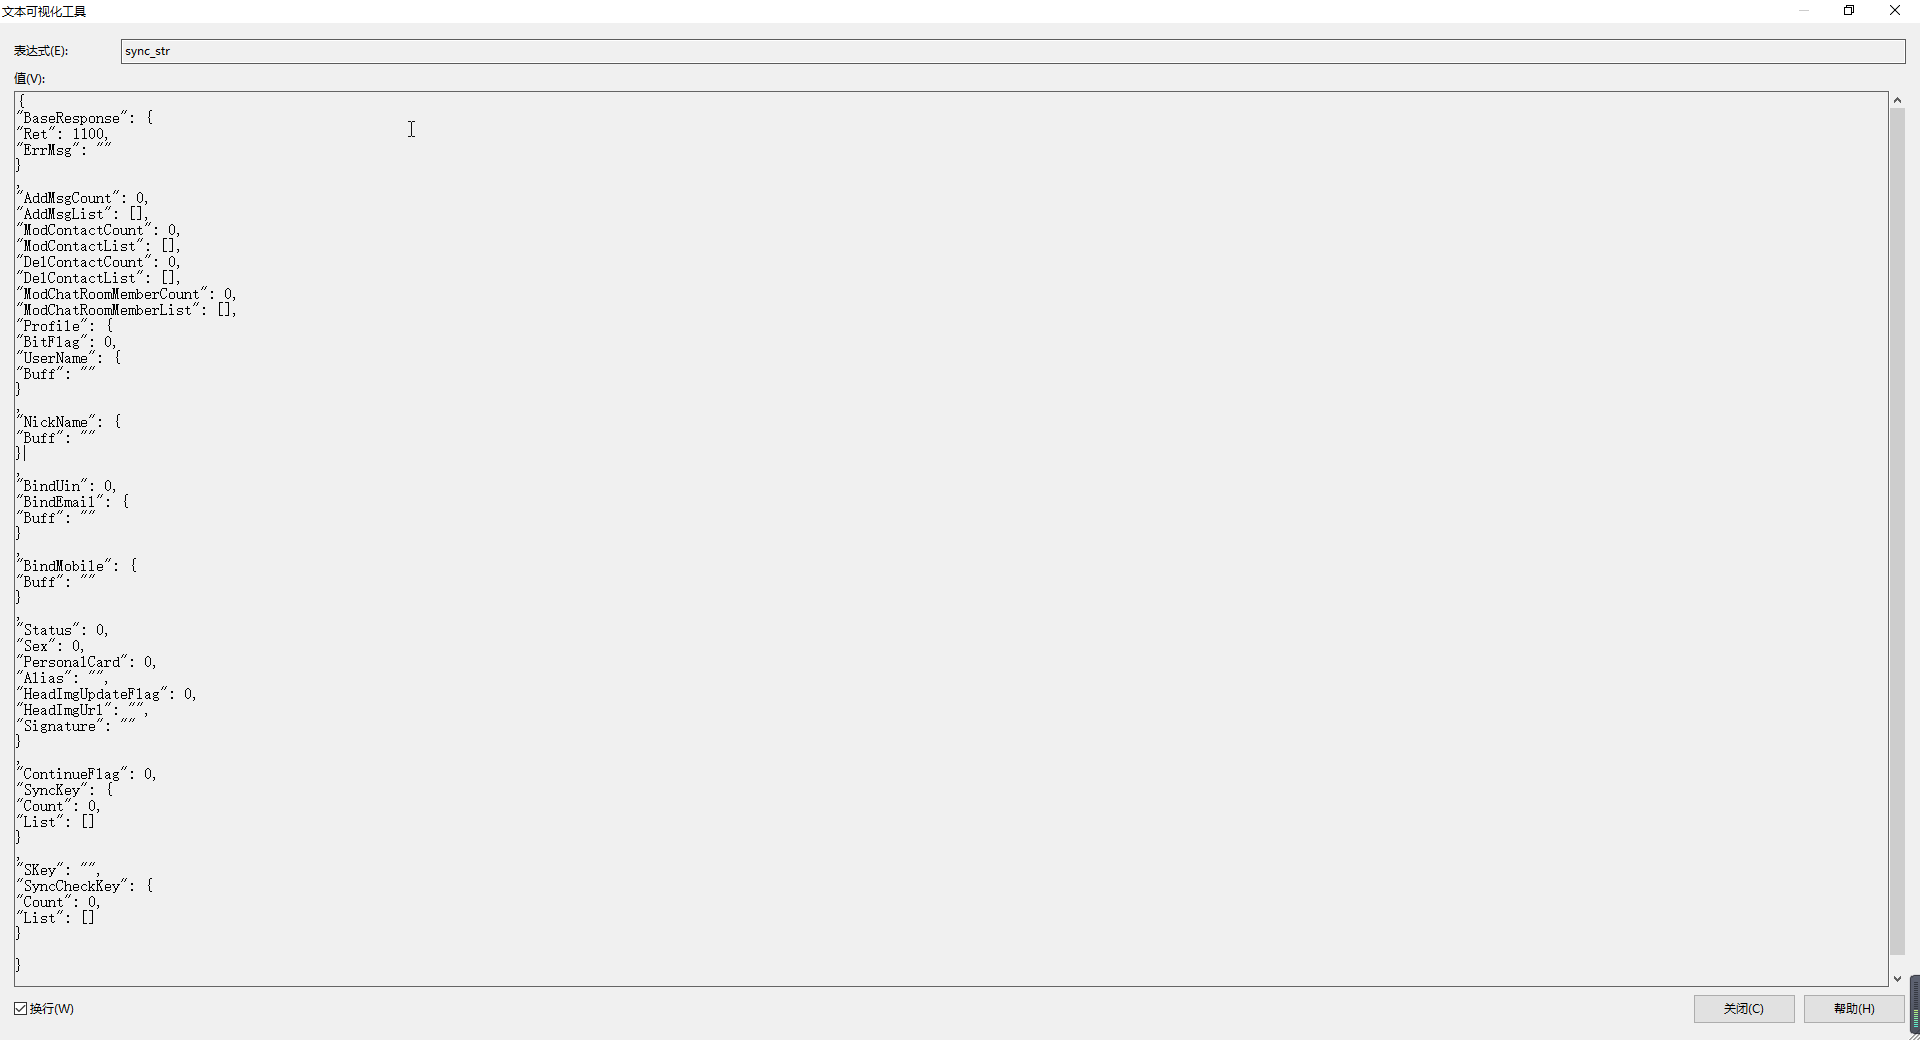
登录成功现在发现了一个问题,就是我有两个微信号,其中一登录以后是有数据的,另一个则没有数据。
跟踪代码,发现返回的 Json 是空的,也就是说没有返回值,试验了下周大神的代码,发现也是空的,不清楚什么情况,我同事的有的也是空的,这个一直没有深究,等把功能基本都完善以后再看看问题所在。
二、主窗体模块
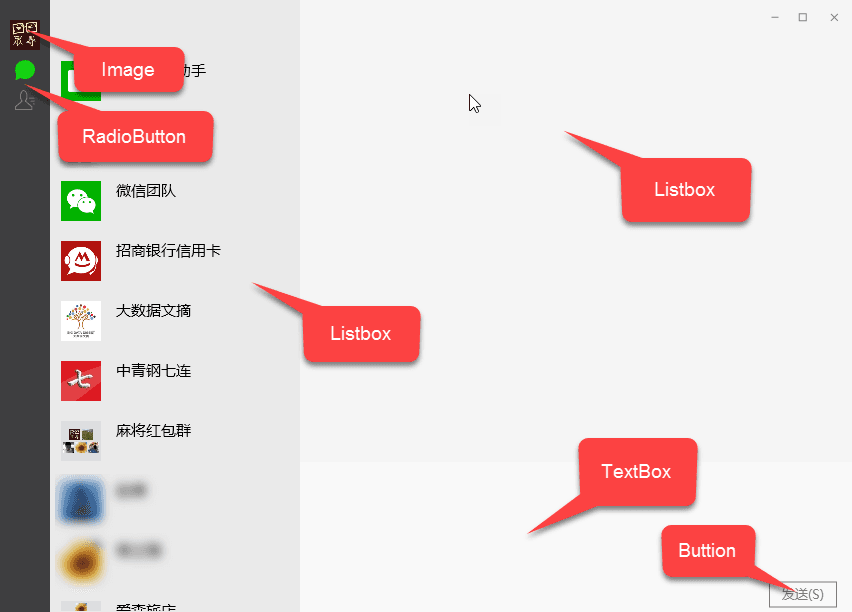
1、主窗体的布局部分很简单,采用了 Grid 进行分隔,三列,上面的控件如图所示
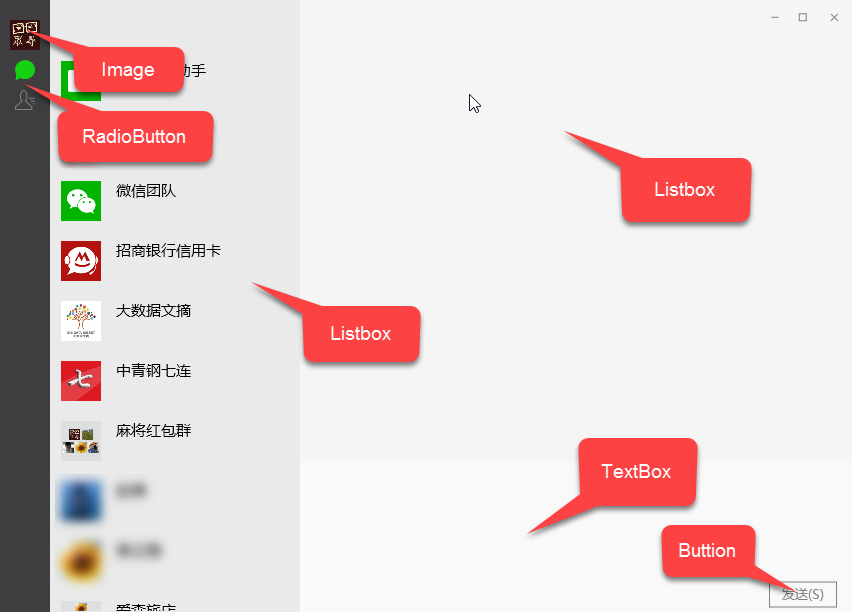
大部分到没什么,可能大家比较疑惑的是我的聊天窗体为什么是 ListBox,这个东西的话,我认为,自己有自己的开发习惯,很多控件都可以实现,panel 就可以。
RadioButton 的样式是用 path 画的,可以看我另一篇博客微信聊天和通讯录按钮样式
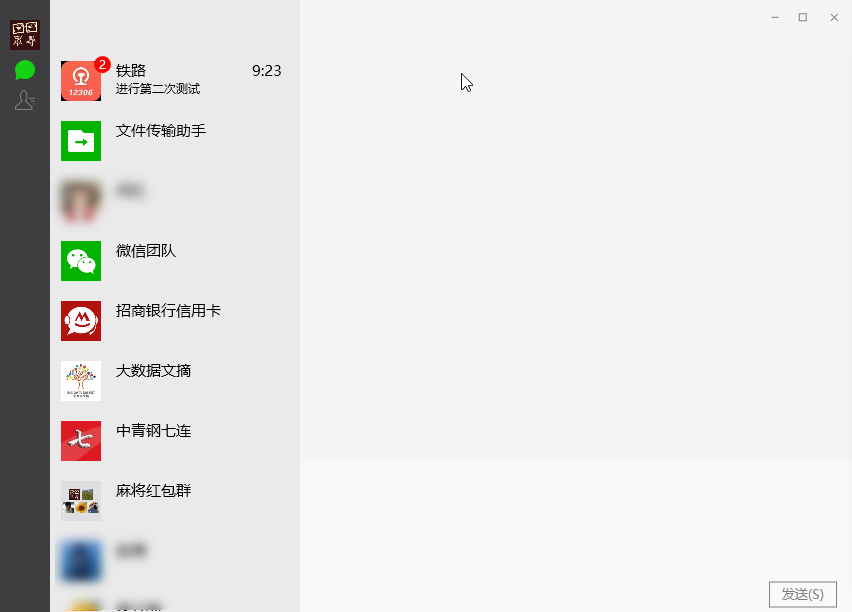
2、聊天列表里,未读的消息上会有带数字的小红点,这个是用 Button 写的,Item 的整体组成是 Image(头像)、Button(未读数)、TextBlock(昵称、时间和聊天内容)
<Style x:Key="ListBoxItemChatStyle" TargetType="{x:Type ListBoxItem}">
    <Setter Property="Template">
        <Setter.Value>
            <ControlTemplate TargetType="ListBoxItem">
                <Border>
                    <StackPanel x:Name="sp" Orientation="Horizontal" Height="{Binding Converter={StaticResource objectToHeight}}" Background="{Binding Converter={StaticResource objectToColor}}">
                        <Grid>
                            <Image Source="{Binding Icon}" Width="40" Height="40" Margin="10"/>
                            <Button Foreground="White" Visibility="{Binding UnReadCount,Converter={StaticResource countToVisibility}}" Content="{Binding UnReadCount}" HorizontalAlignment="Right" VerticalAlignment="Top" Margin="0,5" Style="{StaticResource CirButtonStyle}"/>
                        </Grid>
                        <Grid Width="176">
                            <Grid.RowDefinitions>
                                <RowDefinition/>
                                <RowDefinition/>
                            </Grid.RowDefinitions>
                            <TextBlock Grid.Row="0" Text="{Binding ShowName}" FontSize="15" HorizontalAlignment="Left" Margin="5,10,0,0"/>
                            <TextBlock Grid.Row="0" Text="{Binding LastTime}" FontSize="15" HorizontalAlignment="Right" Margin="0,10,5,0"/>
                            <TextBlock Grid.Row="1" Text="{Binding LastMsg}" FontSize="12" HorizontalAlignment="Left" Margin="5,0,0,0"/>
                        </Grid>
                    </StackPanel>
                </Border>
                <ControlTemplate.Triggers>
                    <Trigger Property="IsMouseOver" Value="true">
                        <Setter Property="Background" Value="#FFE2E4E6" TargetName="sp"/>
                    </Trigger>
                    <Trigger Property="IsSelected" Value="true">
                        <Setter Property="Background" Value="#FFCACDD3" TargetName="sp"/>
                    </Trigger>
                </ControlTemplate.Triggers>
            </ControlTemplate>
        </Setter.Value>
    </Setter>
</Style>
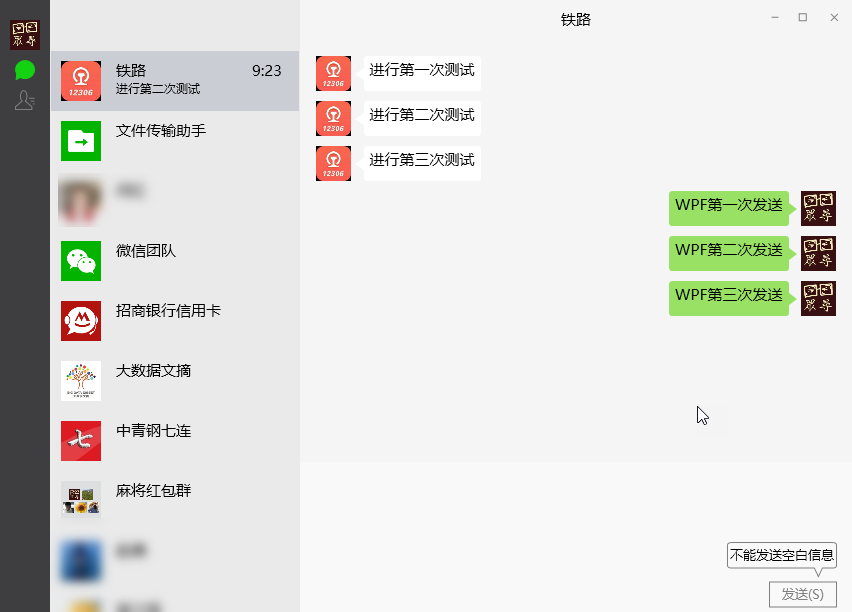
3、聊天内容部分用的是 ScrollingListBox,继承自 ListBox,但是重写了里面的 OnItemsChanged 属性,保证可以时刻滚动到最后一行
public class ScrollingListBox : ListBox
{
    protected override void OnItemsChanged(System.Collections.Specialized.NotifyCollectionChangedEventArgs e)
    {
        if (e.NewItems!=null)
        {
            int newItemCount = e.NewItems.Count;

            if (newItemCount > 0)
                this.ScrollIntoView(e.NewItems[newItemCount - 1]);

            base.OnItemsChanged(e);
        }
    }
}
样式部分是重写控件模板用的是 Image(头像),path(三角部分),textbox(内容部分)
<Style x:Key="ChatListBoxStyle" TargetType="{x:Type ListBox}">
    <Setter Property="Background" Value="{DynamicResource {x:Static SystemColors.WindowBrushKey}}"/>
    <Setter Property="BorderBrush" Value="{StaticResource ListBorder}"/>
    <Setter Property="BorderThickness" Value="0"/>
    <Setter Property="Foreground" Value="{DynamicResource {x:Static SystemColors.ControlTextBrushKey}}"/>
    <Setter Property="ScrollViewer.HorizontalScrollBarVisibility" Value="Hidden"/>
    <Setter Property="ScrollViewer.VerticalScrollBarVisibility" Value="Hidden"/>
    <Setter Property="ScrollViewer.CanContentScroll" Value="true"/>
    <Setter Property="ScrollViewer.PanningMode" Value="Both"/>
    <Setter Property="Stylus.IsFlicksEnabled" Value="False"/>
    <Setter Property="VerticalContentAlignment" Value="Center"/>
    <Setter Property="ItemContainerStyle">
        <Setter.Value>
            <Style TargetType="ListBoxItem">
                <Setter Property="Focusable" Value="False"/>
                <Setter Property="Template">
                    <Setter.Value>
                        <ControlTemplate>
                            <StackPanel Orientation="Horizontal" Grid.Column="1" HorizontalAlignment="Stretch" VerticalAlignment="Top" FlowDirection="{Binding FlowDir}" Margin="15,5">
                                <Image Grid.Column="1" Source="{Binding Image}" Height="35" Width="35" VerticalAlignment="Top"/>
                                <Path Grid.Column="2" StrokeThickness="1" Stroke="{Binding TbColor}" Data="M12,13 L5,18 L12,23Z" Fill="{Binding TbColor}" Margin="0" SnapsToDevicePixels="True"/>
                                <TextBox Grid.Column="3" MaxWidth="355" TextWrapping="Wrap" FontSize="15" BorderBrush="{Binding TbColor}" Background="{Binding TbColor}" IsReadOnly="True" BorderThickness="0" Style="{StaticResource ChatTextBoxStyle}" FlowDirection="LeftToRight" Text="{Binding Message}"/>
                            </StackPanel>
                        </ControlTemplate>
                    </Setter.Value>
                </Setter>
            </Style>
        </Setter.Value>
    </Setter>
</Style>
需要注意的是:此处必须要重写控件模板,而不能重写数据模板,虽然,很多情况下控件模板和数据模板可以得到的效果相同,但是此处,如果写数据模板的话,则自己发的信息不会在右侧,就算设置FlowDirection也没有用,大家可以自行尝试。
4、如果发送内容是空的情况下,则会有一个 ToolTip 出现,此处的 TooLTipye 也是重写了样式的 Button,好定位,毕竟就算是最大化,位置也是不变的。
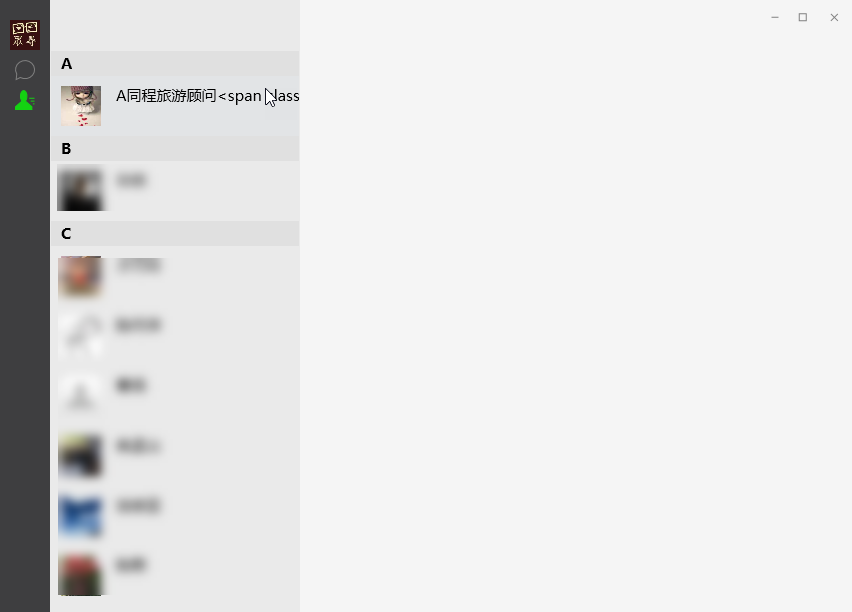
通讯录部分,和聊天列表差不多,不过,由于需要进行分组,也就是 A、B……这种组合,所以用的 Object 类型,在点选过程中,通过 is 来进行判别是不是 WeChatUser,如果是,则进行转换,来进一步处理。
大家可以看到上面那个好友是 同程旅游顾问<span …… 其实它是一个 emoji,只是现在我还没有做到那一部分,如果做到的话,则进行转换,如果谁有好的 emoji 处理方式希望告知,谢谢了。
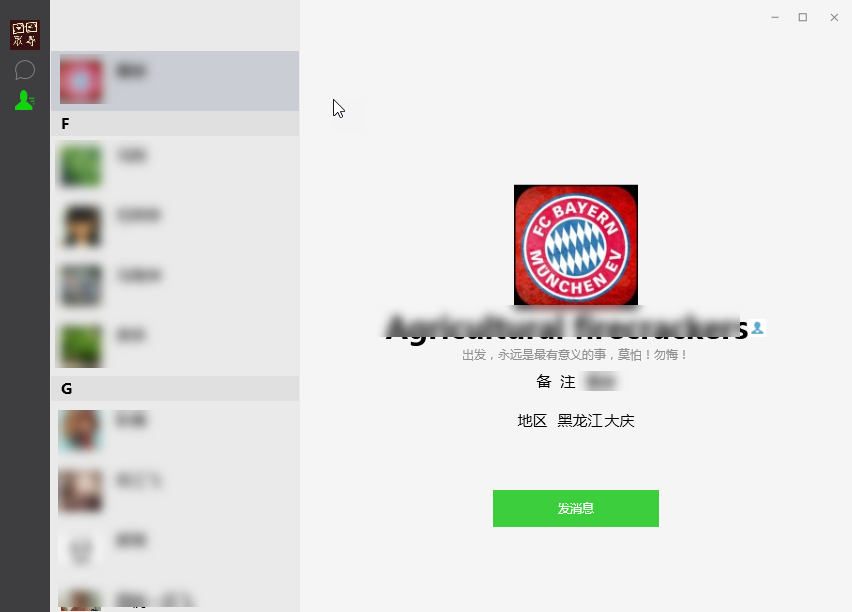
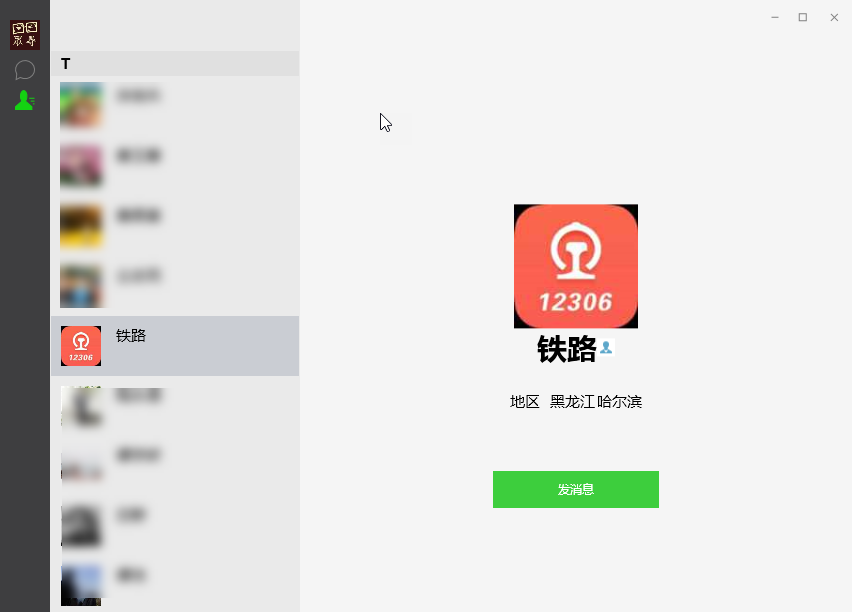
当点选列表以后,并且转换成功的情况下,则显示出用户的信息,通过内容是否未空,来判别是否要显示
<Grid Grid.Row="1" Grid.RowSpan="2" HorizontalAlignment="Center" VerticalAlignment="Center" Visibility="{Binding ElementName=rb_friend,Path=IsChecked,Converter={StaticResource boolToVisibility}}" Margin="0,50,0,0">
    <Grid.RowDefinitions>
        <RowDefinition Height="Auto"/>
        <RowDefinition Height="Auto"/>
        <RowDefinition Height="Auto"/>
        <RowDefinition Height="Auto"/>
        <RowDefinition Height="Auto"/>
        <RowDefinition Height="Auto"/>
        <RowDefinition Height="Auto"/>
    </Grid.RowDefinitions>
    <Image Source="{Binding FriendInfo.Icon}" Grid.Row="0" Height="124" Width="124" HorizontalAlignment="Center"/>
    <StackPanel Orientation="Horizontal" Grid.Row="1" HorizontalAlignment="Center">
        <TextBlock Text="{Binding FriendInfo.NickName}" FontSize="30" Foreground="Black" FontWeight="Bold"/>
        <Image Visibility="{Binding FriendInfo.Sex,Converter={StaticResource parameterToVisibility},ConverterParameter=2}" Source="/Image/female.png"/>
        <Image Visibility="{Binding FriendInfo.Sex,Converter={StaticResource parameterToVisibility},ConverterParameter=1}" Source="/Image/male.png"/>
    </StackPanel>
    <TextBlock Text="{Binding FriendInfo.Signature}" Foreground="#FF919191" Grid.Row="2" HorizontalAlignment="Center"/>
    <StackPanel Orientation="Horizontal" Visibility="{Binding FriendInfo.RemarkName,Converter={StaticResource epmtyToVisibility}}" Margin="10" Grid.Row="3" HorizontalAlignment="Center">
        <TextBlock Text="备  注" Margin="0,0,10,0" FontSize="15"/>
        <TextBlock Text="{Binding FriendInfo.RemarkName}" FontSize="15"/>
    </StackPanel>
    <StackPanel Orientation="Horizontal" Visibility="{Binding FriendInfo.Province,Converter={StaticResource epmtyToVisibility}}" Margin="10" Grid.Row="4" HorizontalAlignment="Center">
        <TextBlock Text="地区" Margin="0,0,10,0" FontSize="15"/>
        <TextBlock Text="{Binding FriendInfo.Province}" Margin="0,0,2,0" FontSize="15"/>
        <TextBlock Text="{Binding FriendInfo.City}" FontSize="15"/>
    </StackPanel>
    <Button Content="发消息" Width="166" Height="37" Grid.Row="5" Command="{Binding FriendSendComamnd}" Margin="0,50,0,0" Style="{StaticResource FriSendButtonStyle}"/>
    <Grid Grid.Row="0" Grid.RowSpan="7" Background="WhiteSmoke" Visibility="{Binding FriendInfo,Converter={StaticResource nullToVisibility}}"/>
</Grid>
点击发消息按钮,则跳转回聊天页面,然后,将当前的好友加入到聊天的第一项。
三、总结
做 WPF 微信 DEMO,用到了转换器,转换颜色,转换显隐;重写了控件的样式,例如 Button、RadioButton、ListBox;然后 MVVM 模式下,Bind 的用法,感觉这个 DEOM 对于初学者来说应该会有很大的帮助。
不过这个 DEMO 的 BUG 和不完善的地方还有很多,例如系统托盘还没有做闪烁,现在只能发送文字,最大化的问题。
系统托盘闪烁可以用 Timer 和 Opacity 来进行控制,比如来未读消息了,则在进行时间间隔的控制显隐。
后期会把 TextBox 换成 RichTextBox,这样可以发送图片和 emoji。
最大化问题,是我一直还没有想到好的解决办法,最大化的情况下会占据整个屏幕,而不把状态栏空出来,网上的办法都是重新设置 Width 和 Height,但是这样的话,就要记录原来的大小和位置,一直没有找到可以重写 WindowState.Maximized 的方法,好像是不能重写,所以比较纠结,希望哪位大神看完我的代码以后,能够给提供一下解决思路,谢谢了。