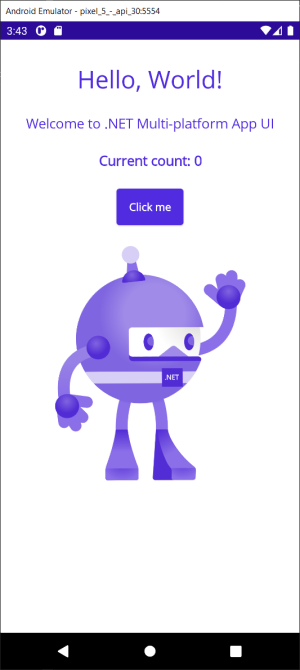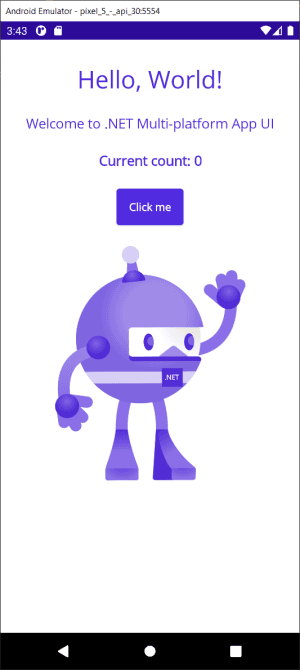
1、IDE 下载安装
- 如果你还没安装 Visual Studio 2022 预览版
你可以点击下载
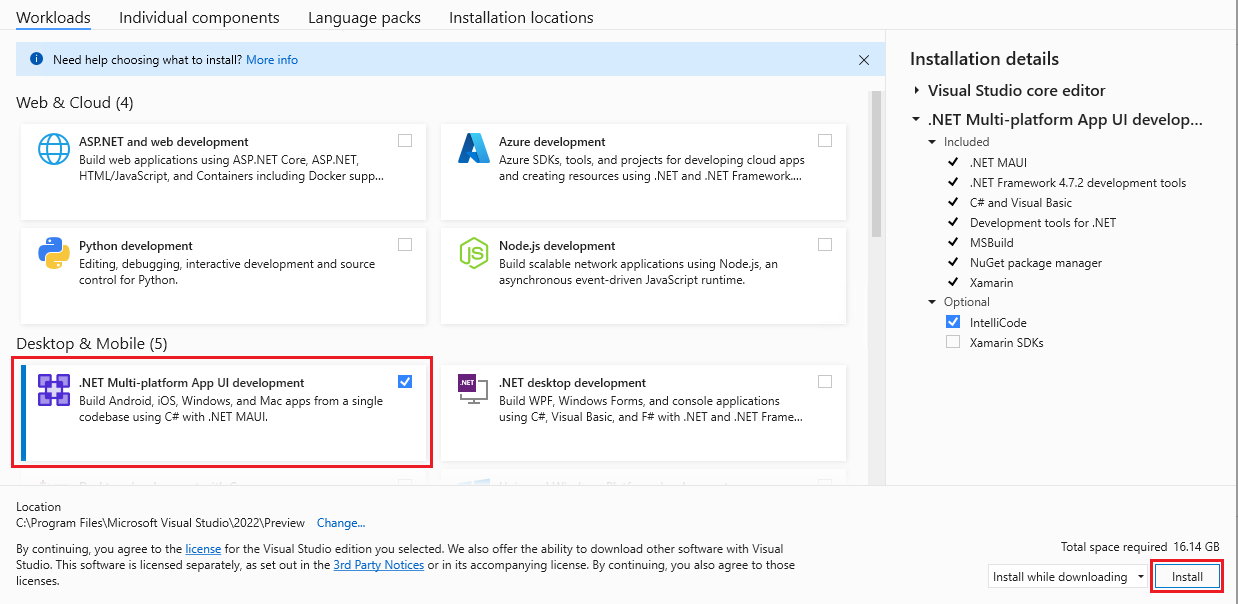
在安装过程中,应选择.NET 跨平台应用程序 UI 开发,如下图所示:
- 已经拥有 Visual Studio 2022 预览版
如果您已经拥有 Visual Studio 2022 预览版,则可以更新以添加 .NET MAUI 支持。
2、创建应用
- 打开 Visual Studio 2022 预览版。
- 选择创建新项目按钮。
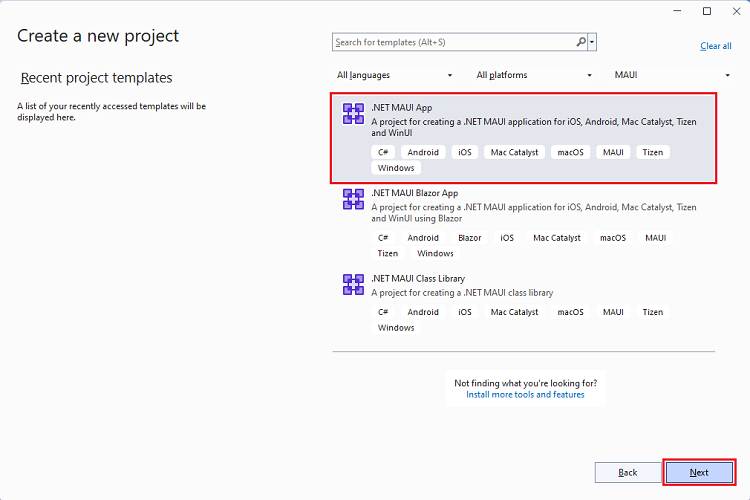
- 从项目类型下拉列表中选择 MAUI 。
- 选择.NET MAUI App 模板并选择下一步按钮。
- 输入
MyFirstMauiApp作为项目名称并选择Create按钮。
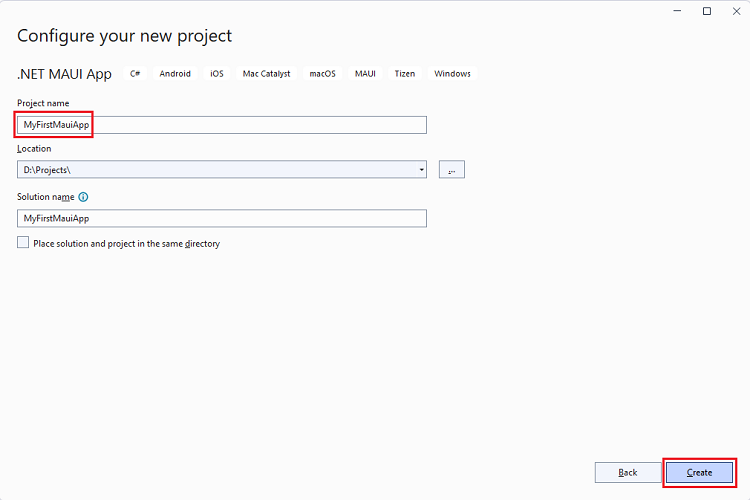
- 还原 NuGet 包
等待 NuGet 自动还原应用程序的依赖项,等到屏幕左下方的状态栏中出现已恢复或就绪消息。

3、运行应用
本教程将重点介绍首先将 .NET MAUI 应用程序部署到本地 Windows 计算机。稍后,您可以选择设置 Android 设备或模拟器。
- 为开发设置 Windows
要开发 Windows 应用程序,您需要启用开发人员模式以在 Windows 11 或 Windows 10 上旁加载应用程序。
启用开发者模式
- 在 Windows 上,转到“设置”应用程序。
- 在 Windows 11 上的隐私和安全和 Windows 10 上的更新和安全中搜索开发人员设置。
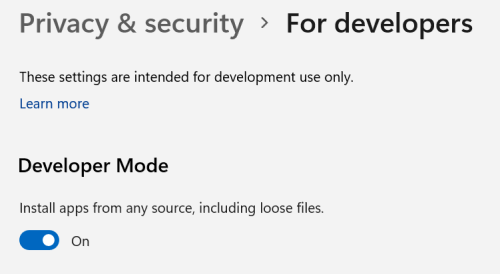
- 打开 Developer Mode 下的切换开关。
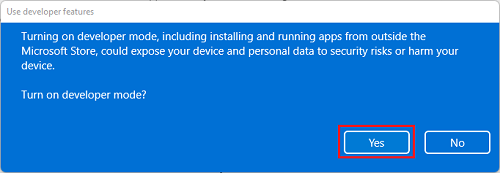
- 将显示使用开发人员功能对话框。选择“是”以确认您要启用开发者模式。
- 在 Windows 上运行
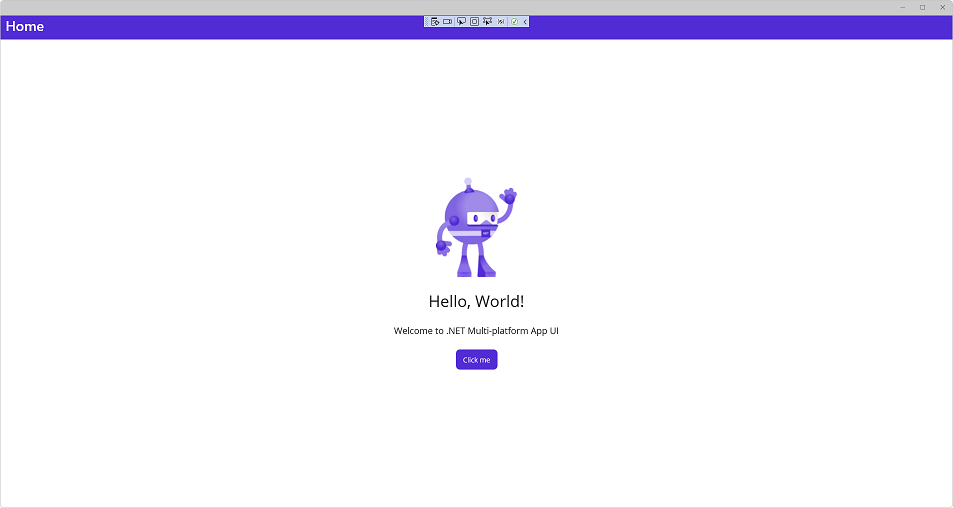
现在已准备好运行 .NET MAUI 应用并将其部署到 Windows。在工具栏中,默认将 Windows 机器视为调试目标。

选择“调试” > “开始调试F5”(或按)
4、编辑代码
使用 .NET MAUI 开发时,可以在调试时使用 XAML 热重载。这意味着您可以在运行时更改 XAML 用户界面, UI 将自动更新。
在解决方案资源管理器中,双击项目 MainPage.xaml 下的文件 MyFirstMauiApp。
目前,Text 第一个 Label 设置为 Hello, World!如下代码所示:
<Label
    Text="Hello, World!"
    SemanticProperties.HeadingLevel="Level1"
    FontSize="32"
    HorizontalOptions="Center" >
将文本更新为 Hello, .NET MAUI!:
<Label
    Text="Hello, .NET MAUI!"
    SemanticProperties.HeadingLevel="Level1"
    FontSize="32"
    HorizontalOptions="Center" >
UI 会自动更新:
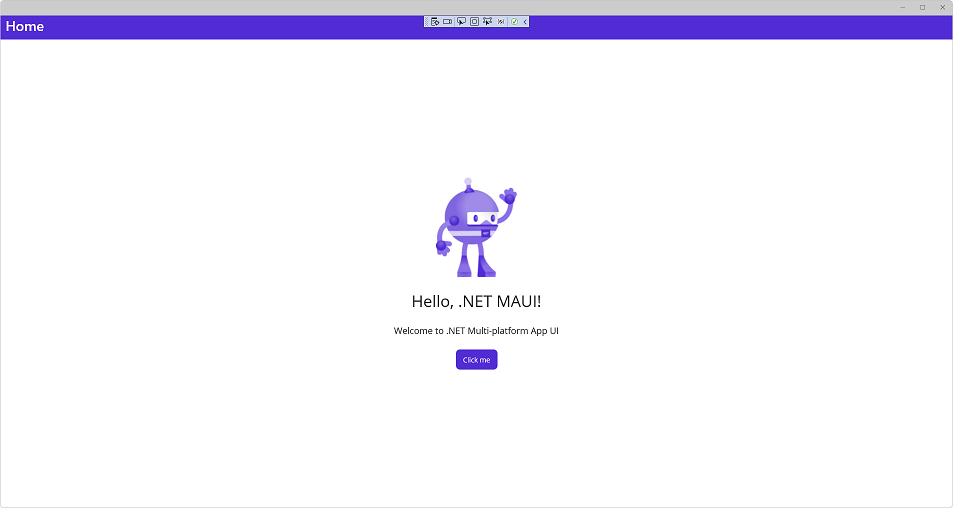
使用 .NET MAUI 开发时,还可以使用 .NET Hot Reload 重新加载 C# 代码。我们修改程序中的逻辑,将计数增加 10 而不是 1。
打开 MainPage.xaml.cs(此文件嵌套在 MainPage.xaml 下,或者您可以右键单击并从菜单中选择查看代码)。
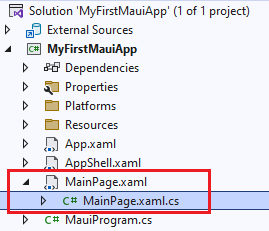
该 OnCounterClicked 文件上的方法当前具有以下代码:
private void OnCounterClicked(object sender, EventArgs e)
{
    count++;

    if (count == 1)
        CounterBtn.Text = $"Clicked {count} time";
    else
        CounterBtn.Text = $"Clicked {count} times";

    SemanticScreenReader.Announce(CounterBtn.Text);
}
通过将 更改为 来更新 count++;以增加 10 count += 10;
private void OnCounterClicked(object sender, EventArgs e)
{
    count += 10;

    if (count == 1)
        CounterBtn.Text = $"Clicked {count} time";
    else
        CounterBtn.Text = $"Clicked {count} times";

    SemanticScreenReader.Announce(CounterBtn.Text);
}
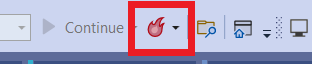
要应用代码更改,请在 Visual Studio 中选择热重载按钮或选择 ALT+F10.
选择“点击我”按钮,看到它增加了 10。
5、配置安卓设备
可以根据自己的开发环境决定部署到多个平台。刚刚运行并部署到 Windows。现在,让我们设置一个 Android 设备或模拟器。
- 安卓 SDK 安装
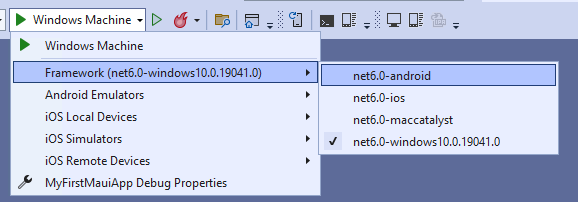
从调试下拉菜单中,选择框架下的 net6.0-android。
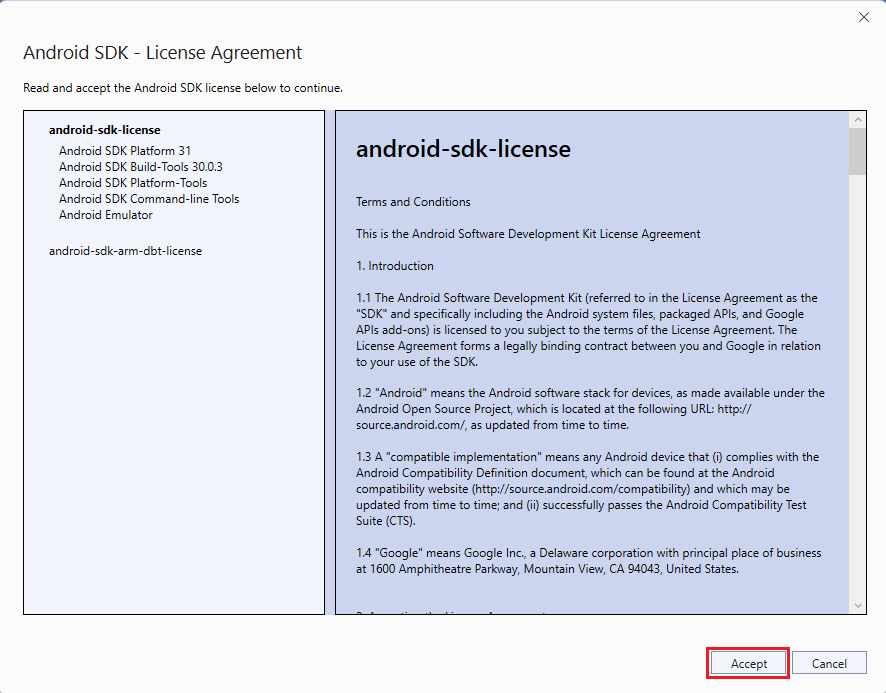
构建项目需要特定版本的 Android SDK。如果您尚未接受 Android SDK 许可,您将在错误列表窗口中看到以下错误消息。

双击消息以开始许可接受过程。对存在的每个许可证单击接受,然后将开始自动安装。
- 设置安卓模拟器
如果您没有要部署的 Android 设备,则可以设置 Android 模拟器。如果你已经这样做了,你可以跳过这一步。
如果这是您第一次构建 .NET MAUI 应用程序,您将在调试菜单中看到“Android Emulator”。单击它开始创建过程。

这会弹出用户账户控制提示。选择是按钮,模拟器创建过程将开始。选择创建按钮以使用默认设置创建模拟器。

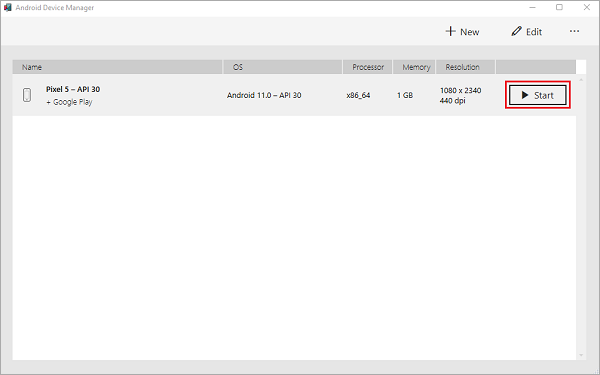
此时,可能会提示您同意 Android 模拟器的许可协议。选择接受以继续该过程,下载模拟器图像并完成模拟器的创建,创建模拟器后,您会看到一个显示Start的按钮。点击它。
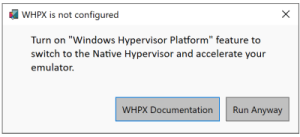
您可能会收到启用 Windows Hypervisor 平台的提示。按照文档启用加速以提高性能(强烈推荐)
Android 模拟器将启动。等待它完全完成启动,您将看到它显示在 Visual Studio 调试菜单中。
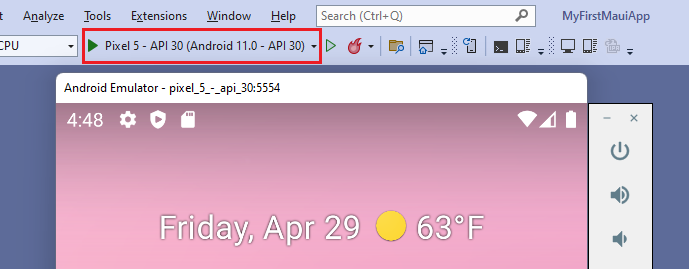
您的 Android 模拟器现已创建并可以使用。下次运行 Visual Studio 时,模拟器将直接出现在调试目标窗口中,并在您选择它时启动。
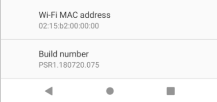
- 设置安卓设备 要使用 Android 设备进行开发,需要启用 USB 调试。按照设备上的这些步骤将其连接到 Visual Studio。如果您没有 Android 设备,则可以跳过此部分。
启用开发者模式
- 转到设置屏幕。
- 使用设置屏幕顶部的搜索查找
内部版本号,或在关于手机中找到它。 - 点击
内部版本号7-10 次,直到“你现在是开发者了!” 弹出。 - 单击
创建。
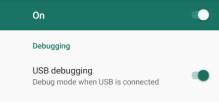
检查 USB 调试状态
- 转到设置屏幕。
- 使用设置屏幕顶部的搜索查找
USB 调试,或在开发人员选项中找到它。 - 如果尚未启用
USB 调试,请启用它。
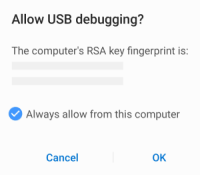
信任装置
- 将您的设备插入计算机。
- 系统将提示您允许 USB 调试。
- 选中始终允许从此计算机。
- 单击允许。
您的设备现已配置好,并将作为部署目标显示在 Visual Studio 中。
- 在安卓上运行
确保您的设备或仿真器被选为调试目标。

从菜单中,选择调试>开始调试(或按F5)。如果禁用此选项,请确保选择了模拟器或设备。
应用程序将构建、部署到所选的 Android 设备/模拟器并运行。